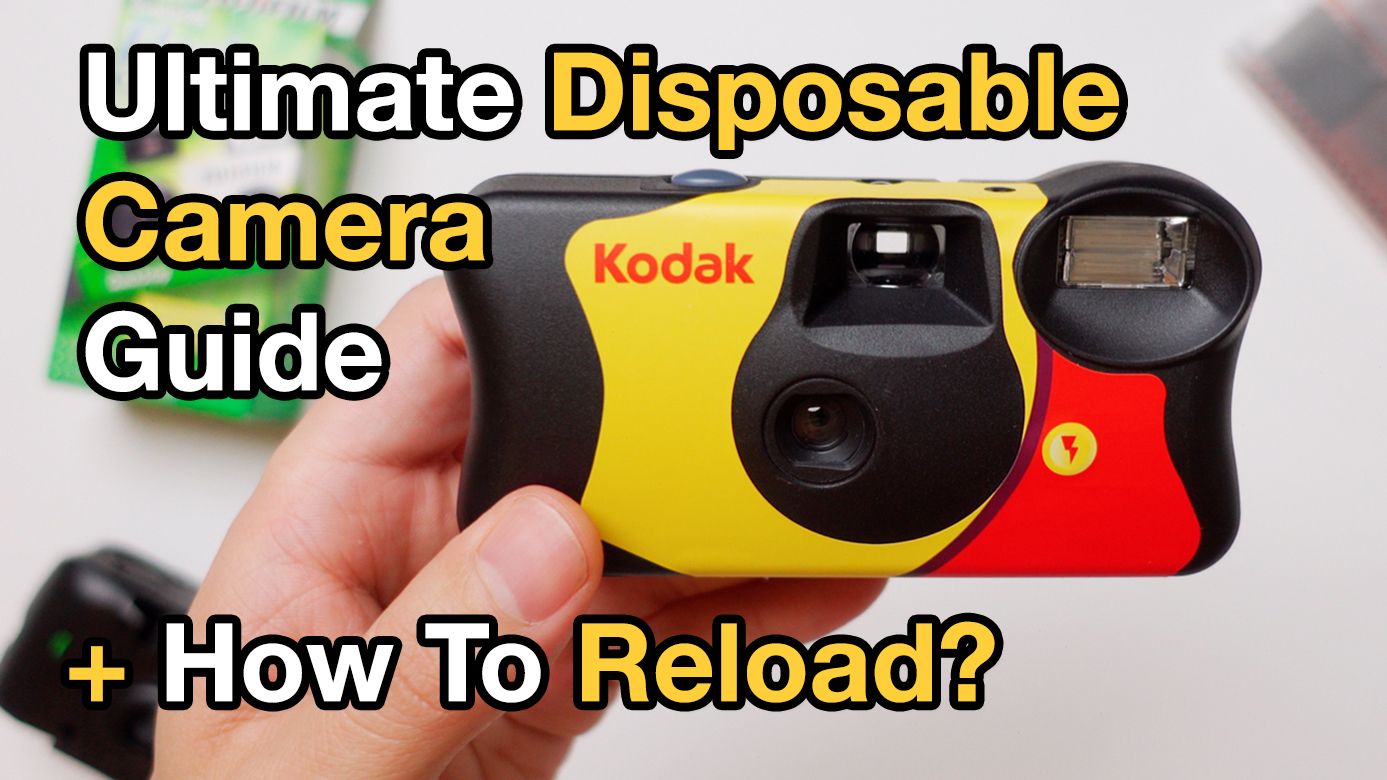
How To Reload A Disposable Film Camera - Kodak FunSaver
Kodak FunSaver disposable film camera how-to guide.
Table of Contents
In previous posts & videos, we talked about disposable cameras, how these are affordable, easy to use and a great way to start your photography journey.
But not every disposable camera is easy to open up and reuse, so today we'll talk about choosing the right camera, and we'll through the process of reloading a disposable camera.
Choose The Camera Carefully Before You Start
Although most disposable cameras have a similar build, similar quality and offer similar okay results, not all of these types of cameras are identical. And this becomes really apparent when you try to do something that you are not supposed to, like opening one up, unloading the film roll and reloading it with a brand new film roll.
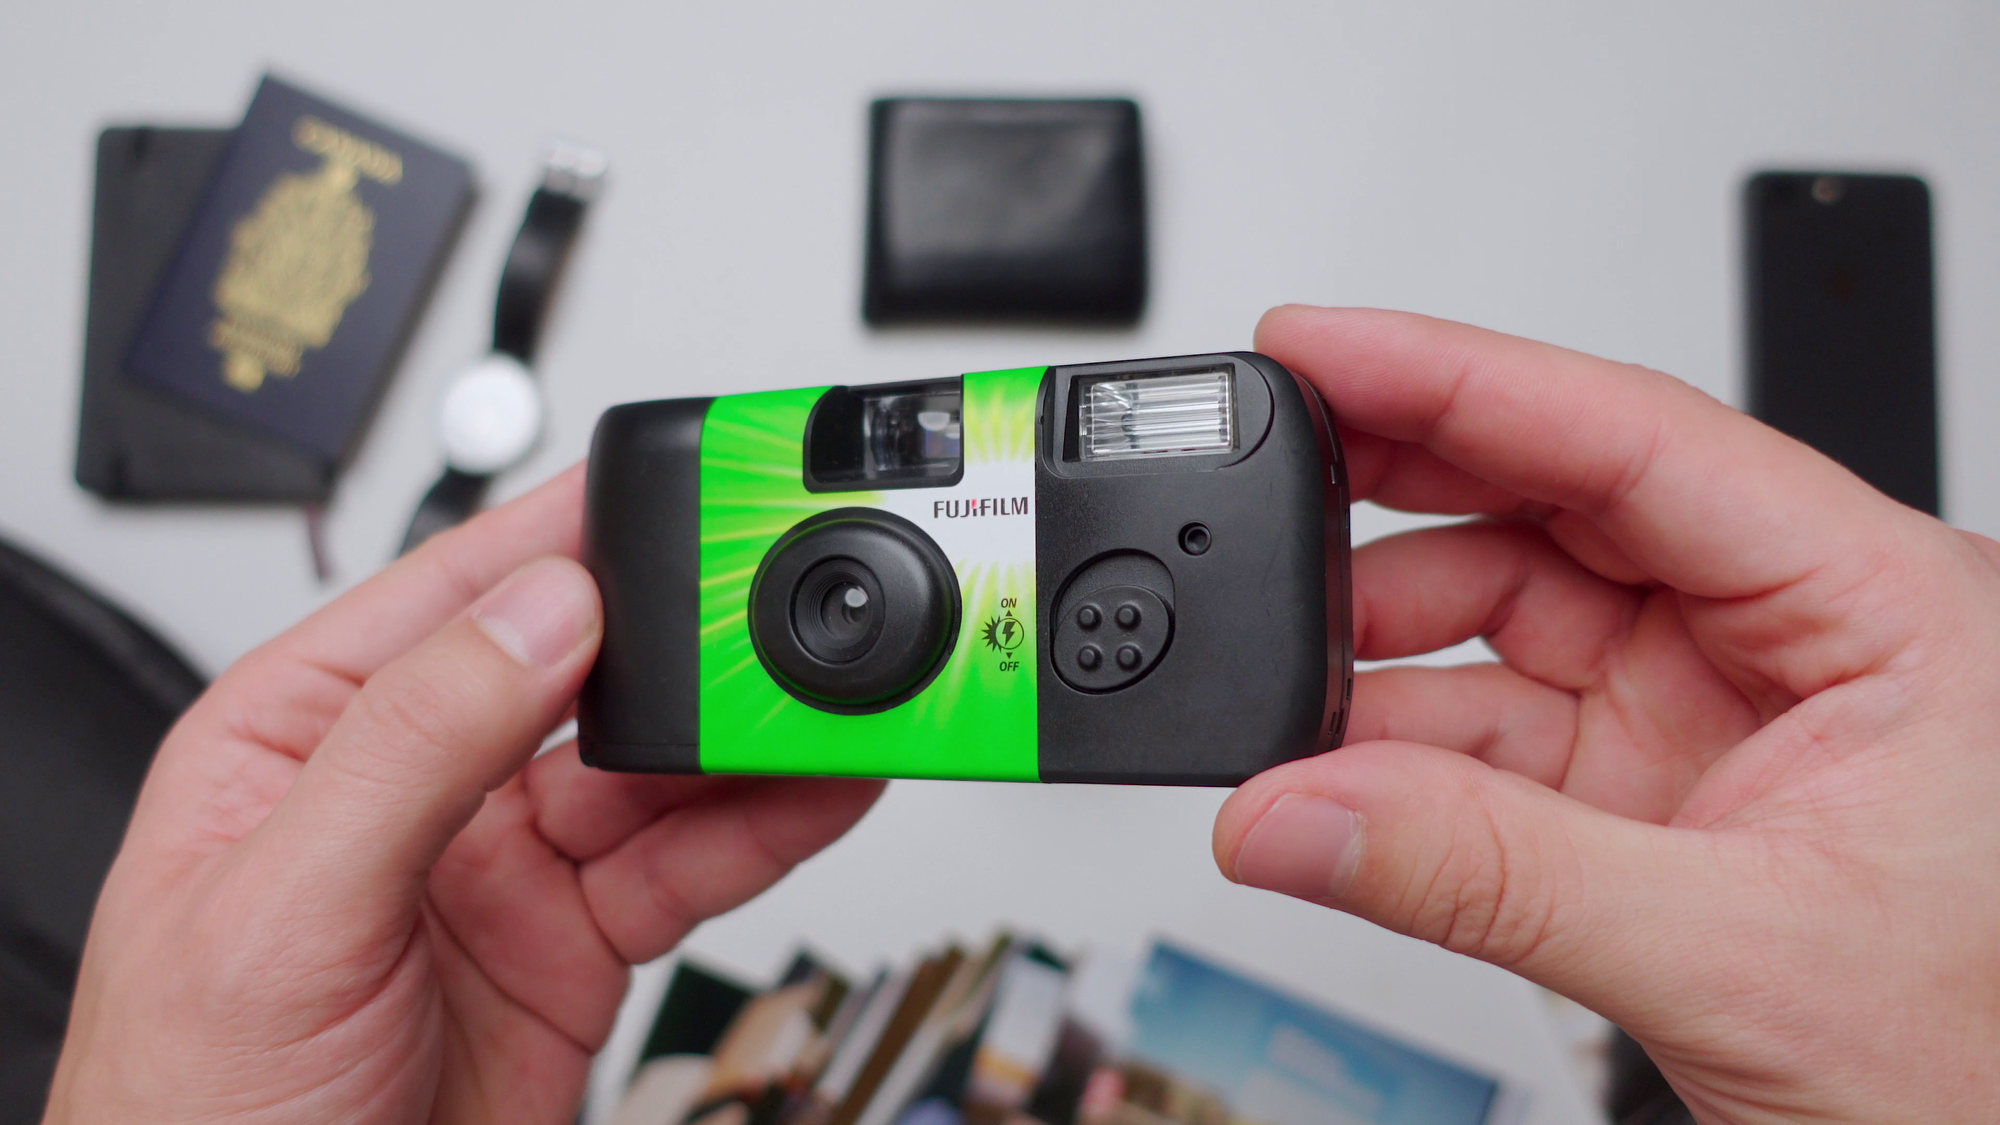
The Fujifilm QuickSnap 400
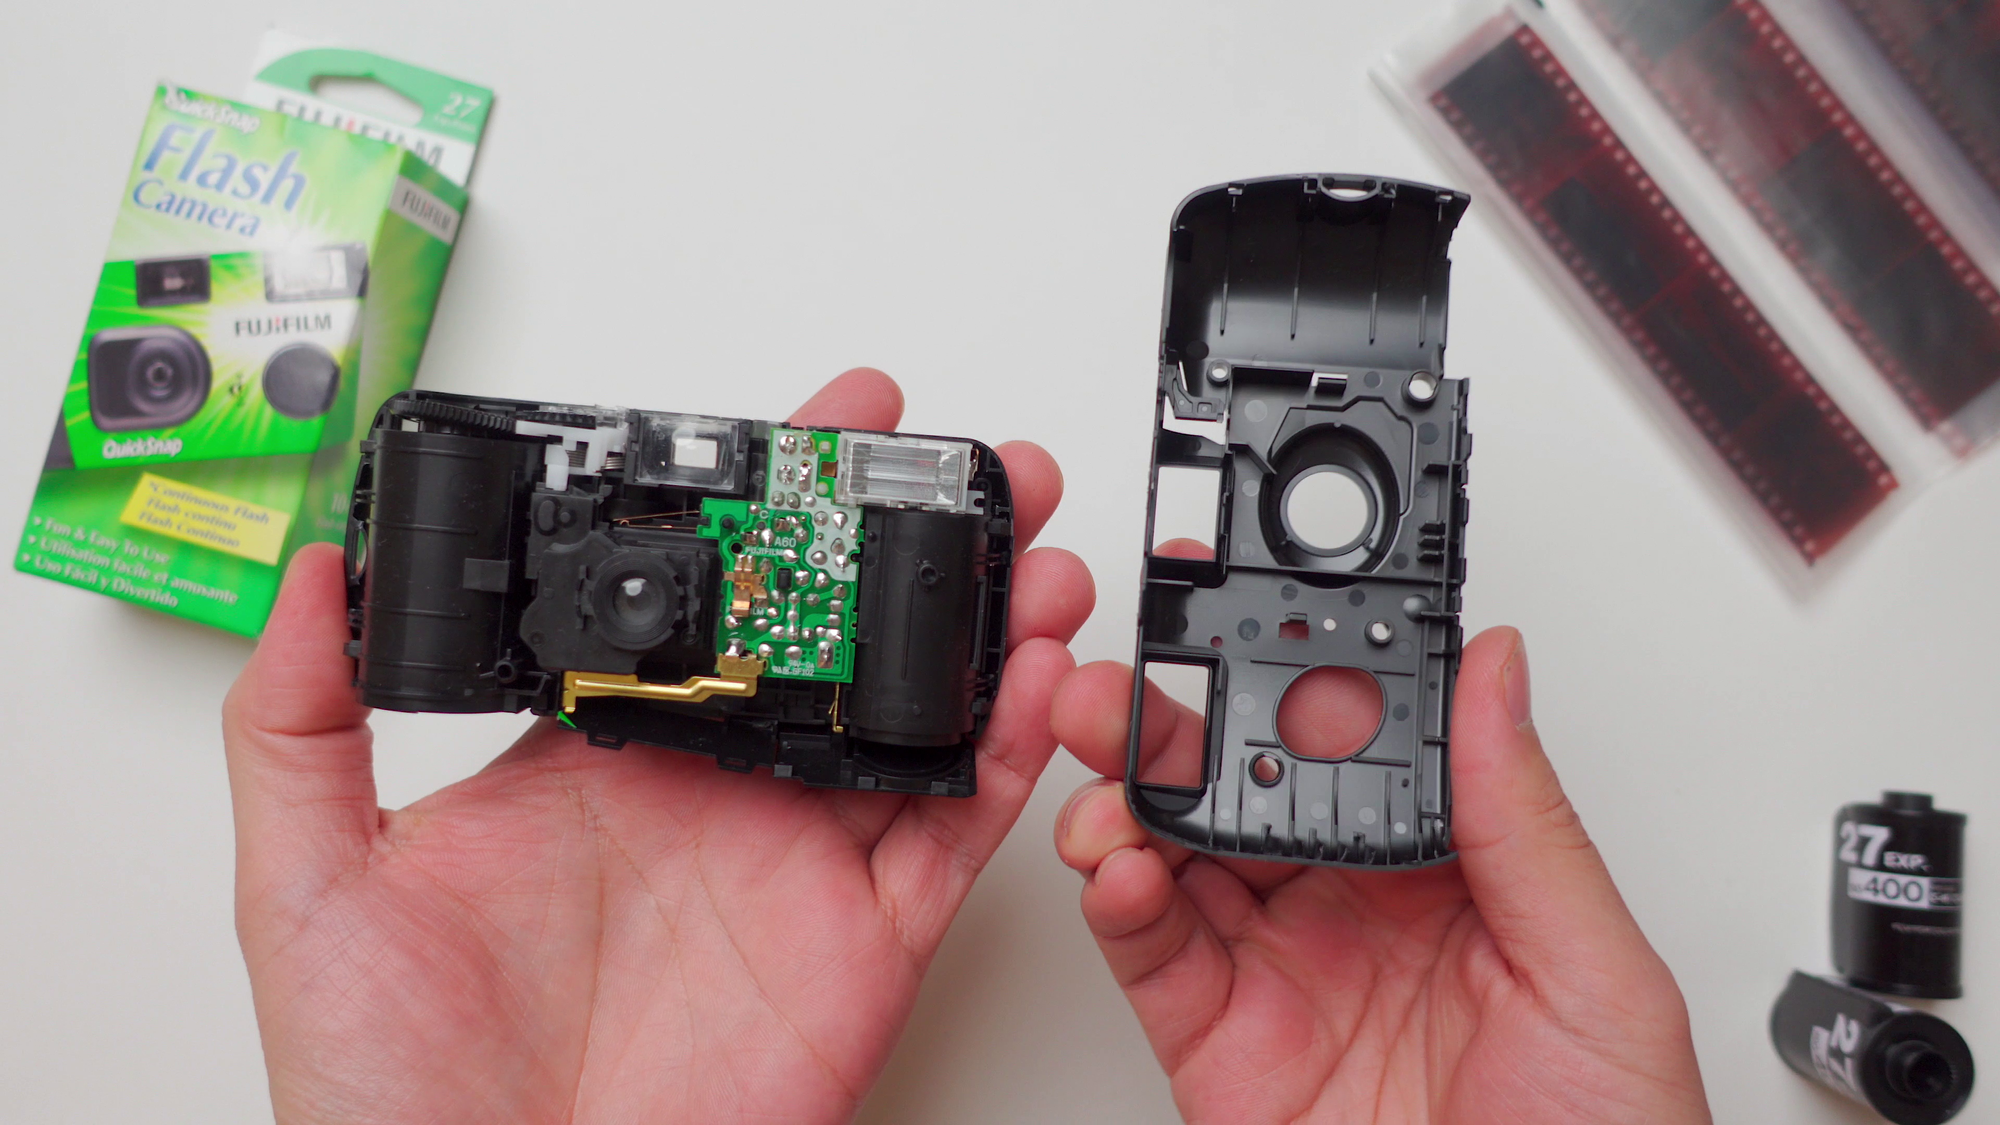
Some cameras, like the Fujifilm QuickSnap 400 are a bit difficult to open, at least for casual users that don't have experience with film, and don't want to waste time, which makes it a lot more complicated to reload, especially if you intend to do that somewhat frequently.
When choosing a disposable camera, people normally choose one because of the actual film that's in it, not because of the physical shape or aesthetic of this piece of plastic. However, if you already know that you will be reloading the camera and reusing it frequently, then, unfortunately, you will have to consider what camera is just simple to open up and reload.
And for some of you, people starting out or inexperienced with film, the ease of operation and reloading might even be more important than the actual film roll that you are using. So keep that in mind.
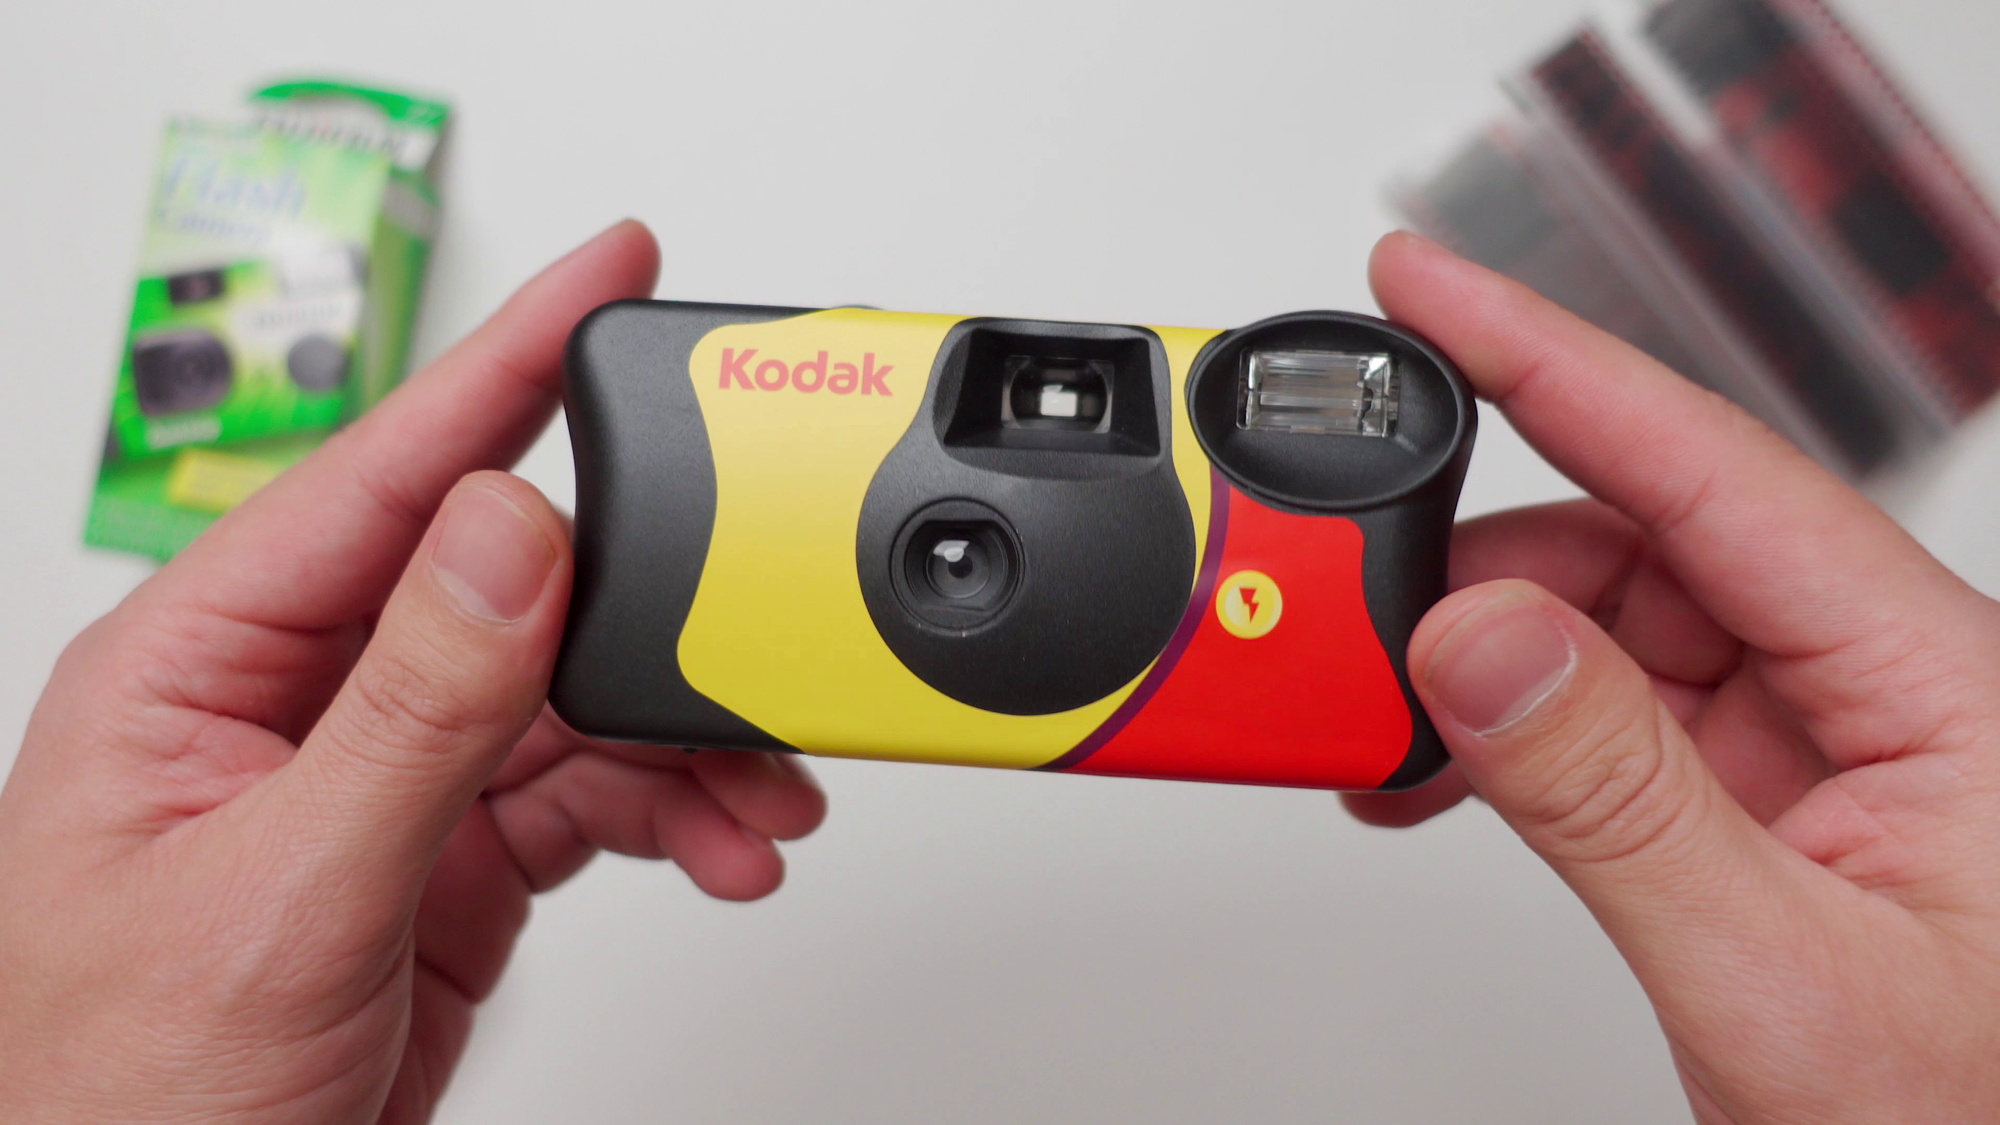
The Kodak FunSaver
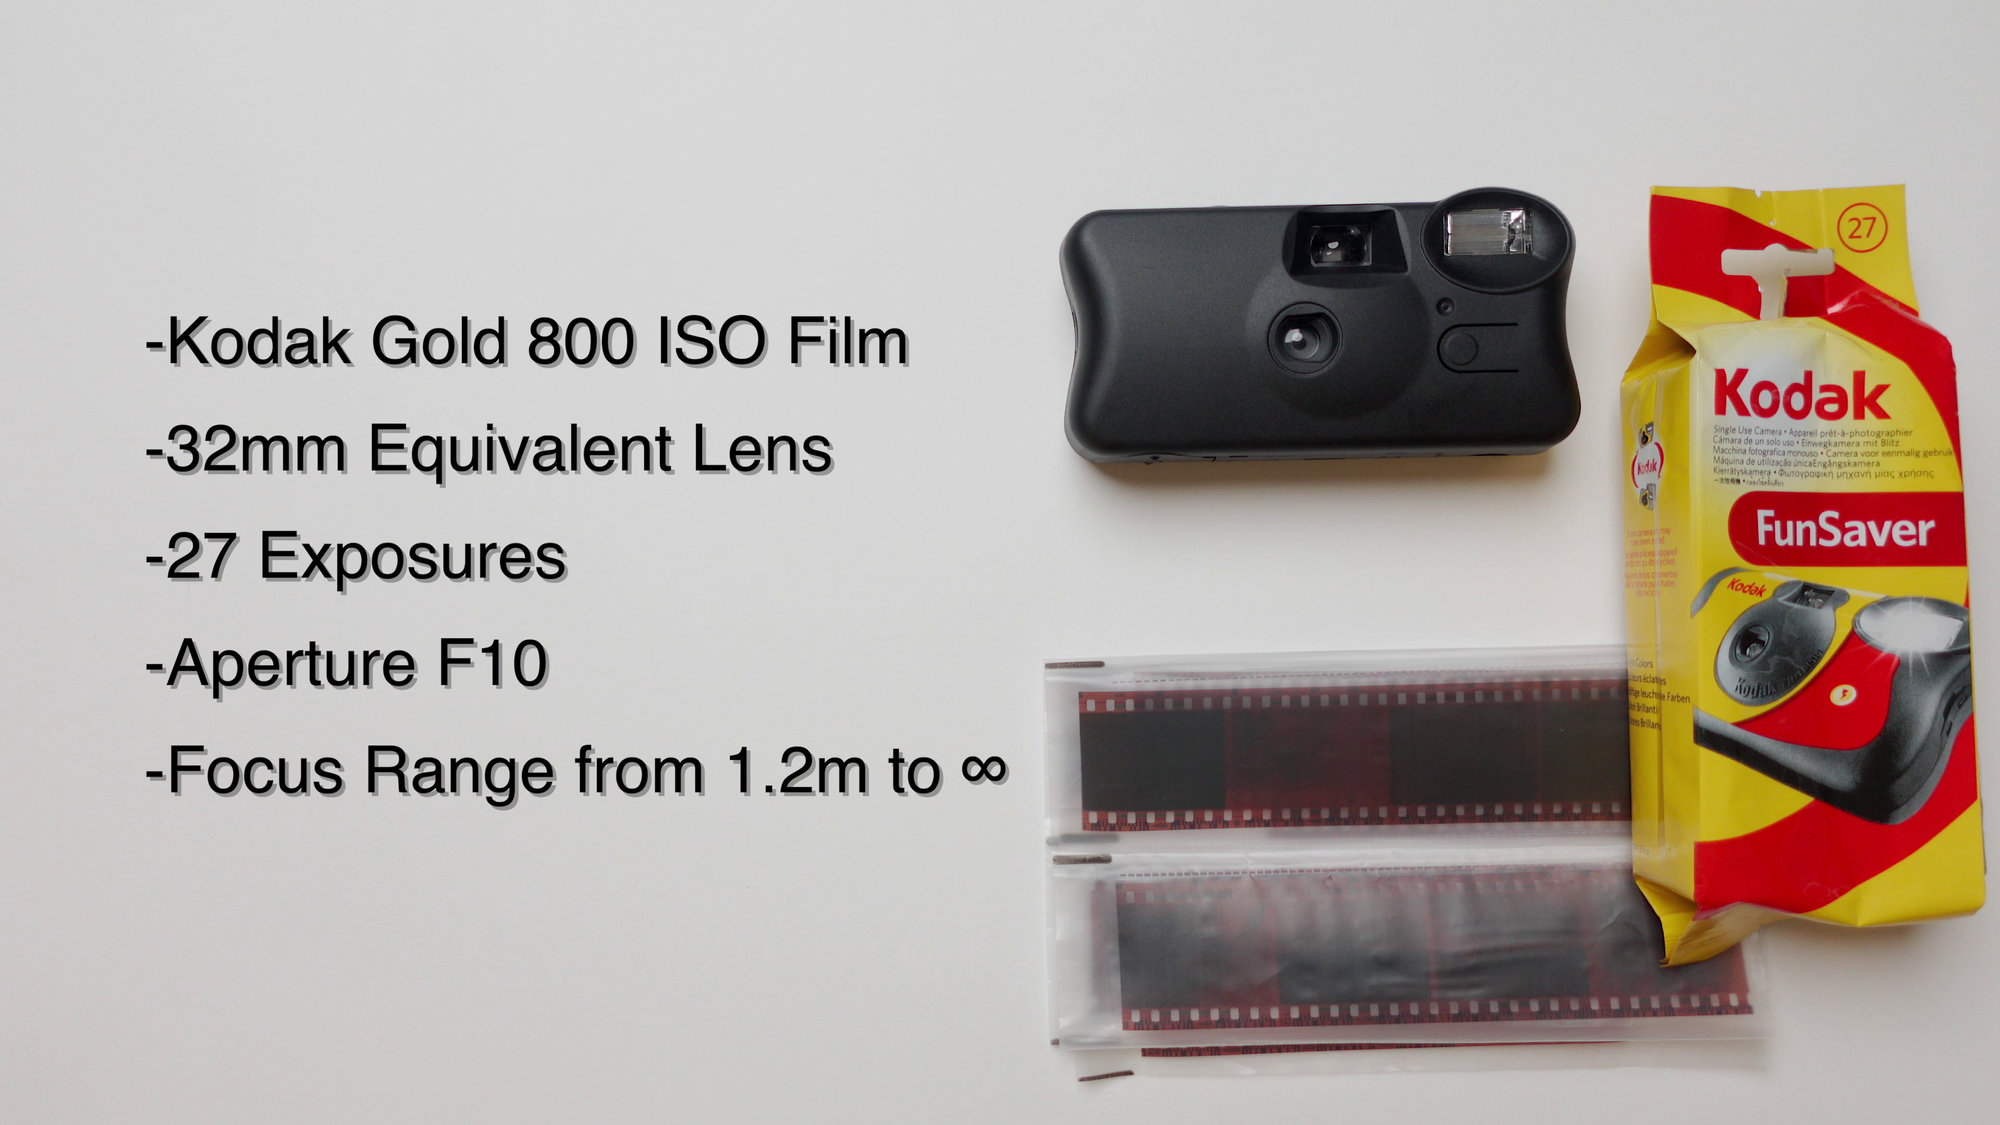
This disposable camera comes preloaded with Kodak gold 800 35mm film and has the same number of exposures as the Fujifilm QuickSnap 400. But the film sensitivity is higher, ISO 800 makes it a bit better for indoor shooting.
But what makes this camera great, is how simple it is to open up, unload the used film, and reload with a brand new roll.
Tools Needed For The Reloading Process
For the most part, it's fairly simple and you don't really need fancy tools. However, you do need to keep in mind that this process is normally done in a photo lab, or what people normally refer to as a Darkroom.
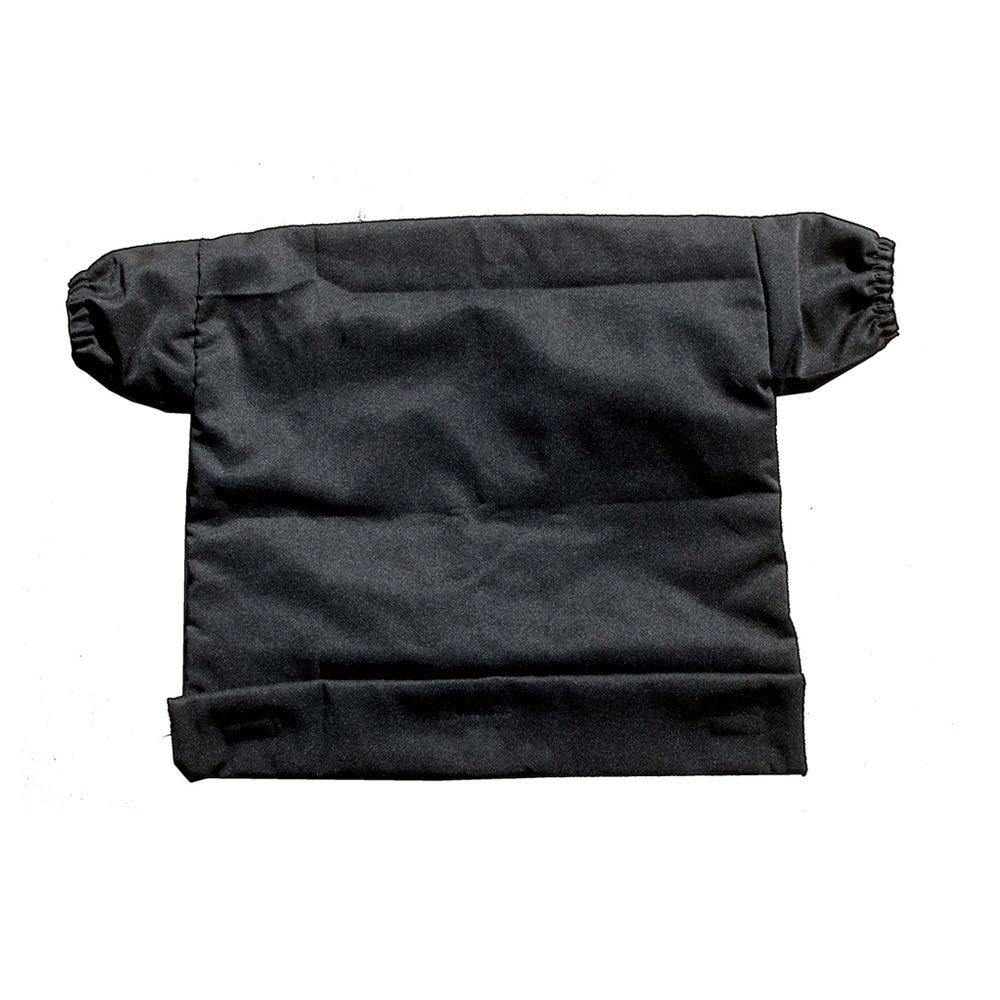
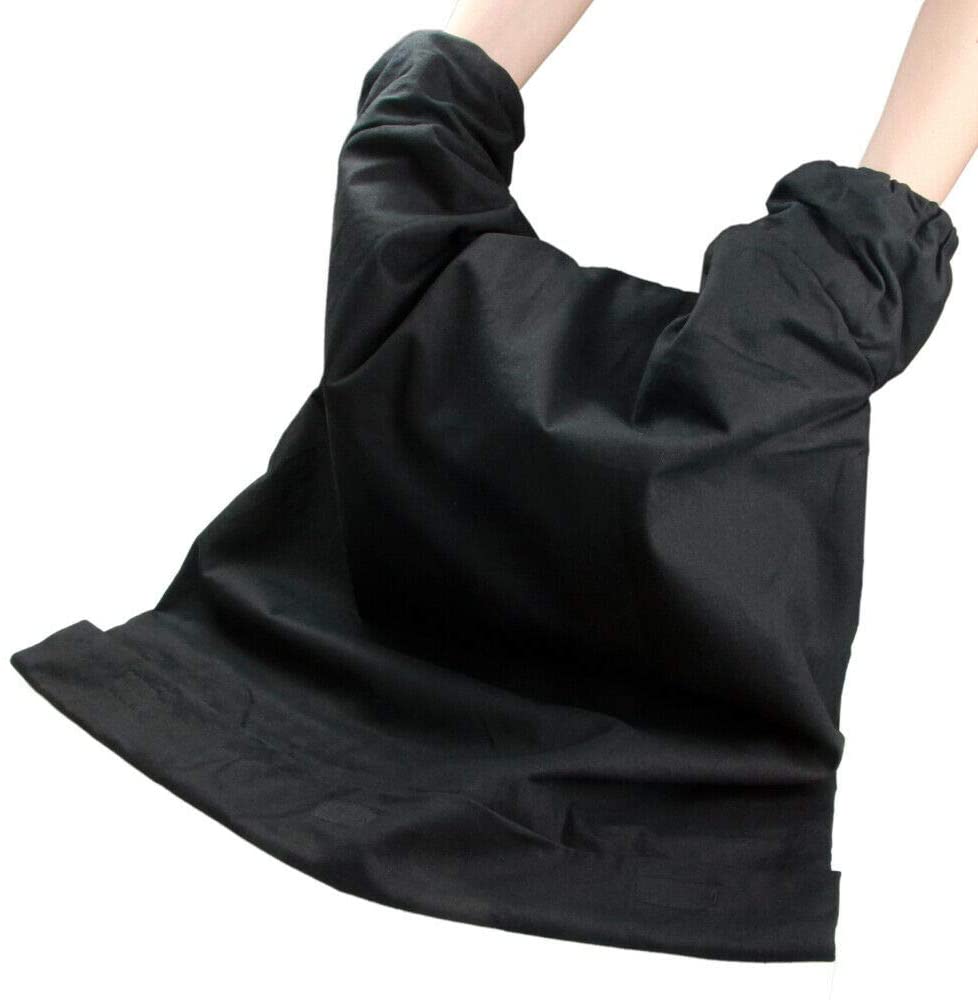
So you need to make sure you have access to a DIY darkroom, this could be a film-changing bag or anything along those lines. This entire process has to be completed inside that bag, or darkroom. Otherwise, you will expose and ruin the film.

You also need a brand new film roll, and some black electrical tape to seal the light leaks, more on this later. And last but not least, any sort of soft prying tool, like a plastic card, in this case, I'm using a Tim Horton's gift card, anything along those lines works.
Update: There is a faster way to reload the camera that does not require a dark room or film changing bag, however, it does require knowledge of the camera. So keep reading this and then jump to the other method, you can check it out here:
Reloading The Disposable Camera
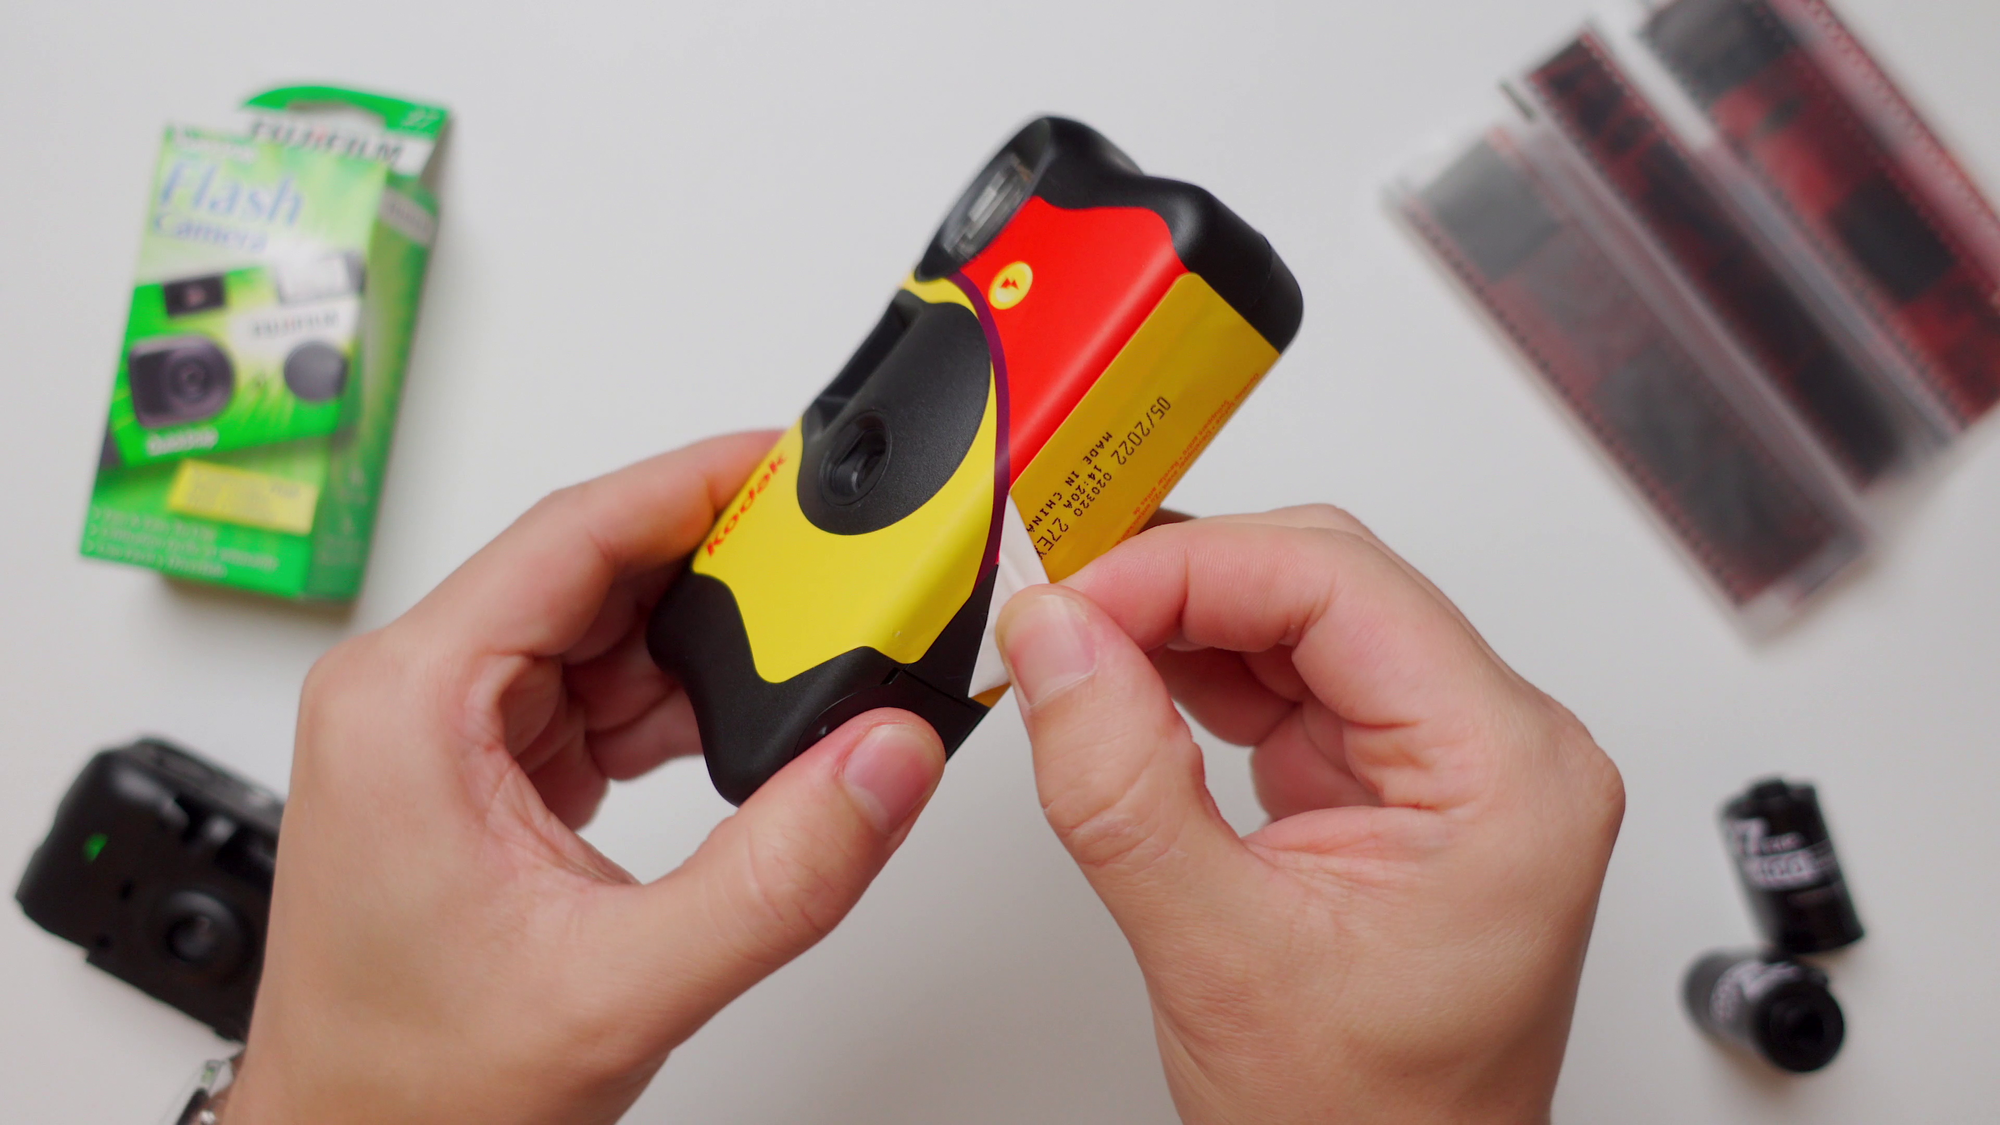
The first step is to remove the branding sticker, as the sticker helps keep the camera sealed. Start peeling it from the bottom, until you remove the entire back sticker. You can keep the front sticker if you'd like for whatever reason, it's up to you.
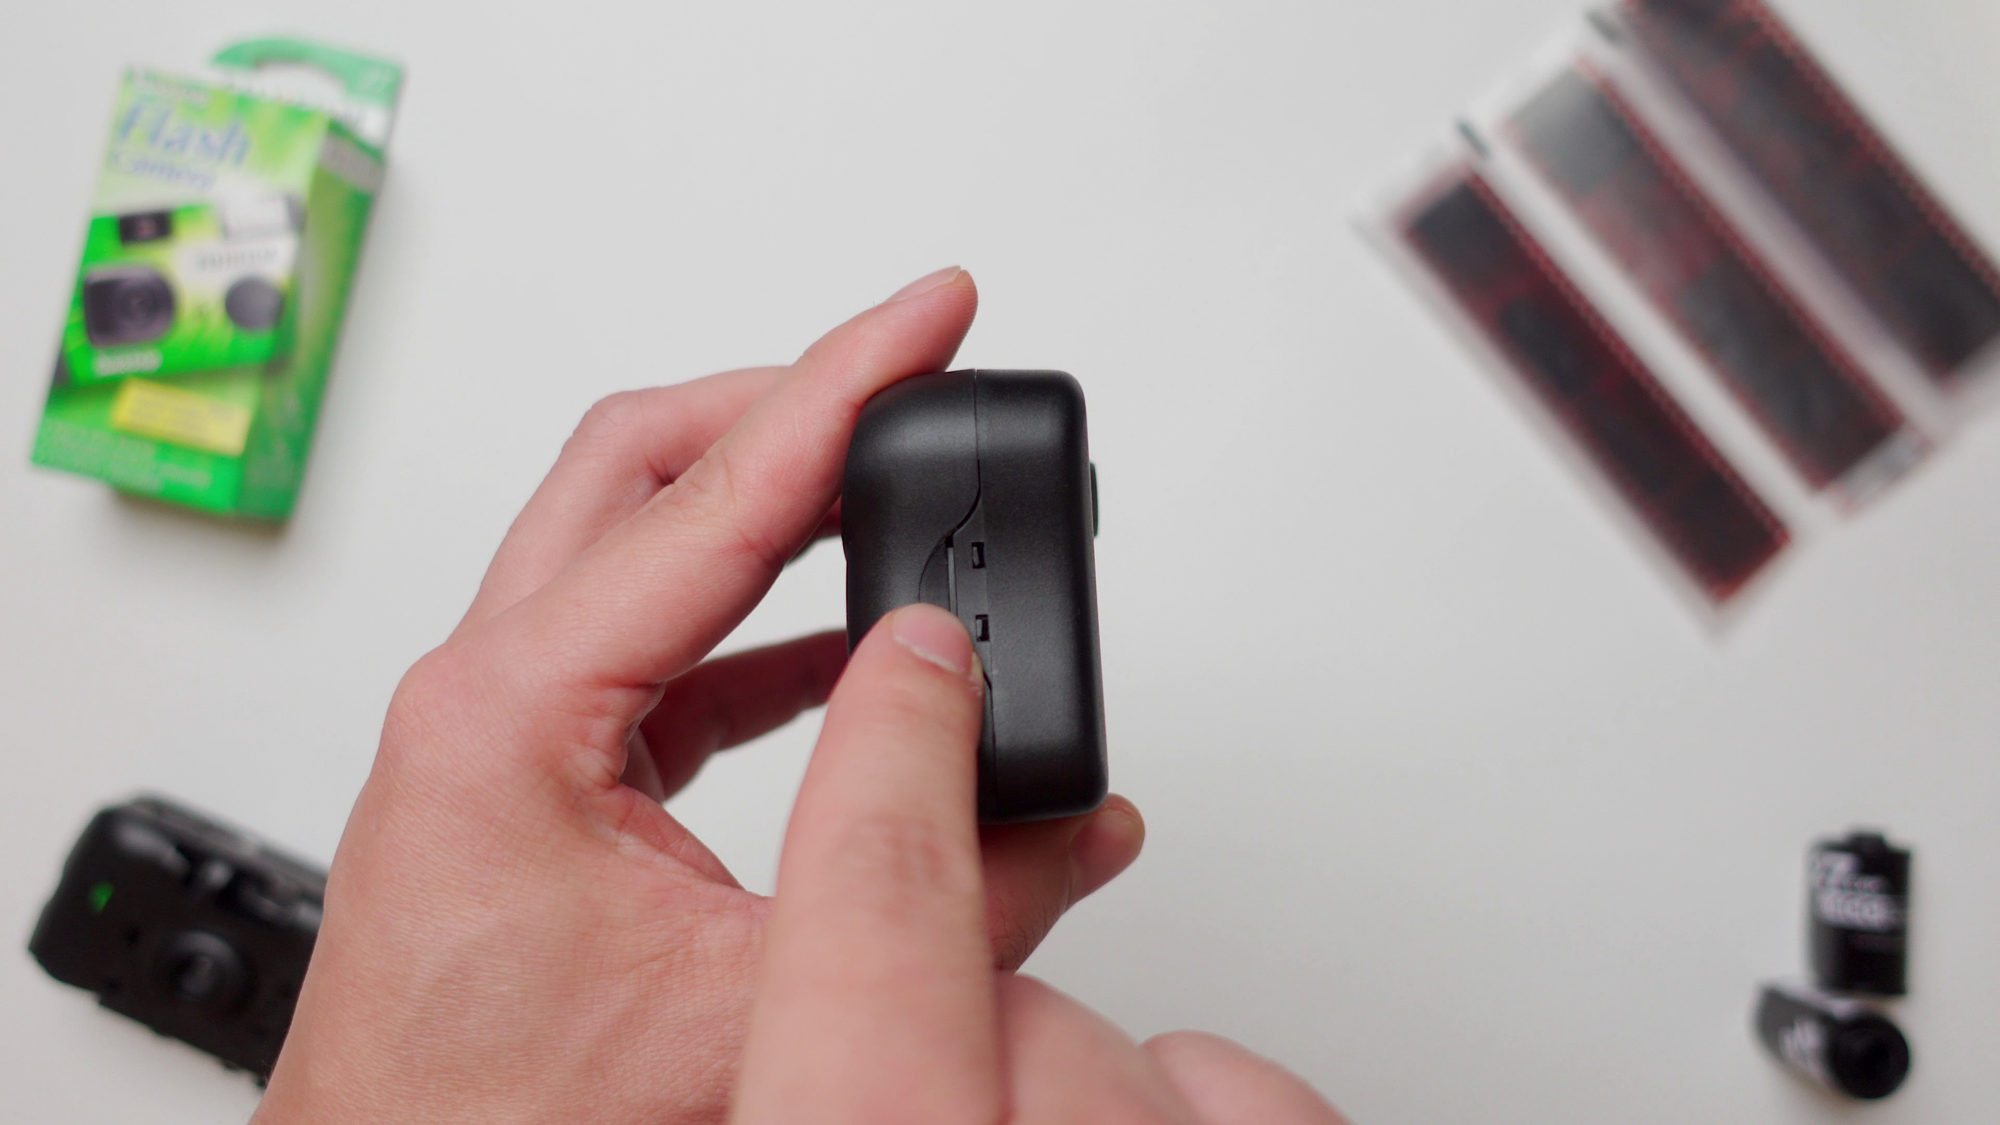
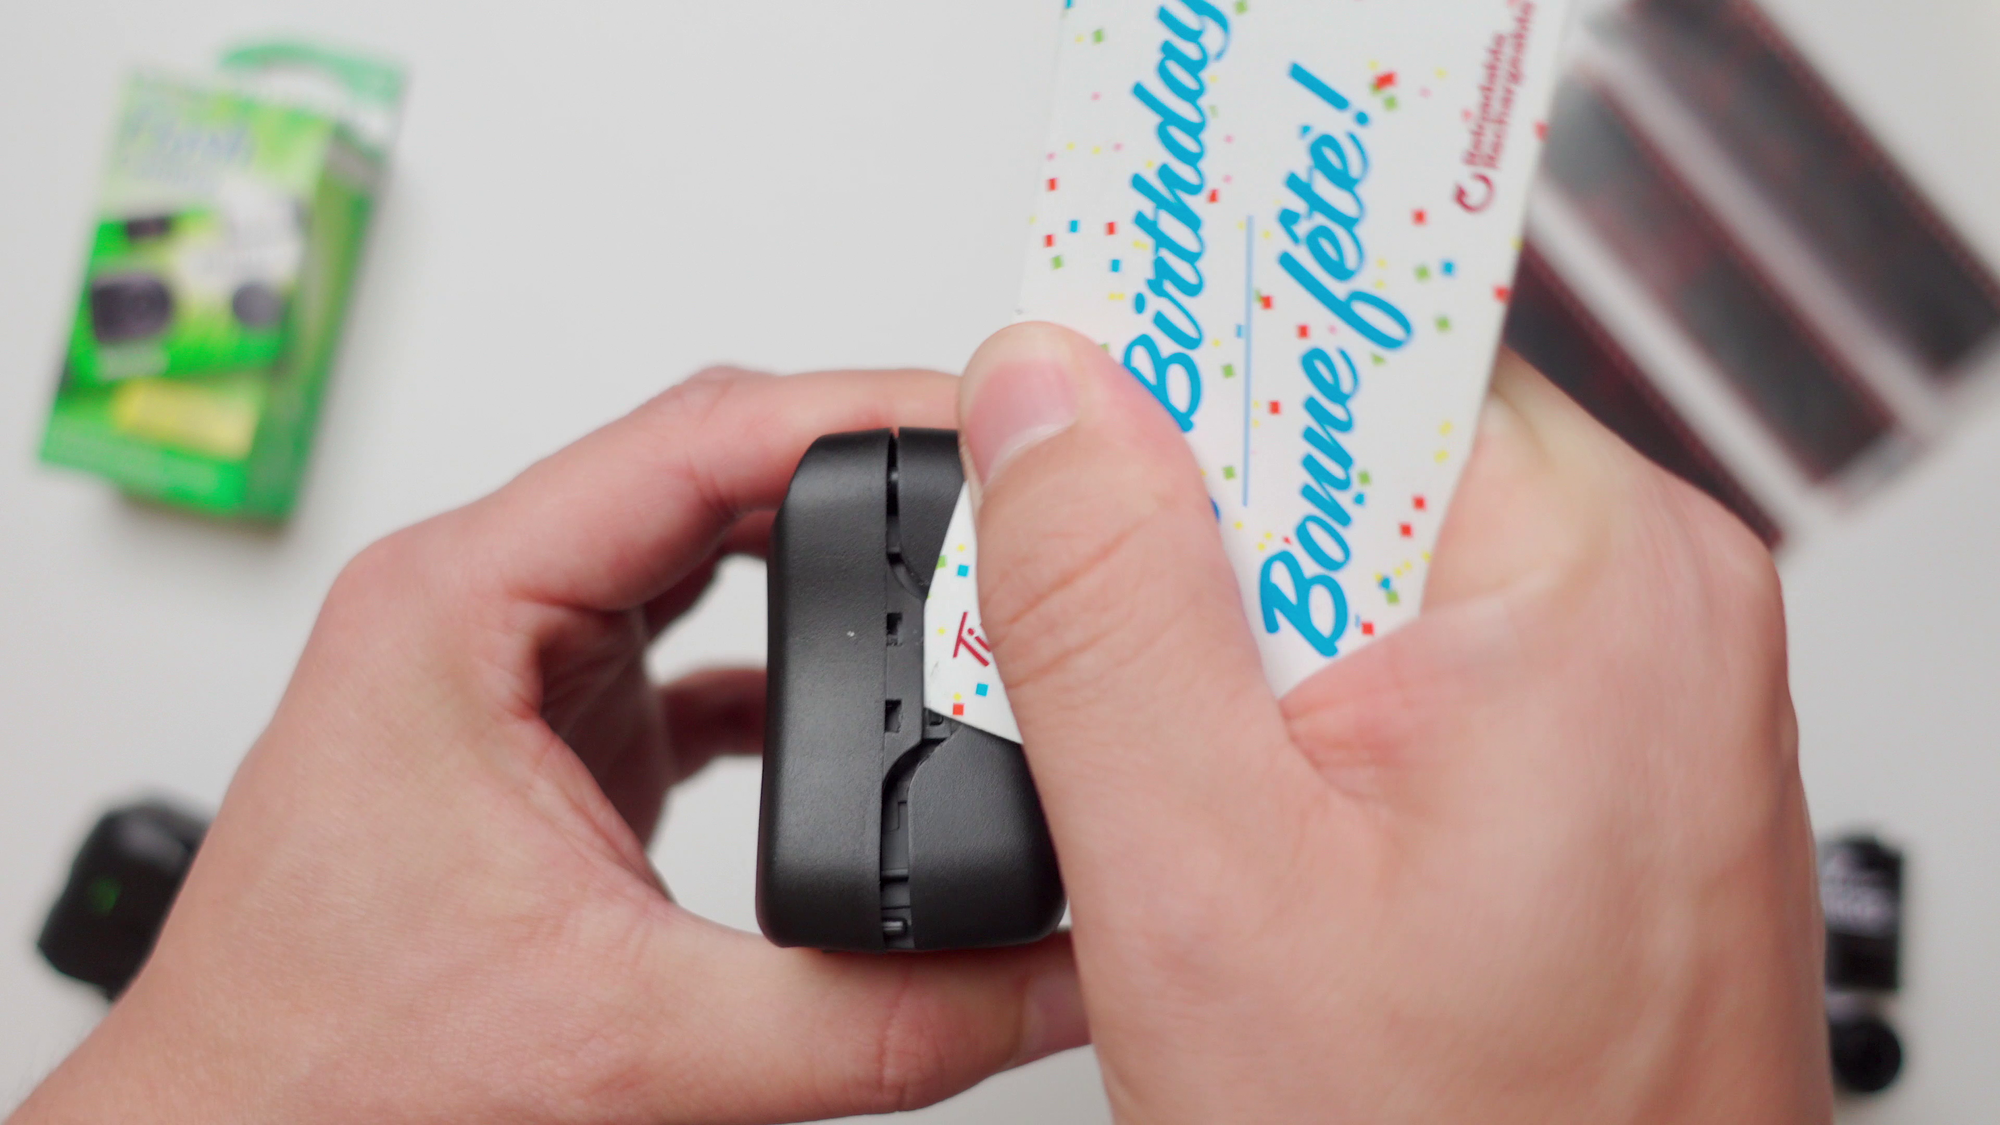
Take your prying tool of choice, and start opening the tabs on both sides, once you’ve opened both of the sides, then move to the one at the bottom.
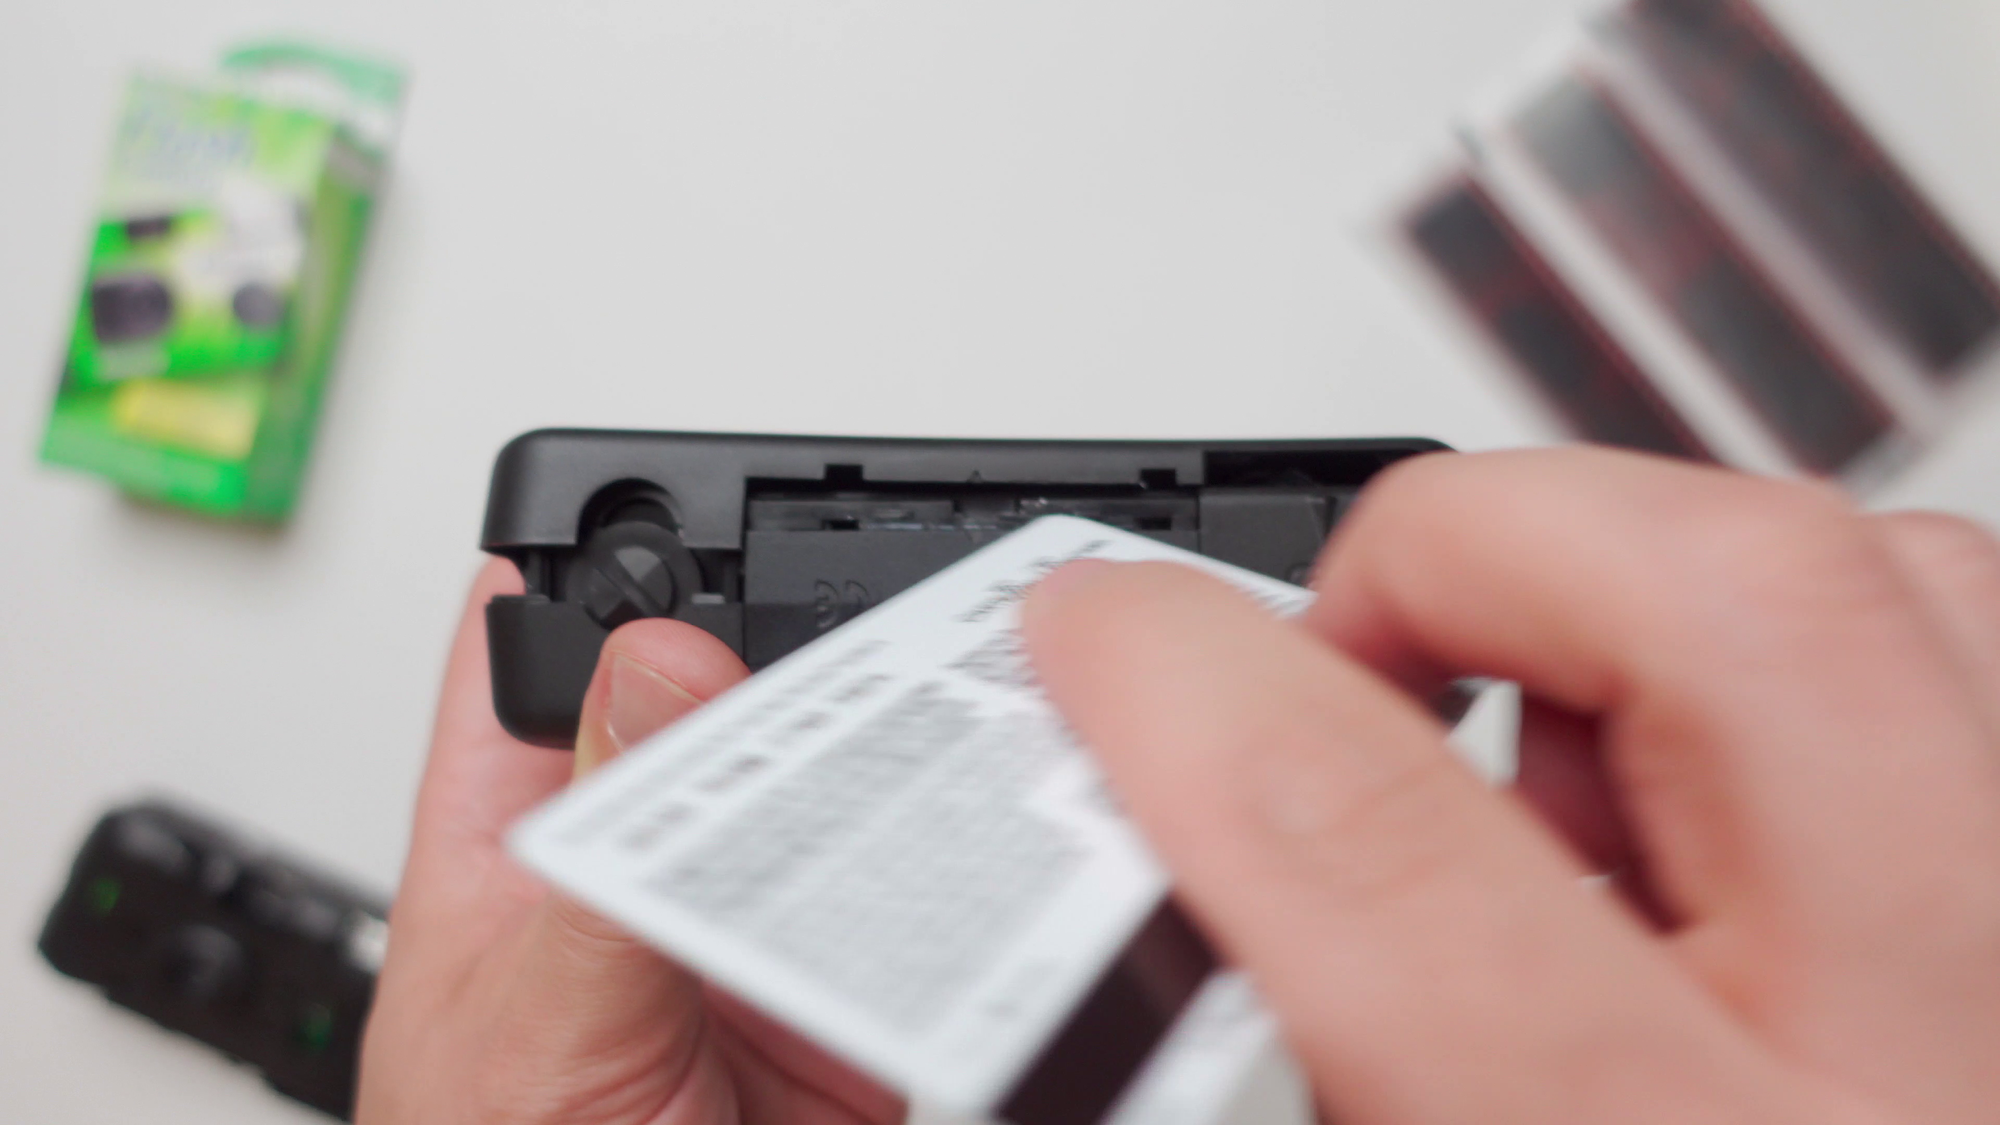
Don’t force it too hard, these are just plastic tabs, and don't require much force. To protect the small locking tab located at the very top of the camera we'll have to open the cameras from the bottom, like this:
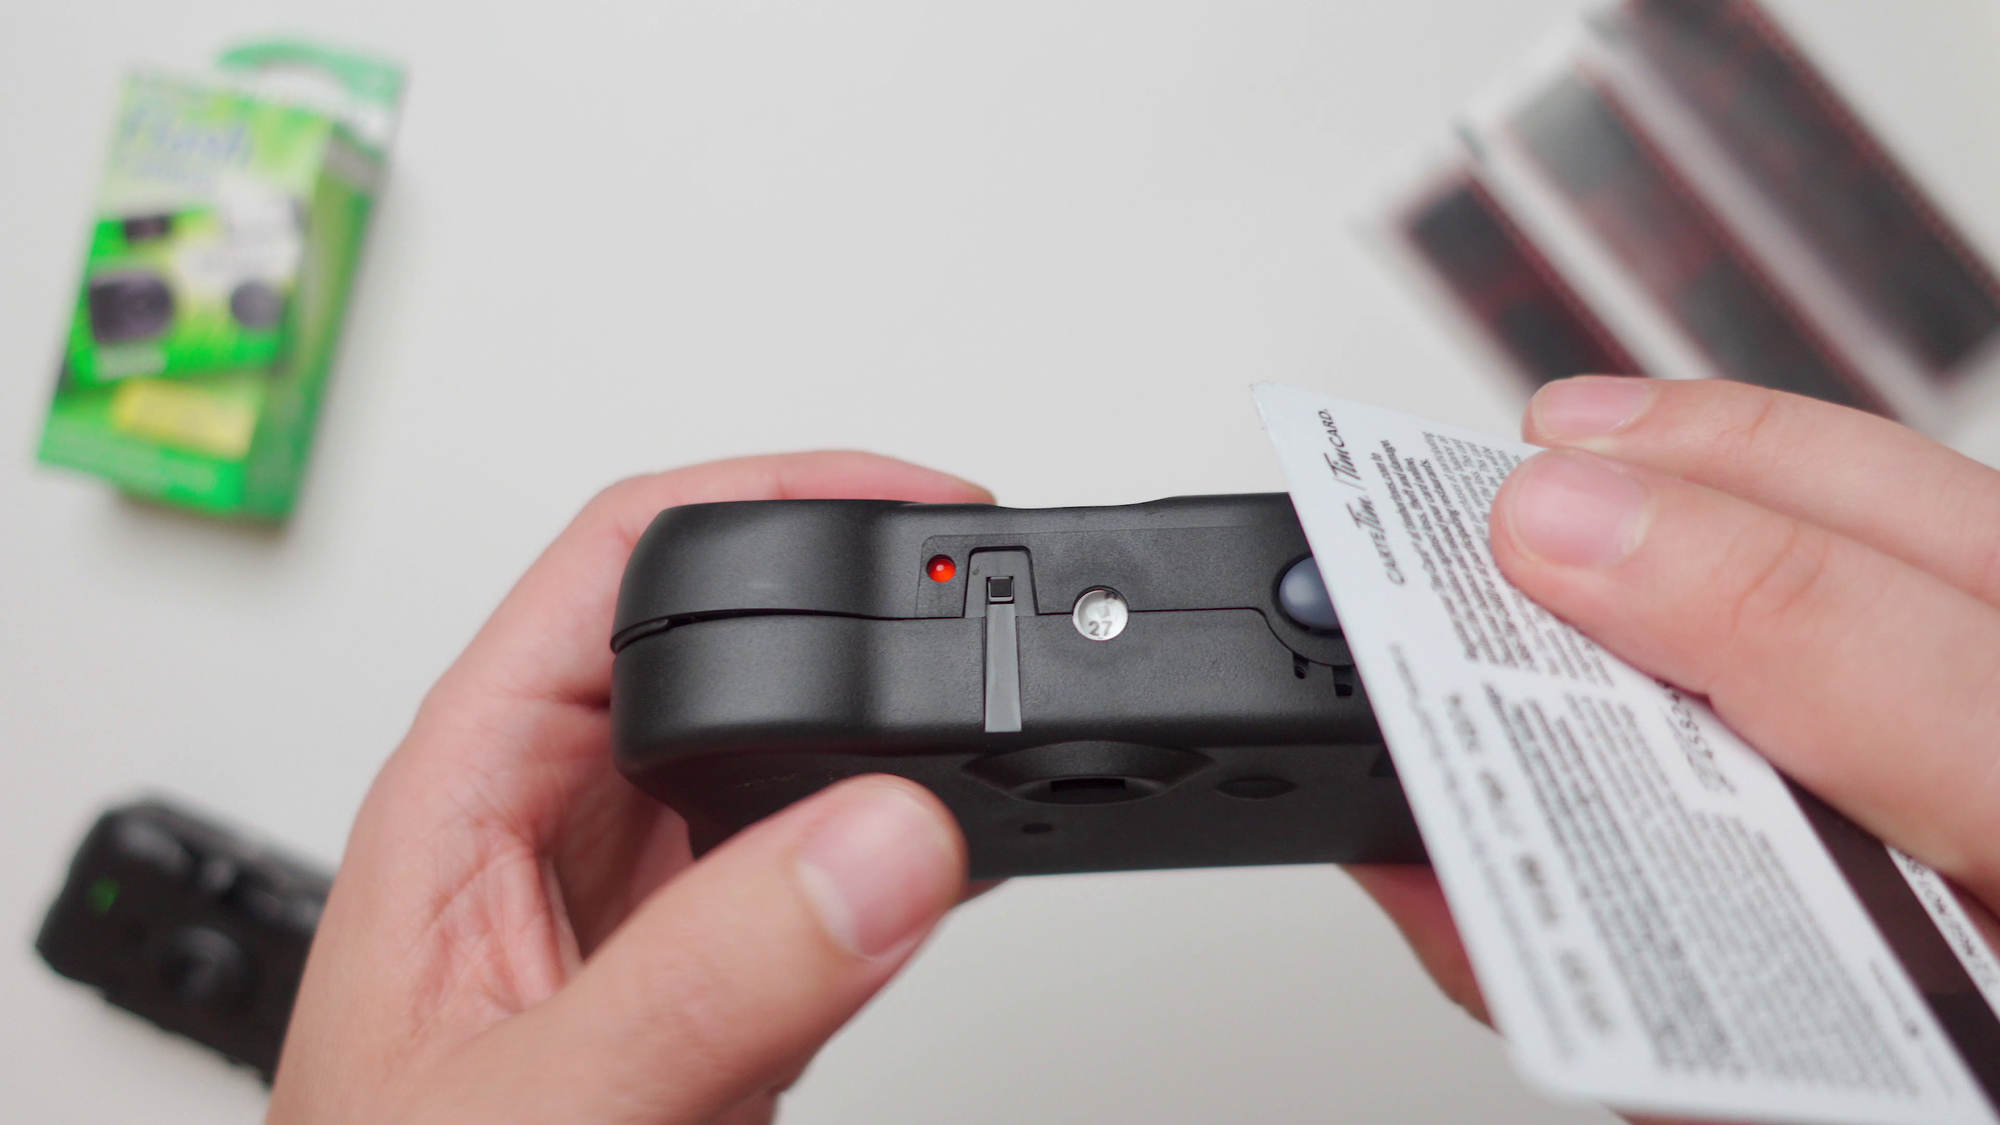
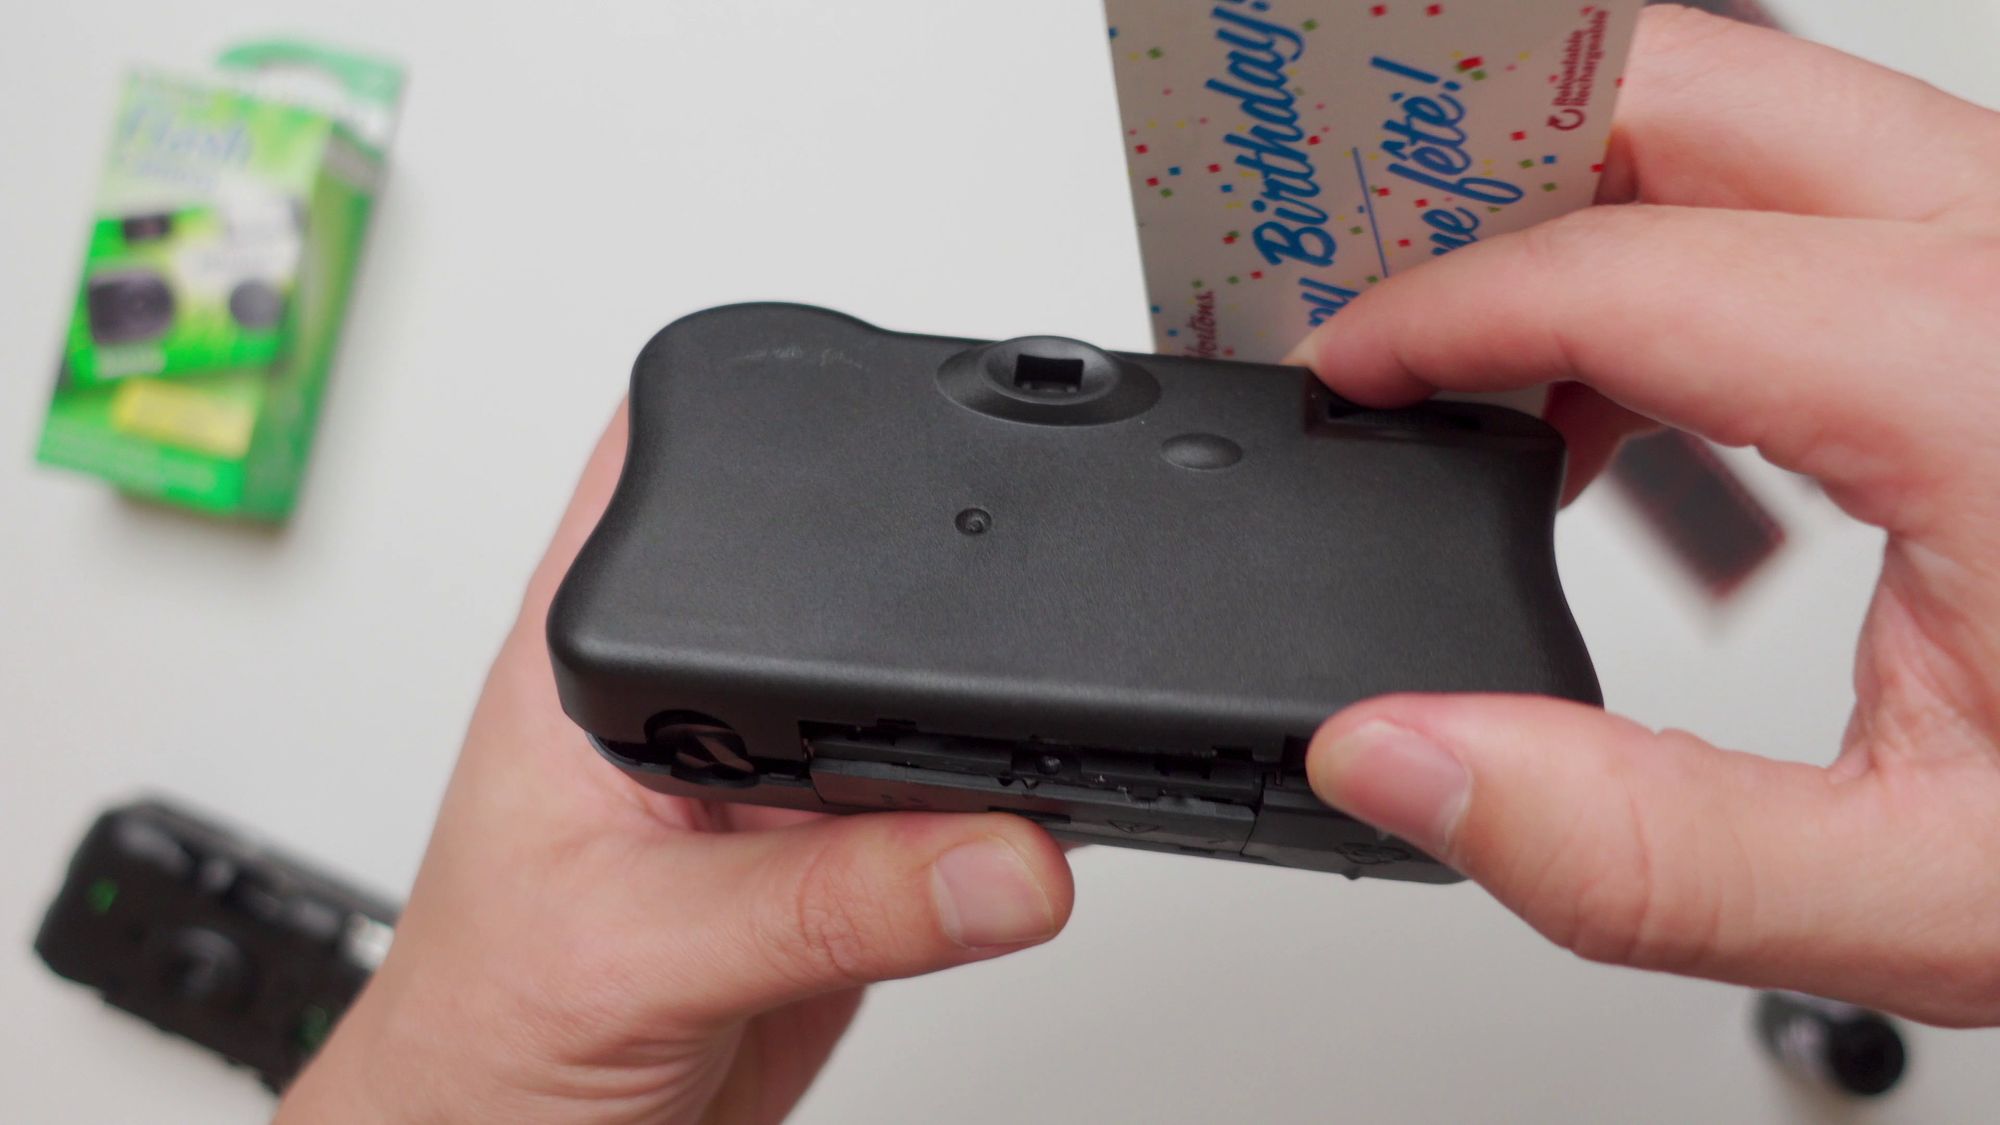
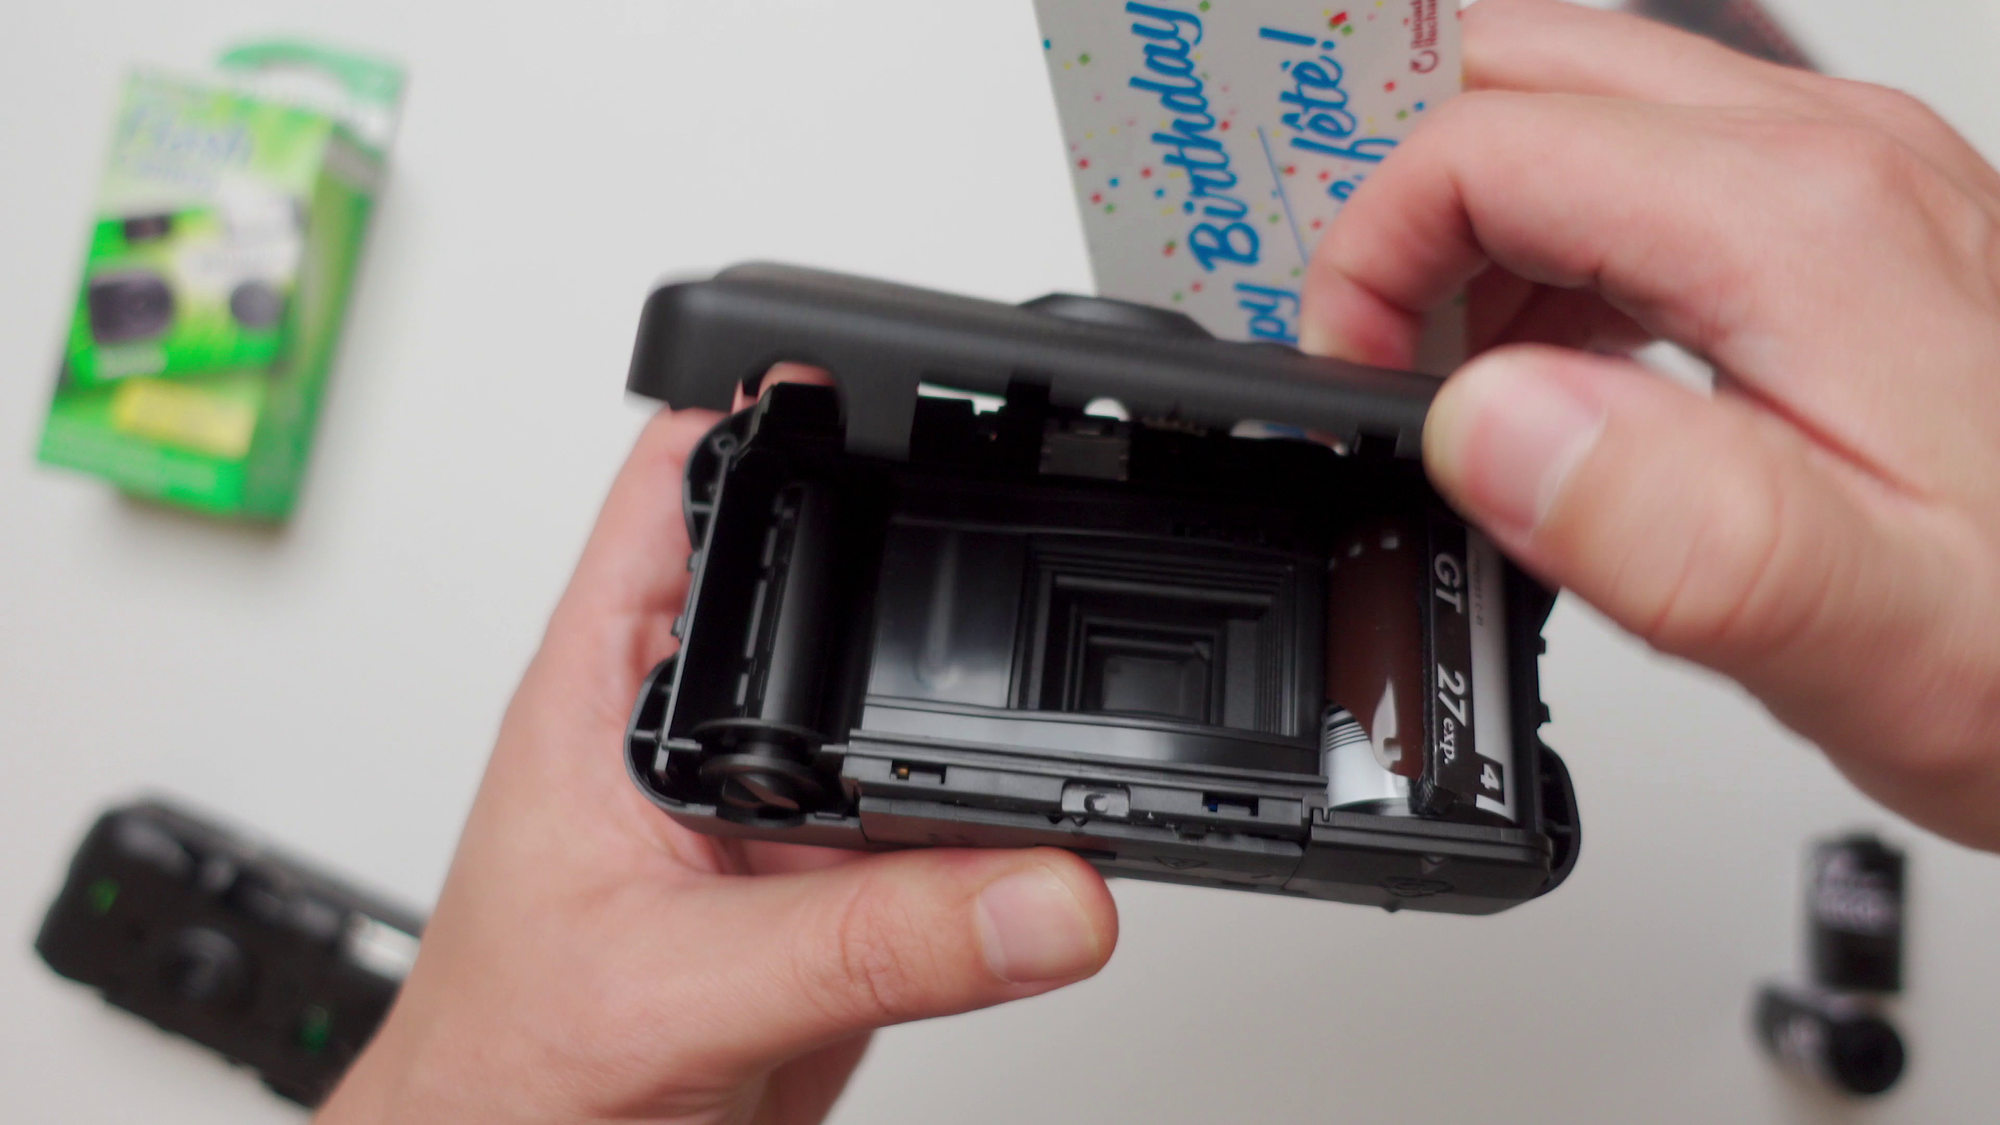
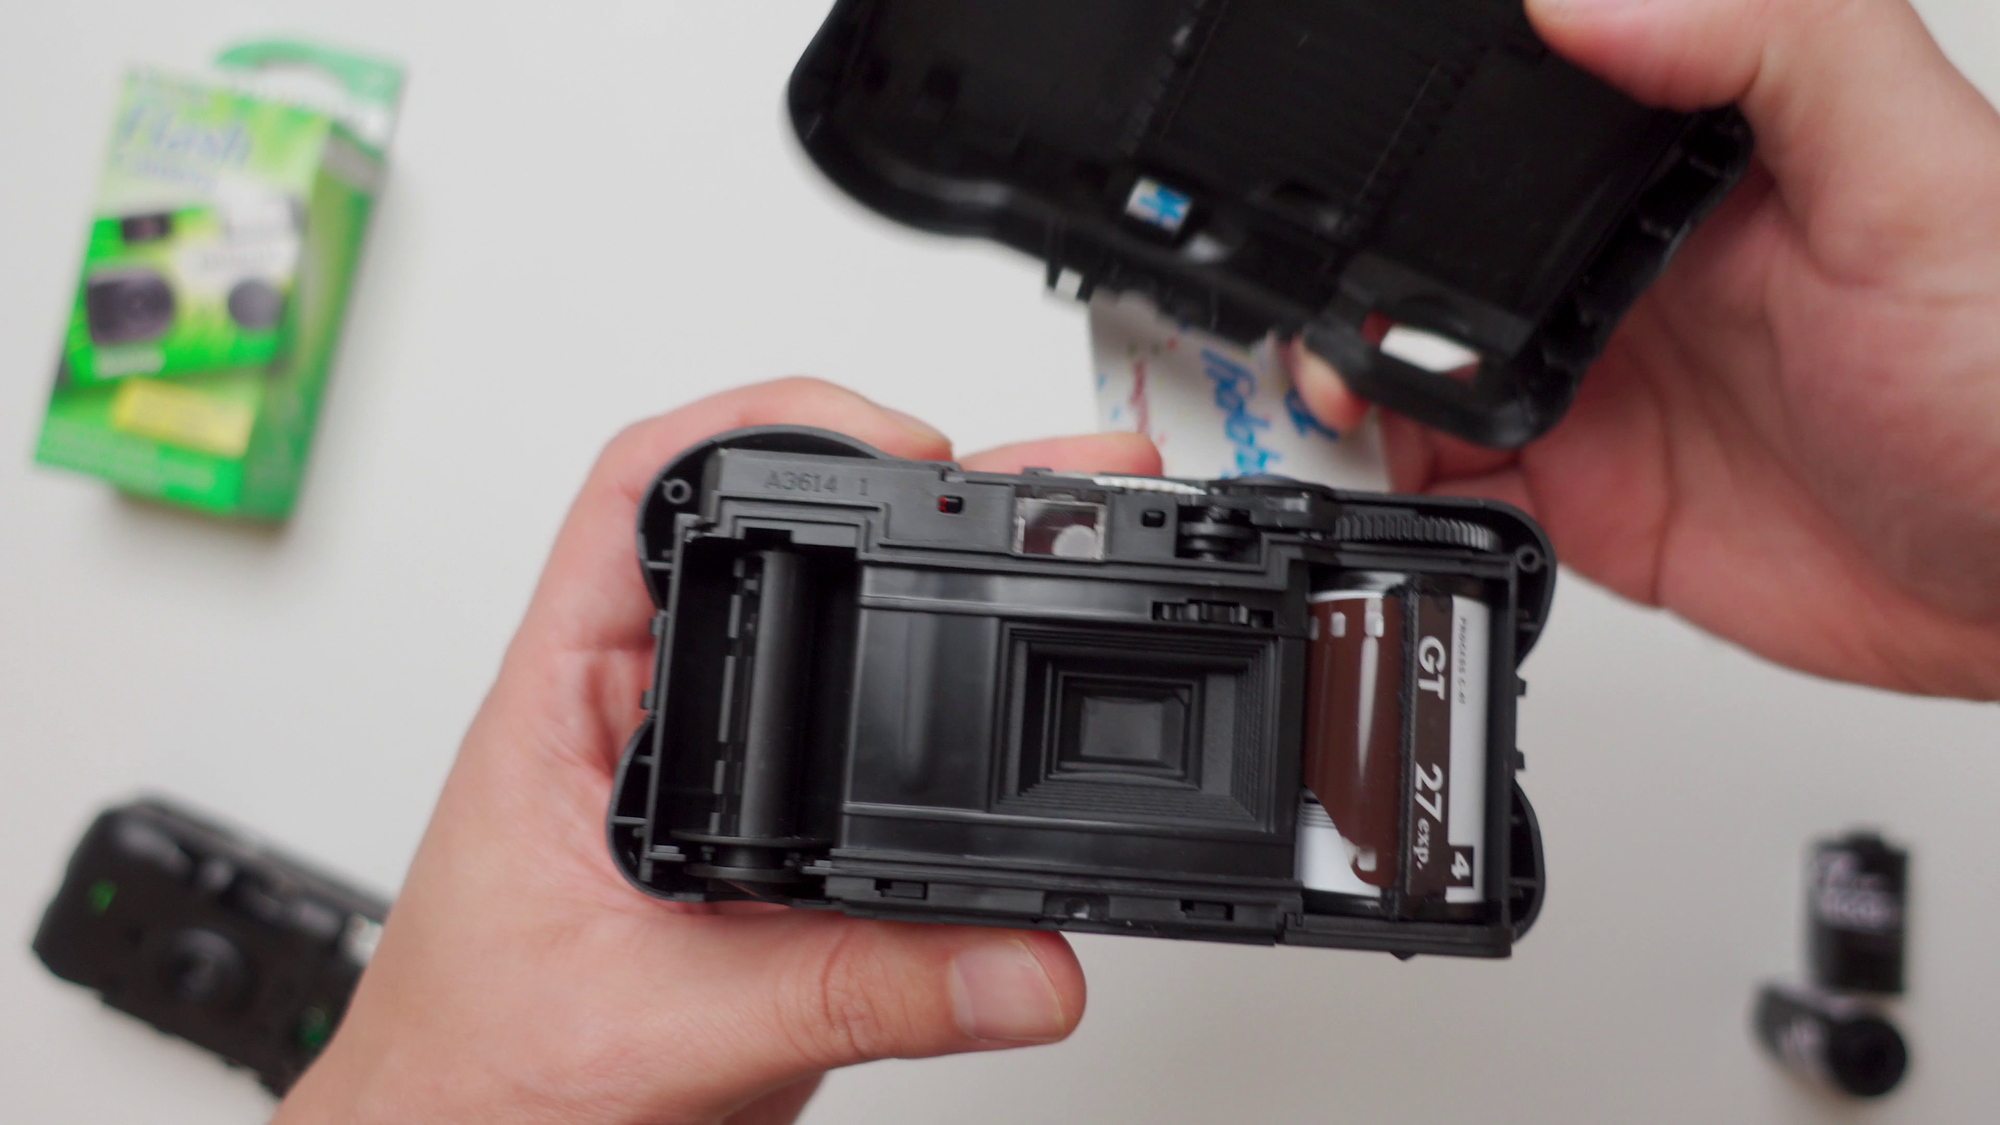
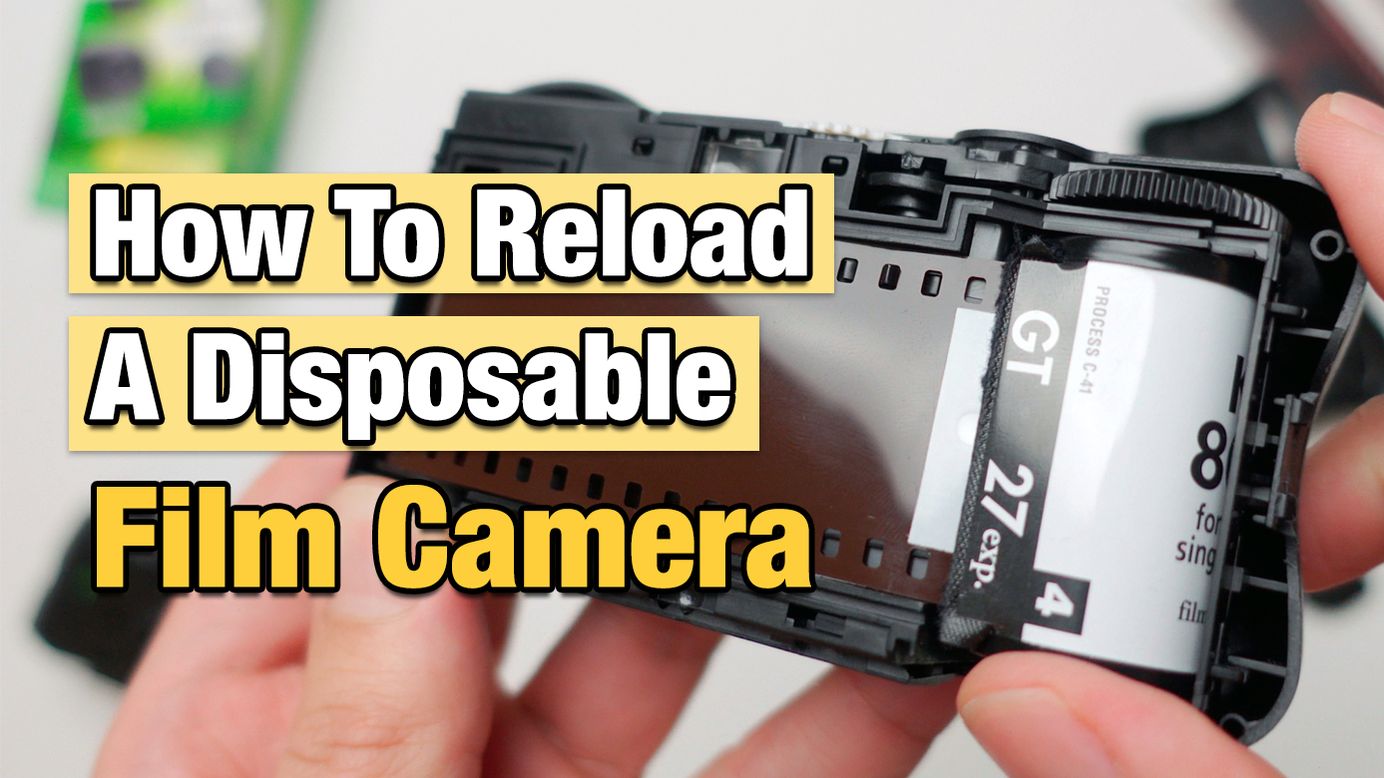
Once we remove the backside then we reveal the interior of the camera, the completed film roll is located on the right side, you can go ahead and remove it.
YouTube Video Guide
From here on, it gets a bit complicated to describe in images, so I highly recommend you watch the YouTube video and follow the steps on how to do it.
This is a summary of my YouTube Video Review, you can watch the whole piece here:
Also, as I mentioned before, here's the second post with a faster way to do it, but it's more complicated:


