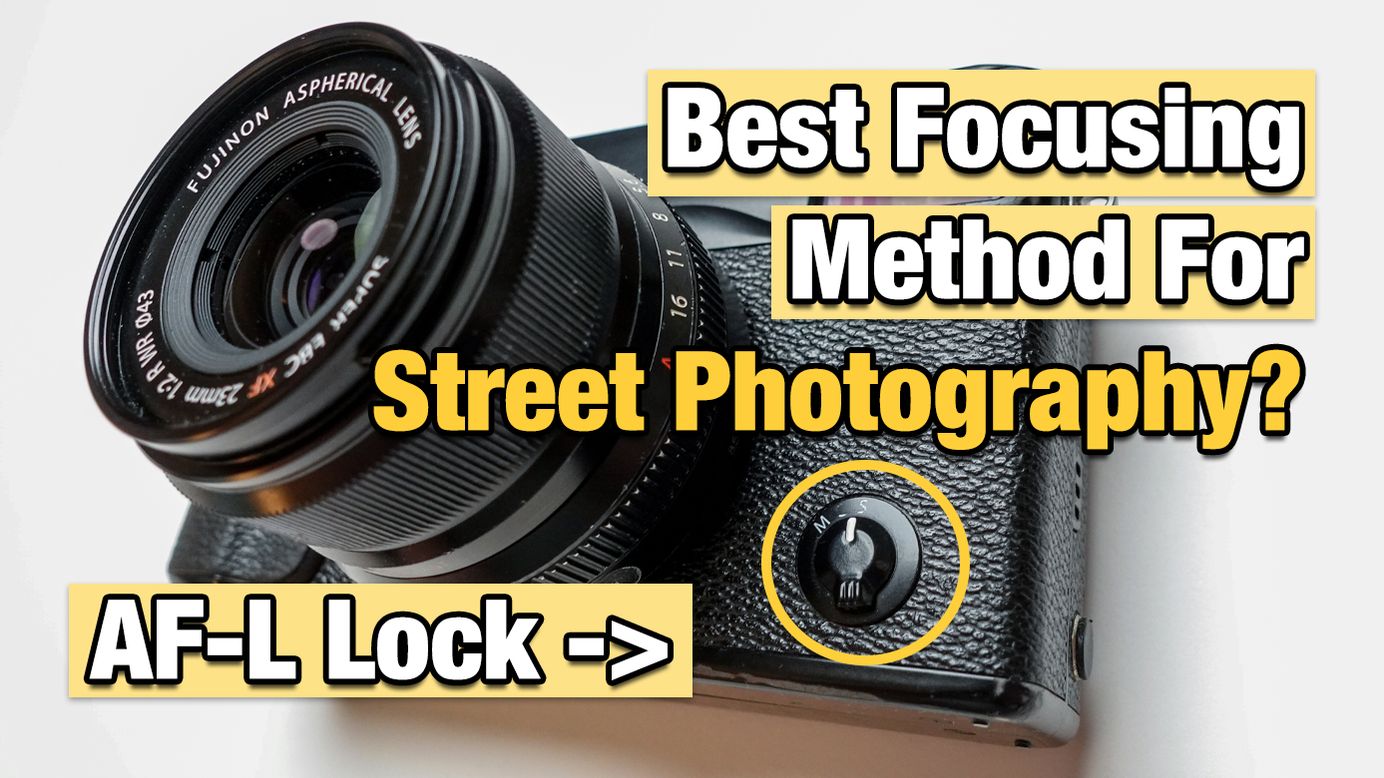
Fujifilm X-Pro1 Back-button Focusing (AF-L)
Best Focusing Method For Street Photography.
Table of Contents
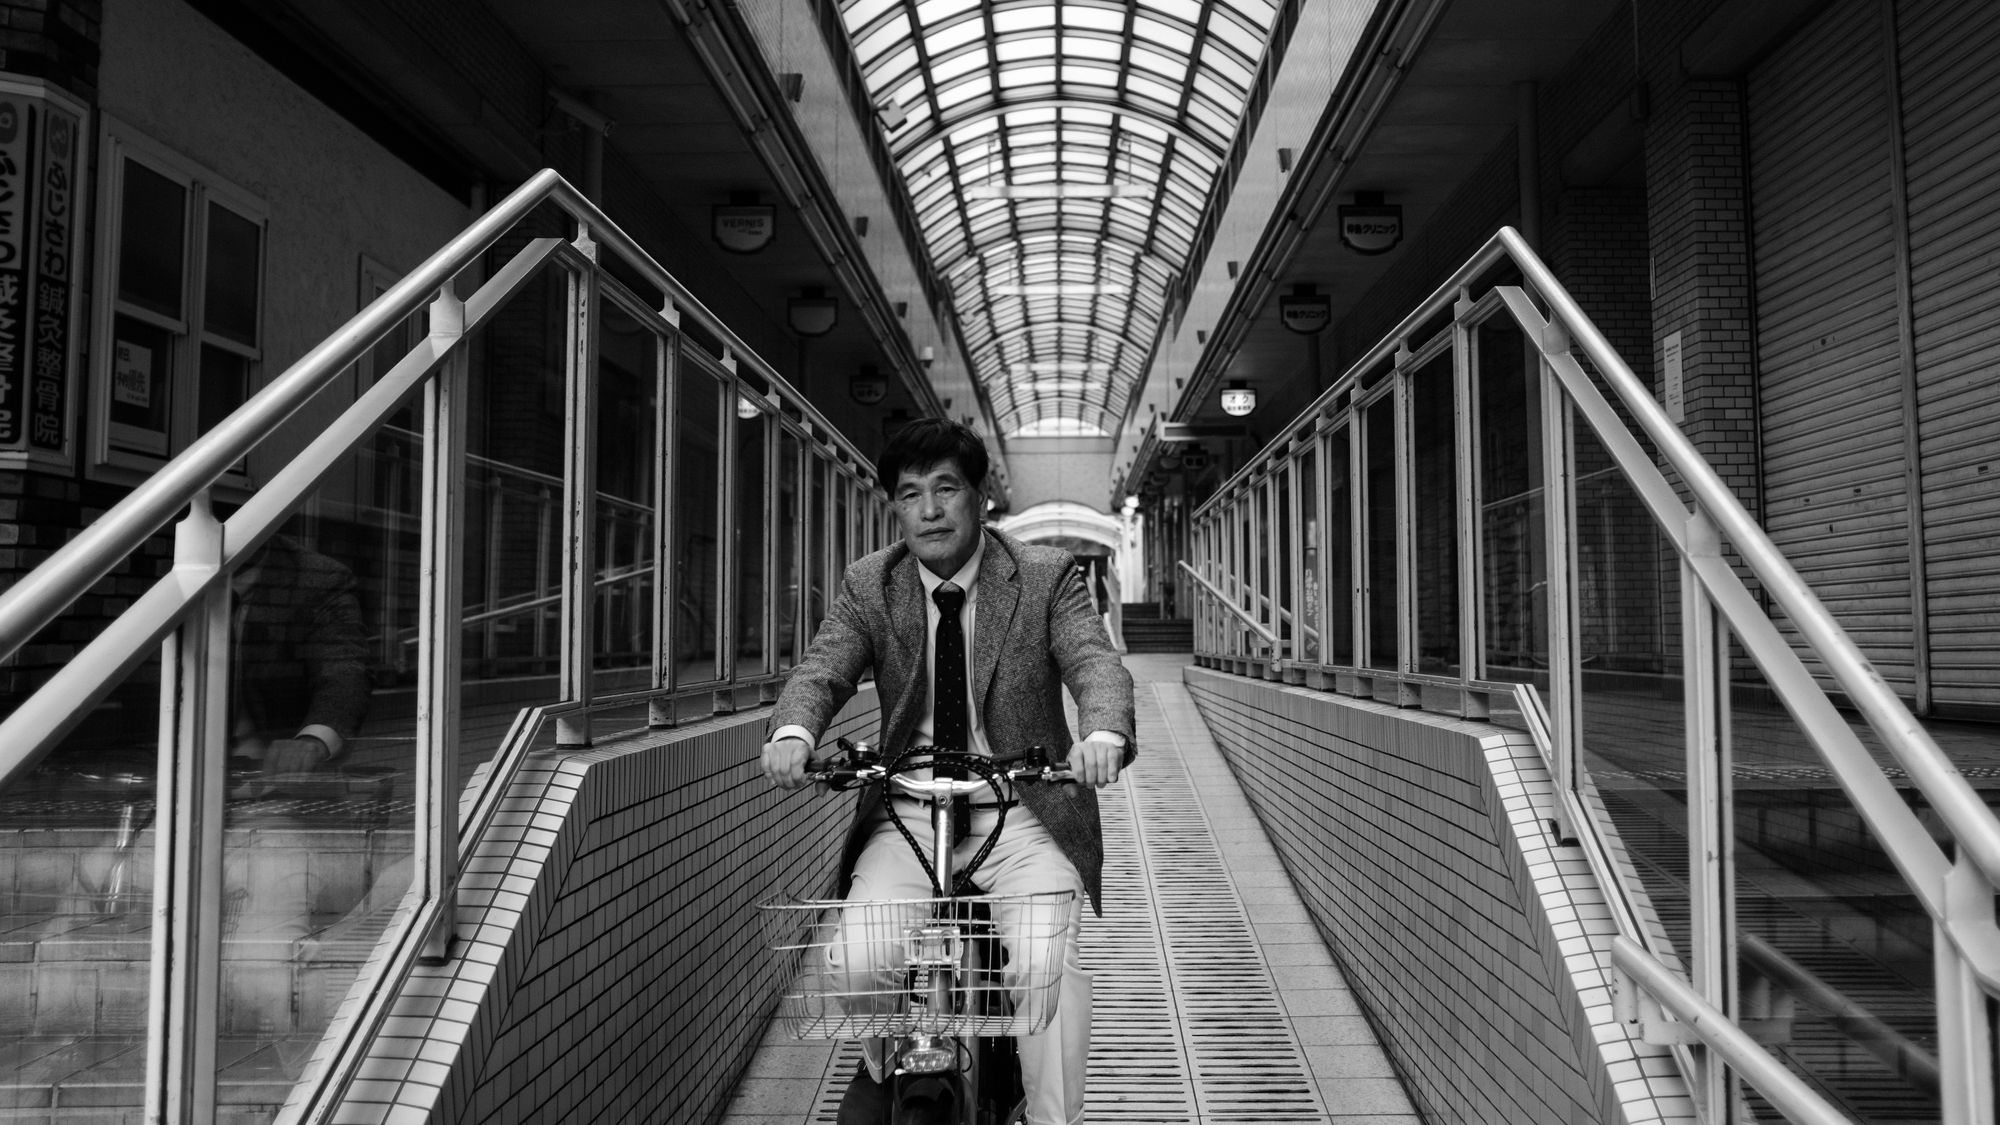
Getting your shots in focus sounds obvious and pretty straightforward, but depending on the type of photography that you want to capture, it can be fairly tricky. If you're interested in learning what I think the best focusing method for street photography is, then this post is for you.
I've talked about my street photography philosophy in previous videos and described the focusing set up in my camera settings videos as well. And you can watch those right here:
But long story short, I use a variation of the back-button focus method. In my experience, it's the best focusing method for people that want or need to take control of the camera, compose properly and think before you shoot.
I'll be showing you how to set it up, how it works and some photograph examples as well, Let's get started.
What Is Back-button Focusing & Why Do I Use It?
In a nutshell, this method is just a way to bypass the camera making decisions for you, as simple as that. It's a means to control your image, your settings, and your focus.
If you are in control, then you can achieve what you want to achieve. If the camera is thinking for you and making decisions for you, then you'll miss a whole bunch of shots... and then blame the camera.
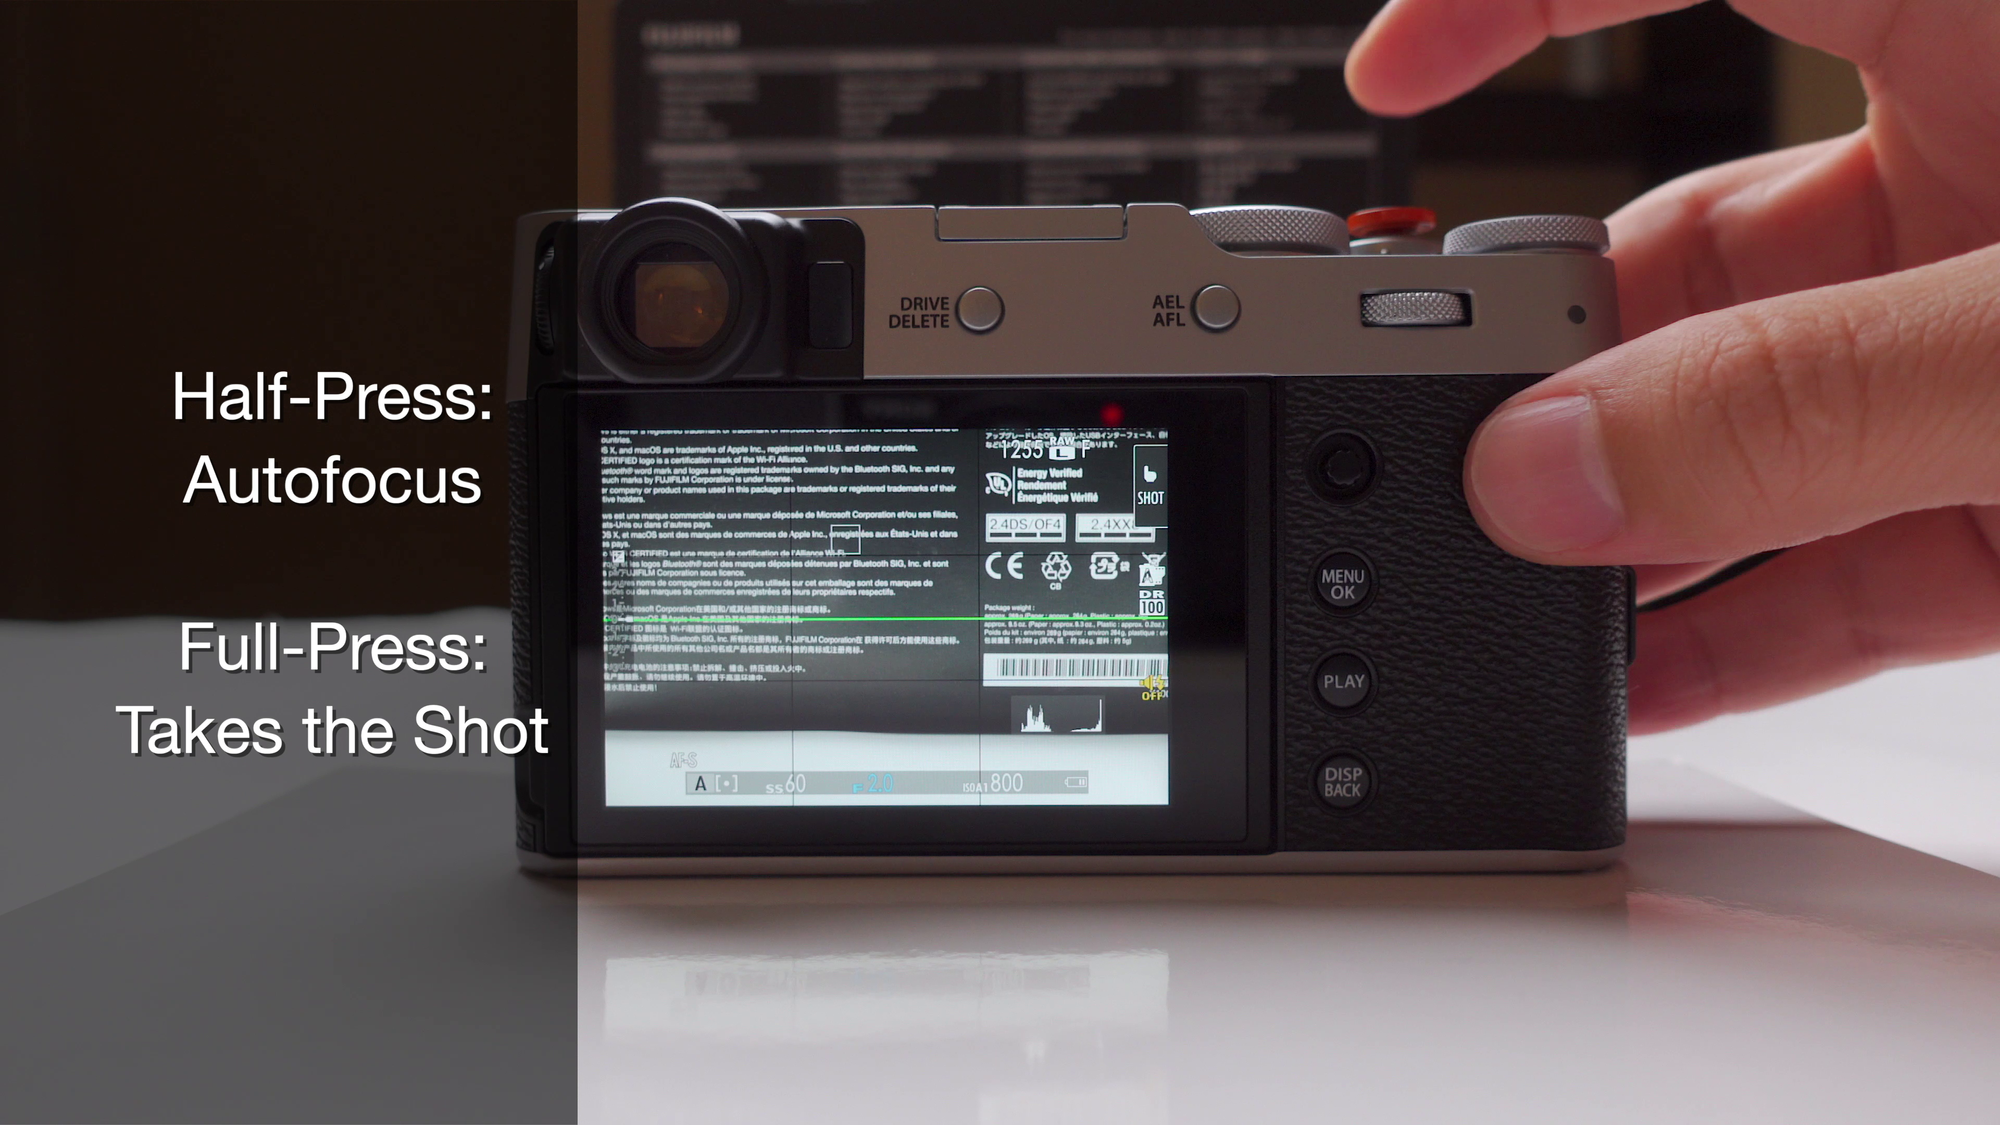
Traditional auto-focus is linked to the shutter button, so normally every time you half-press the shutter the camera tries to auto-focus, and when you full-press the shutter, it takes the shot.
On paper it seems to make sense, it's a logical programming statement: "IF in focus, THEN take the shot".
However, most of the time the camera does not know what it's looking at, it does not know what you want to achieve, it does not know your intentions, it's not conscious, it's just an object. And don't get me wrong, I have nothing against auto-focus, sometimes it can work really well:
It depends on the camera, the settings and variables that you adjust in the menu as well as the goal you're trying to achieve. Such as eye-tracking auto-focus for my YouTube videos on my Sony ZV1 for example. But with street photography, we want to control the settings.
Just like Naval Ravikant says on his podcast and book:
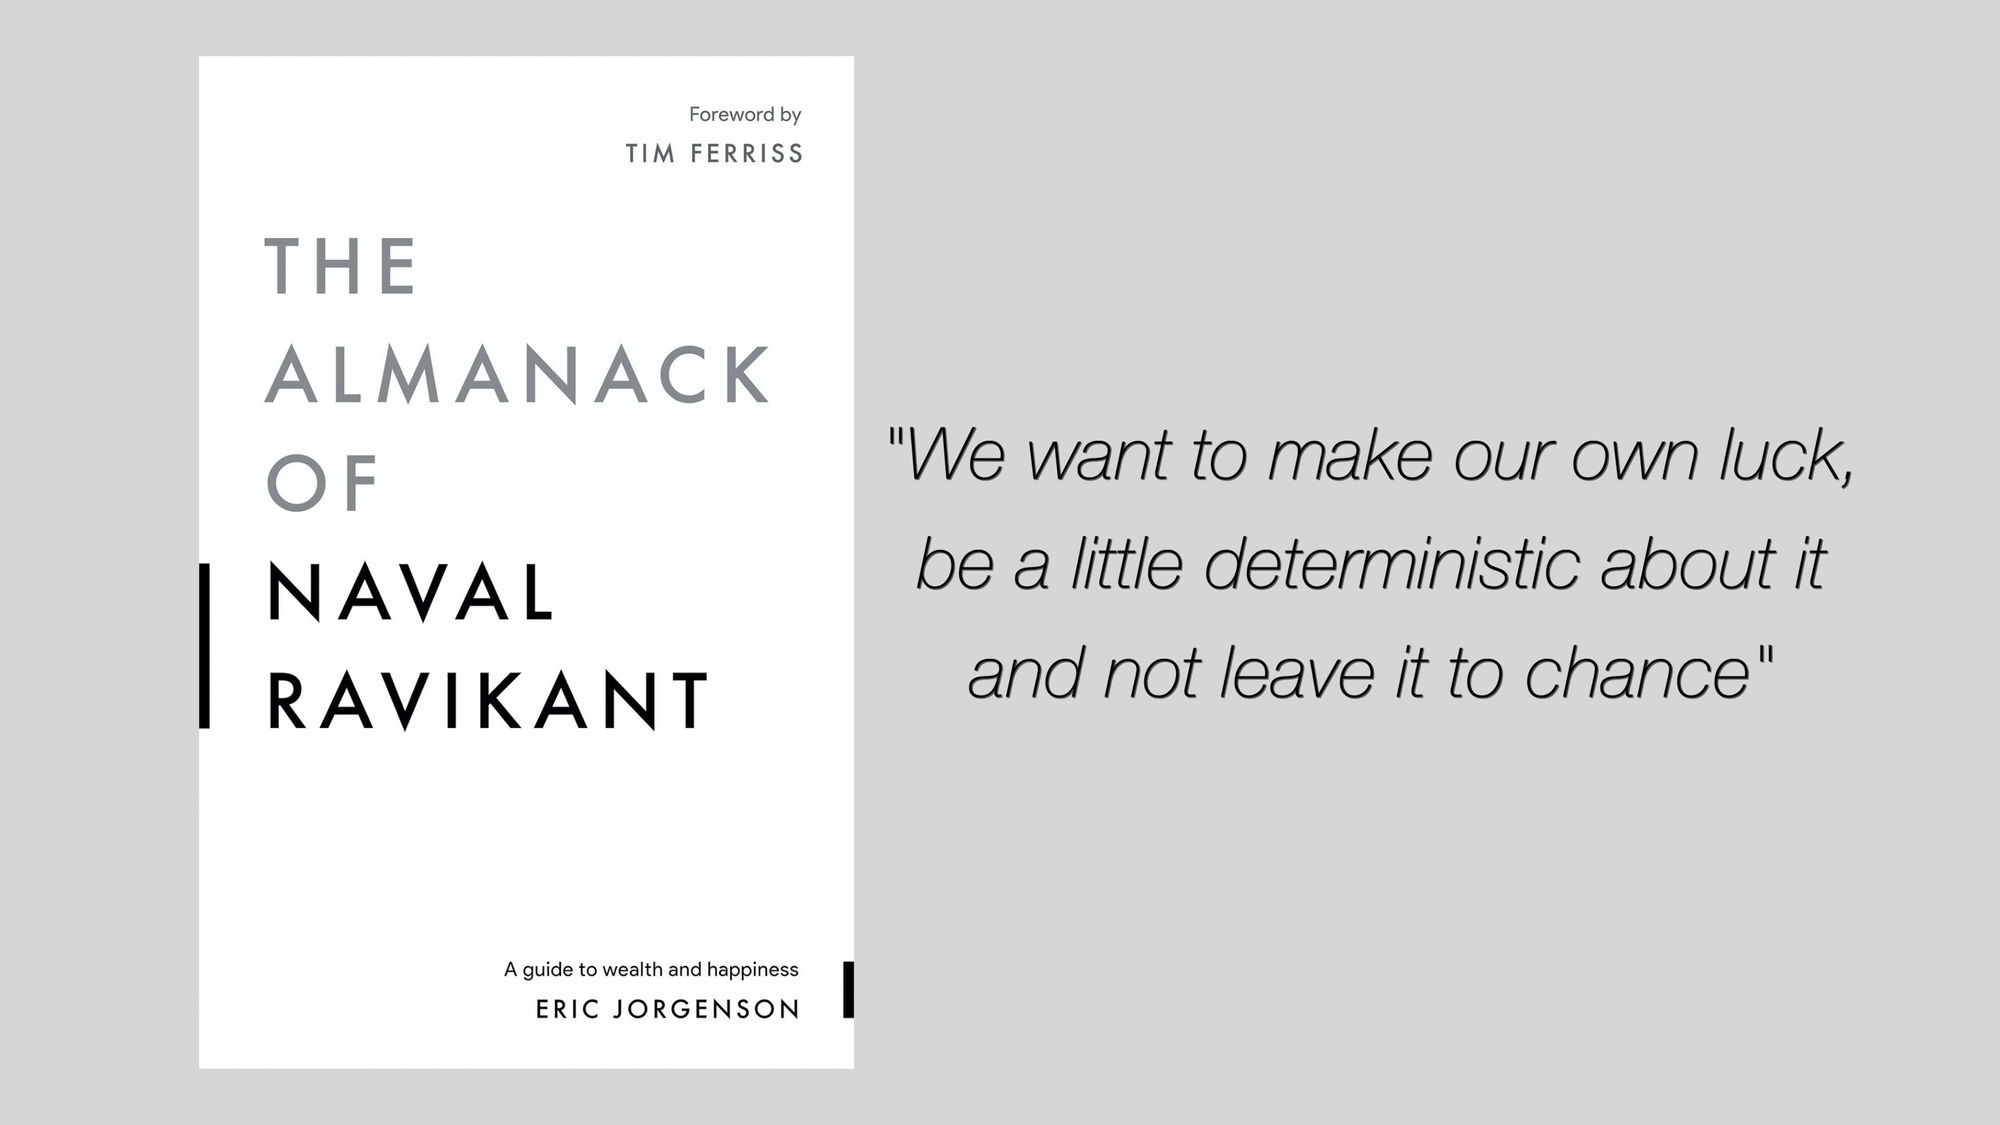
I highly recommend you check out Naval Ravikant's podcast & book by the way.
I set my AF-L button as a back-button focus. Meaning that when I press this button it focuses on whatever spot I chose, and it will continue to hold focus on that spot until I let go of the button.
That way I can compose the frame the way I like, I can prepare in advance, I can focus on a particular spot, area or person for example and just wait for the subjects to enter the frame.

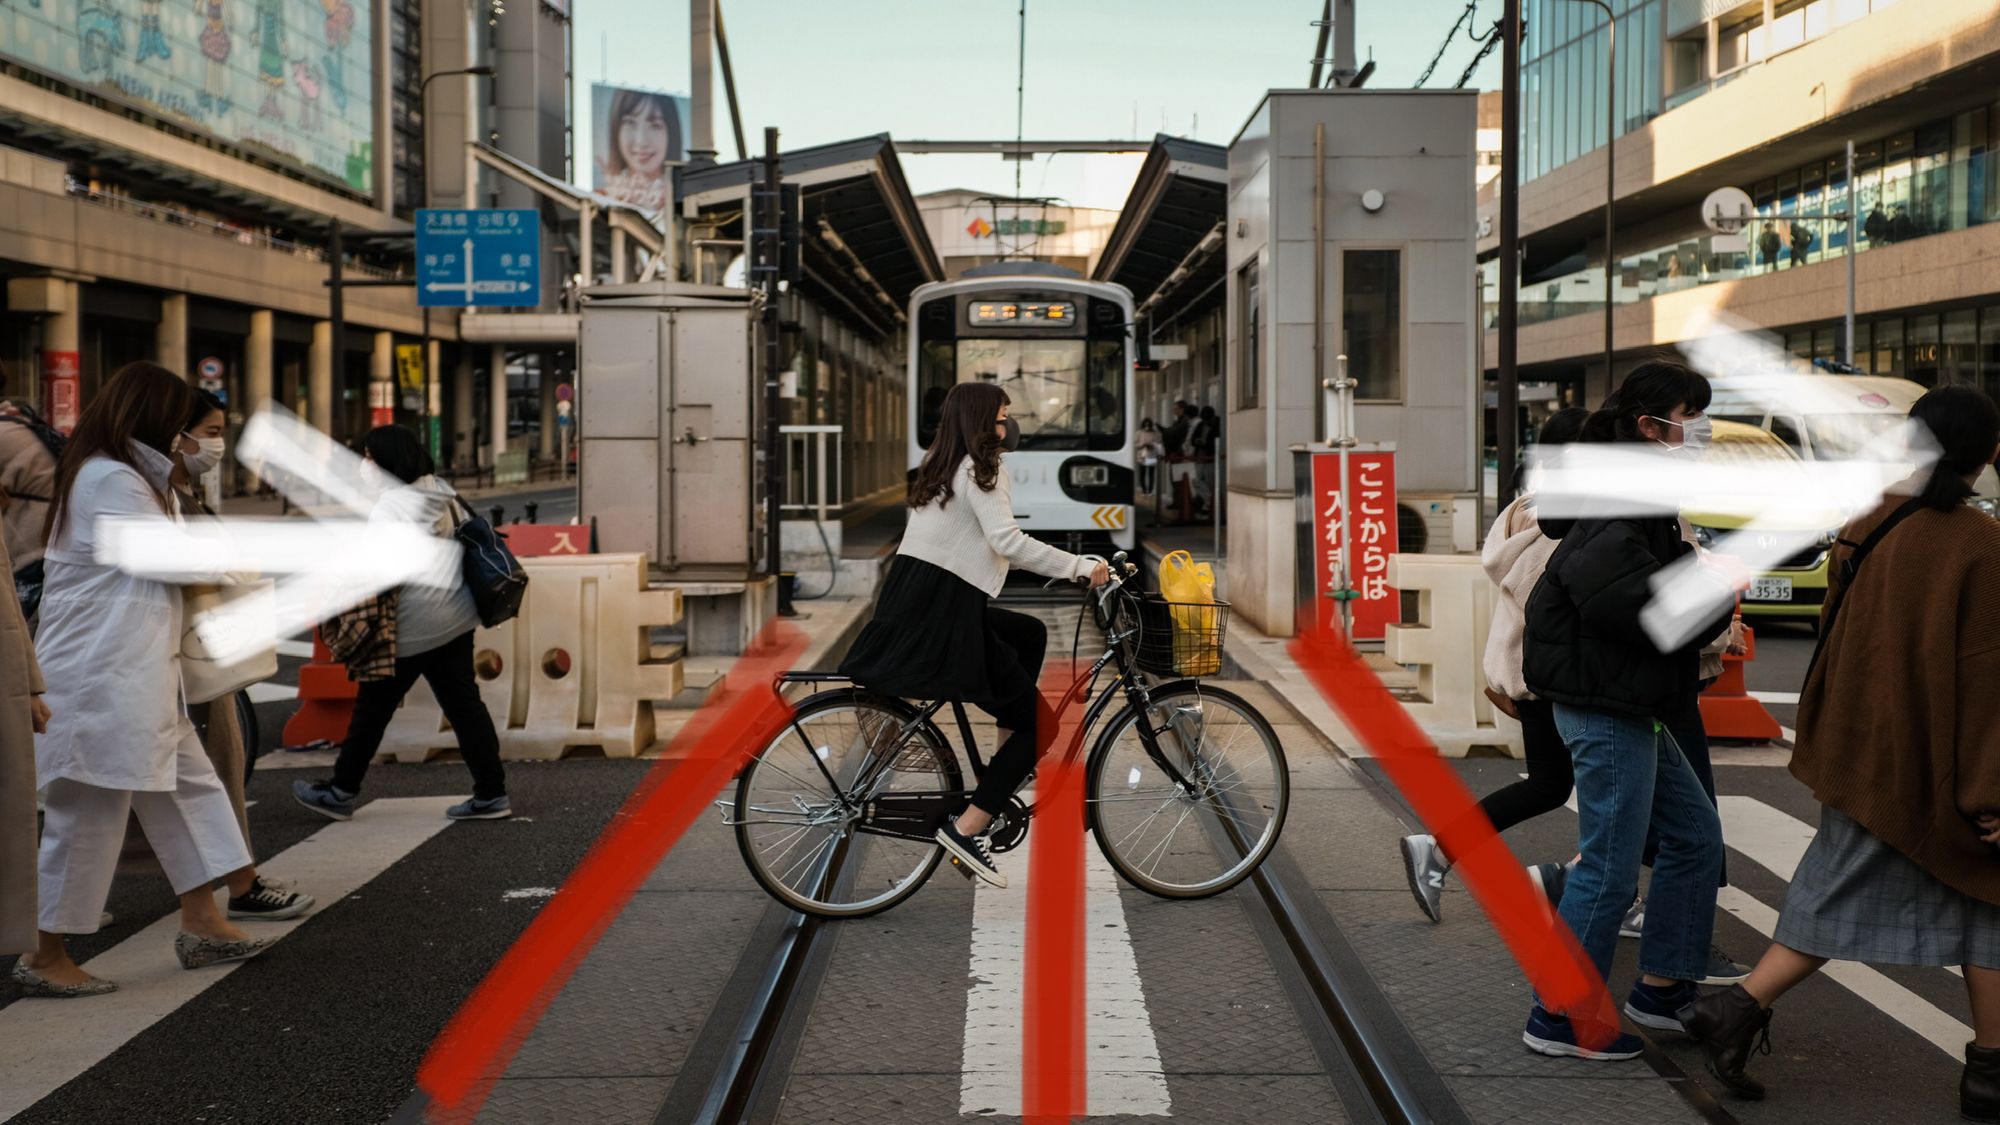
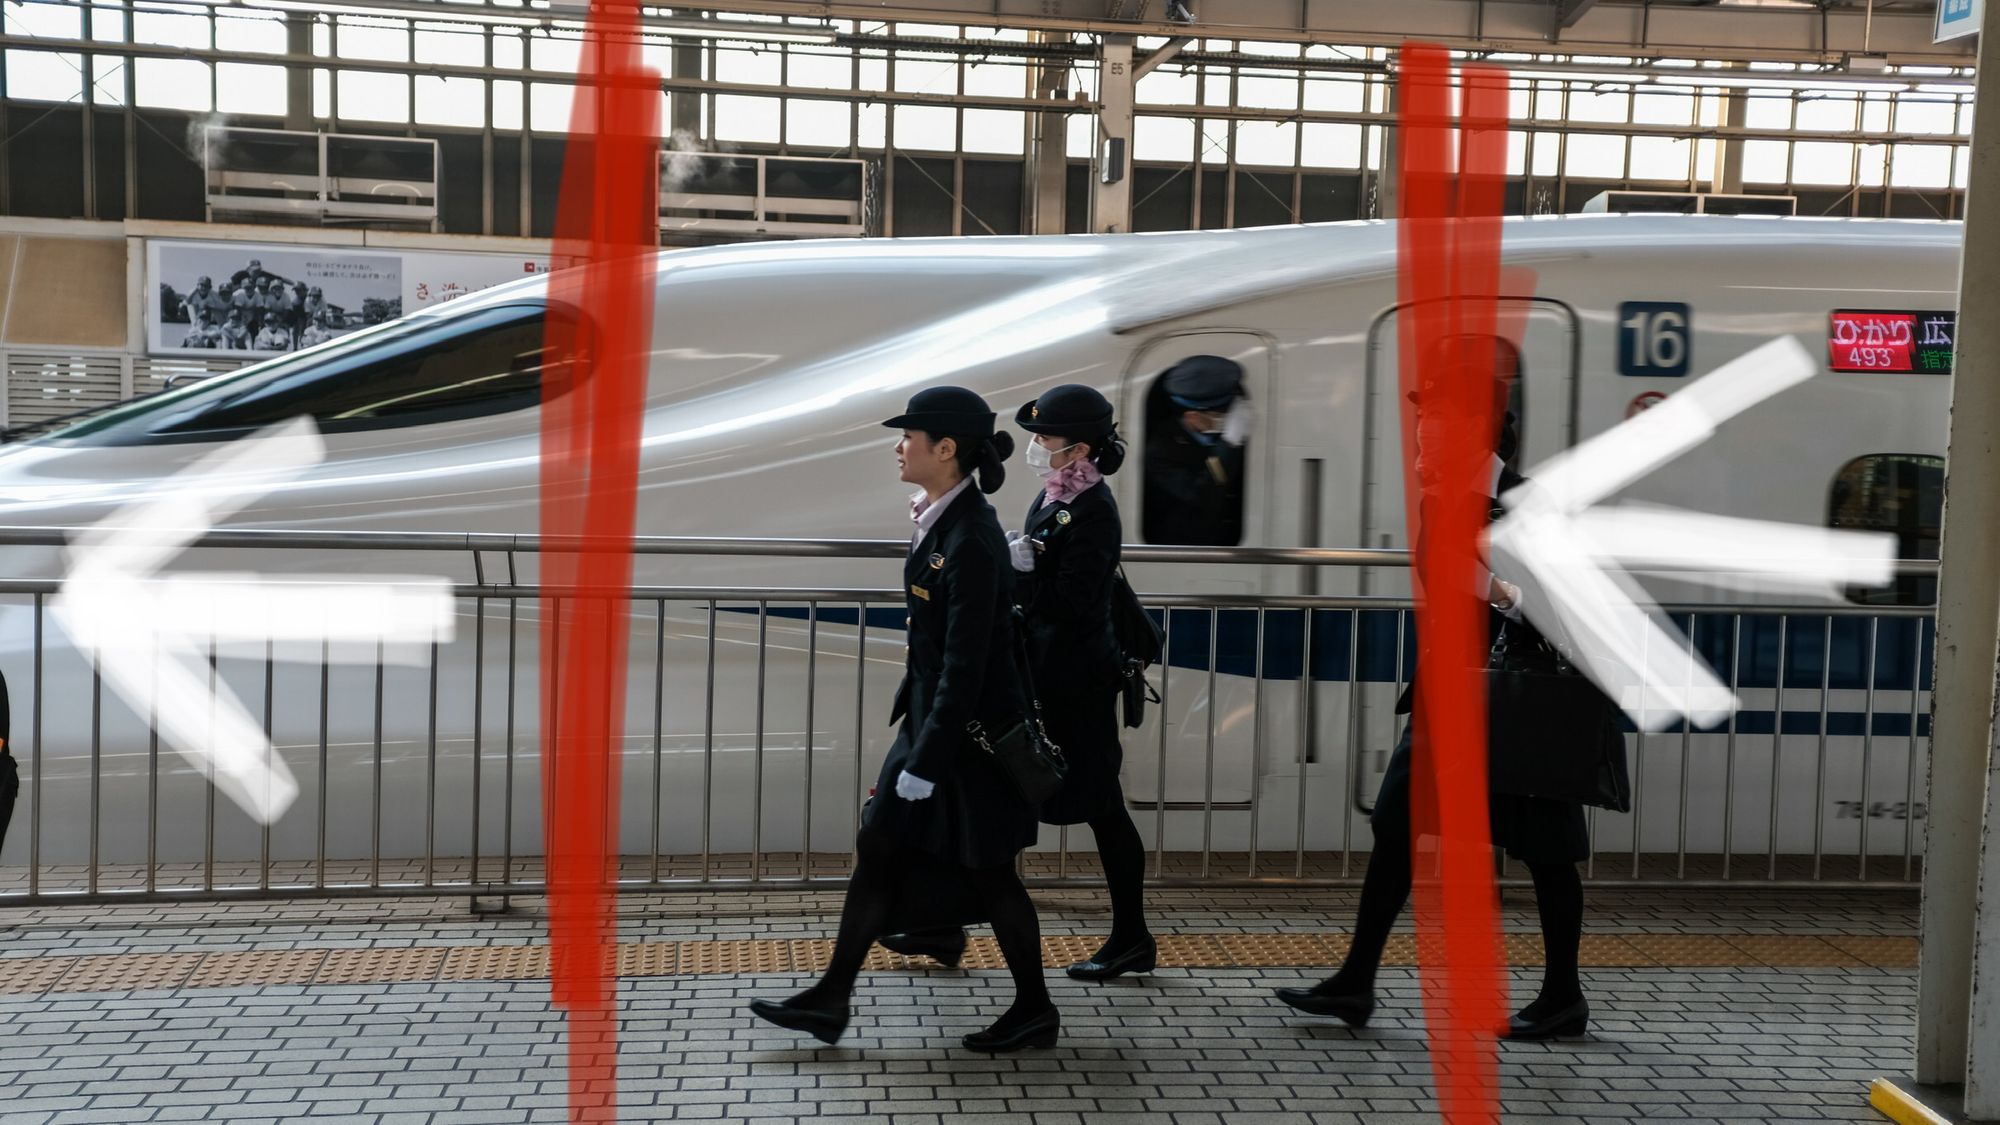
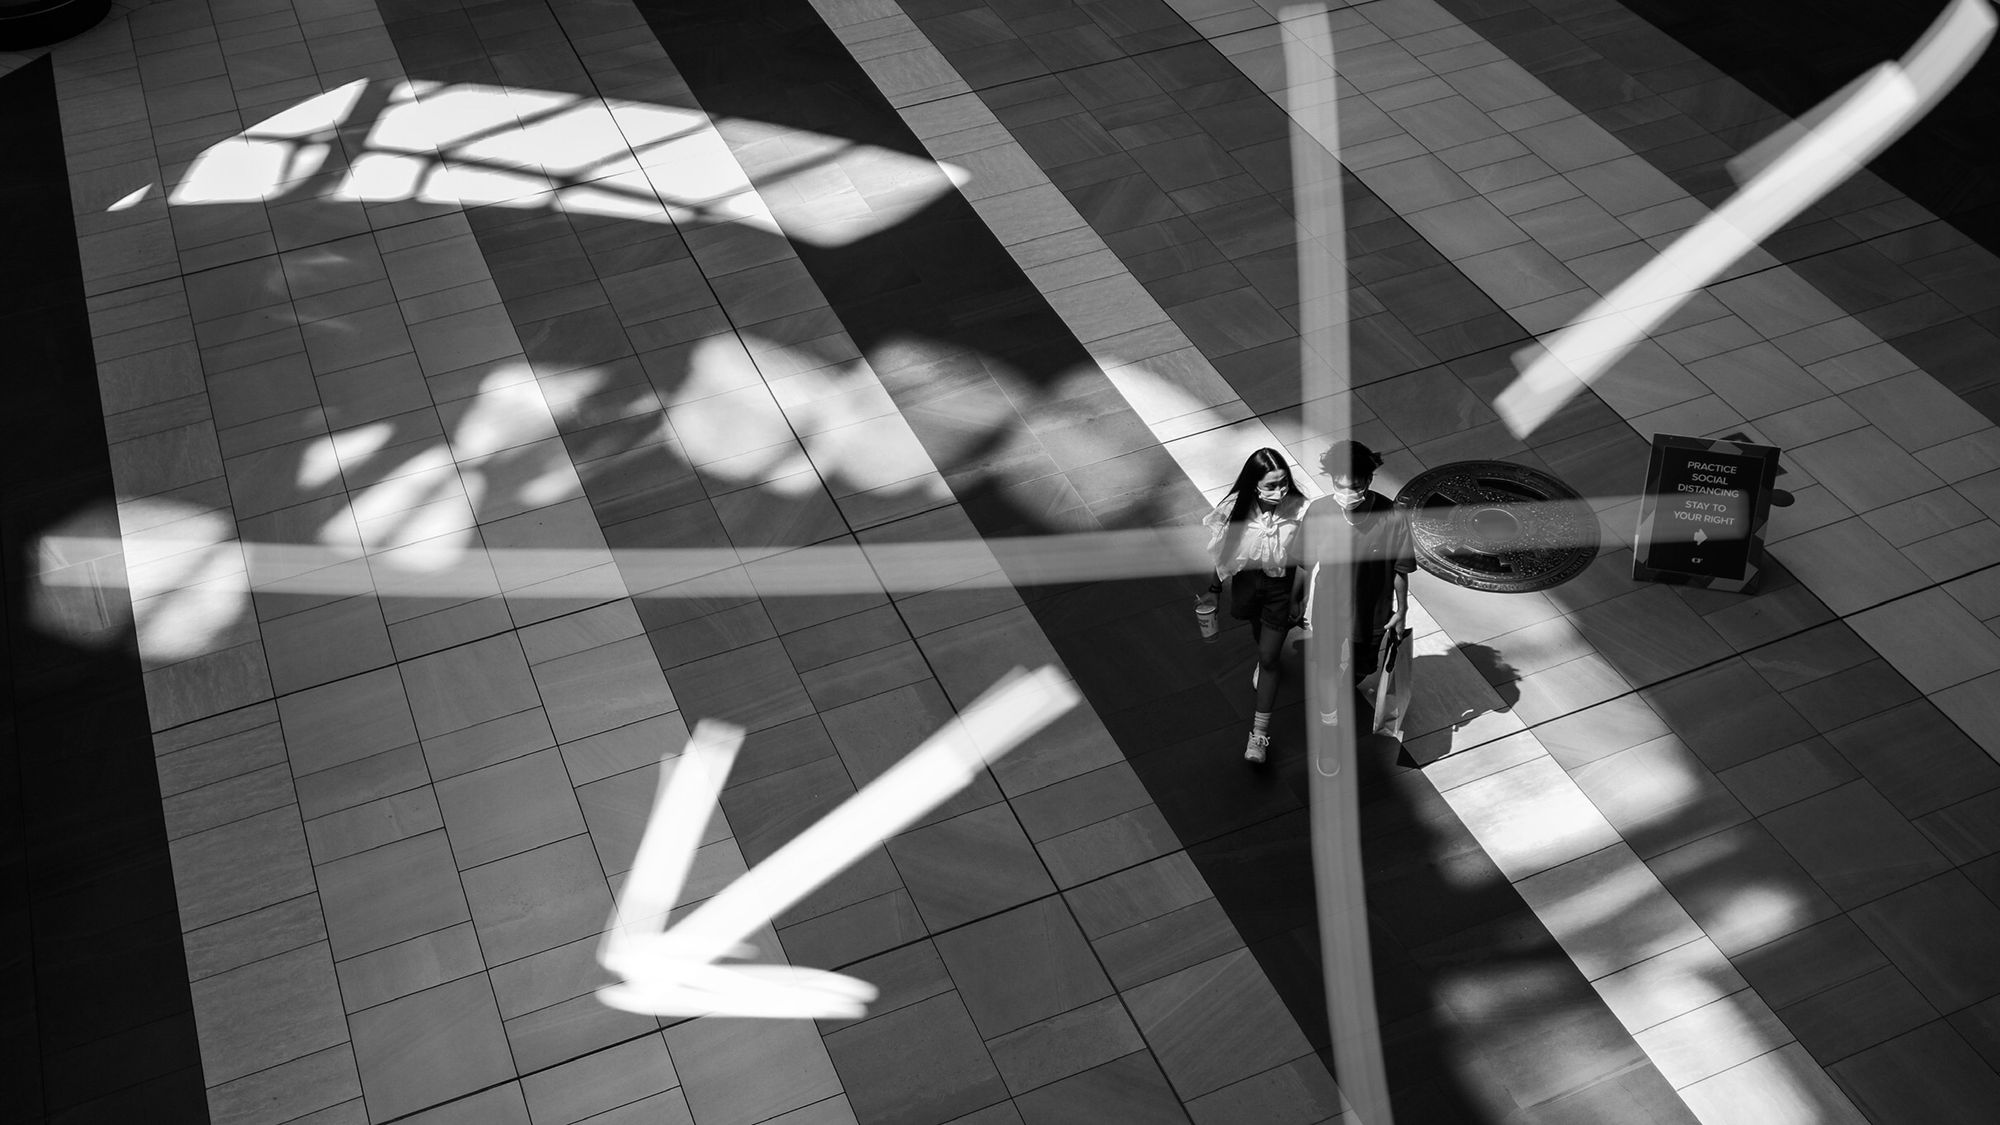
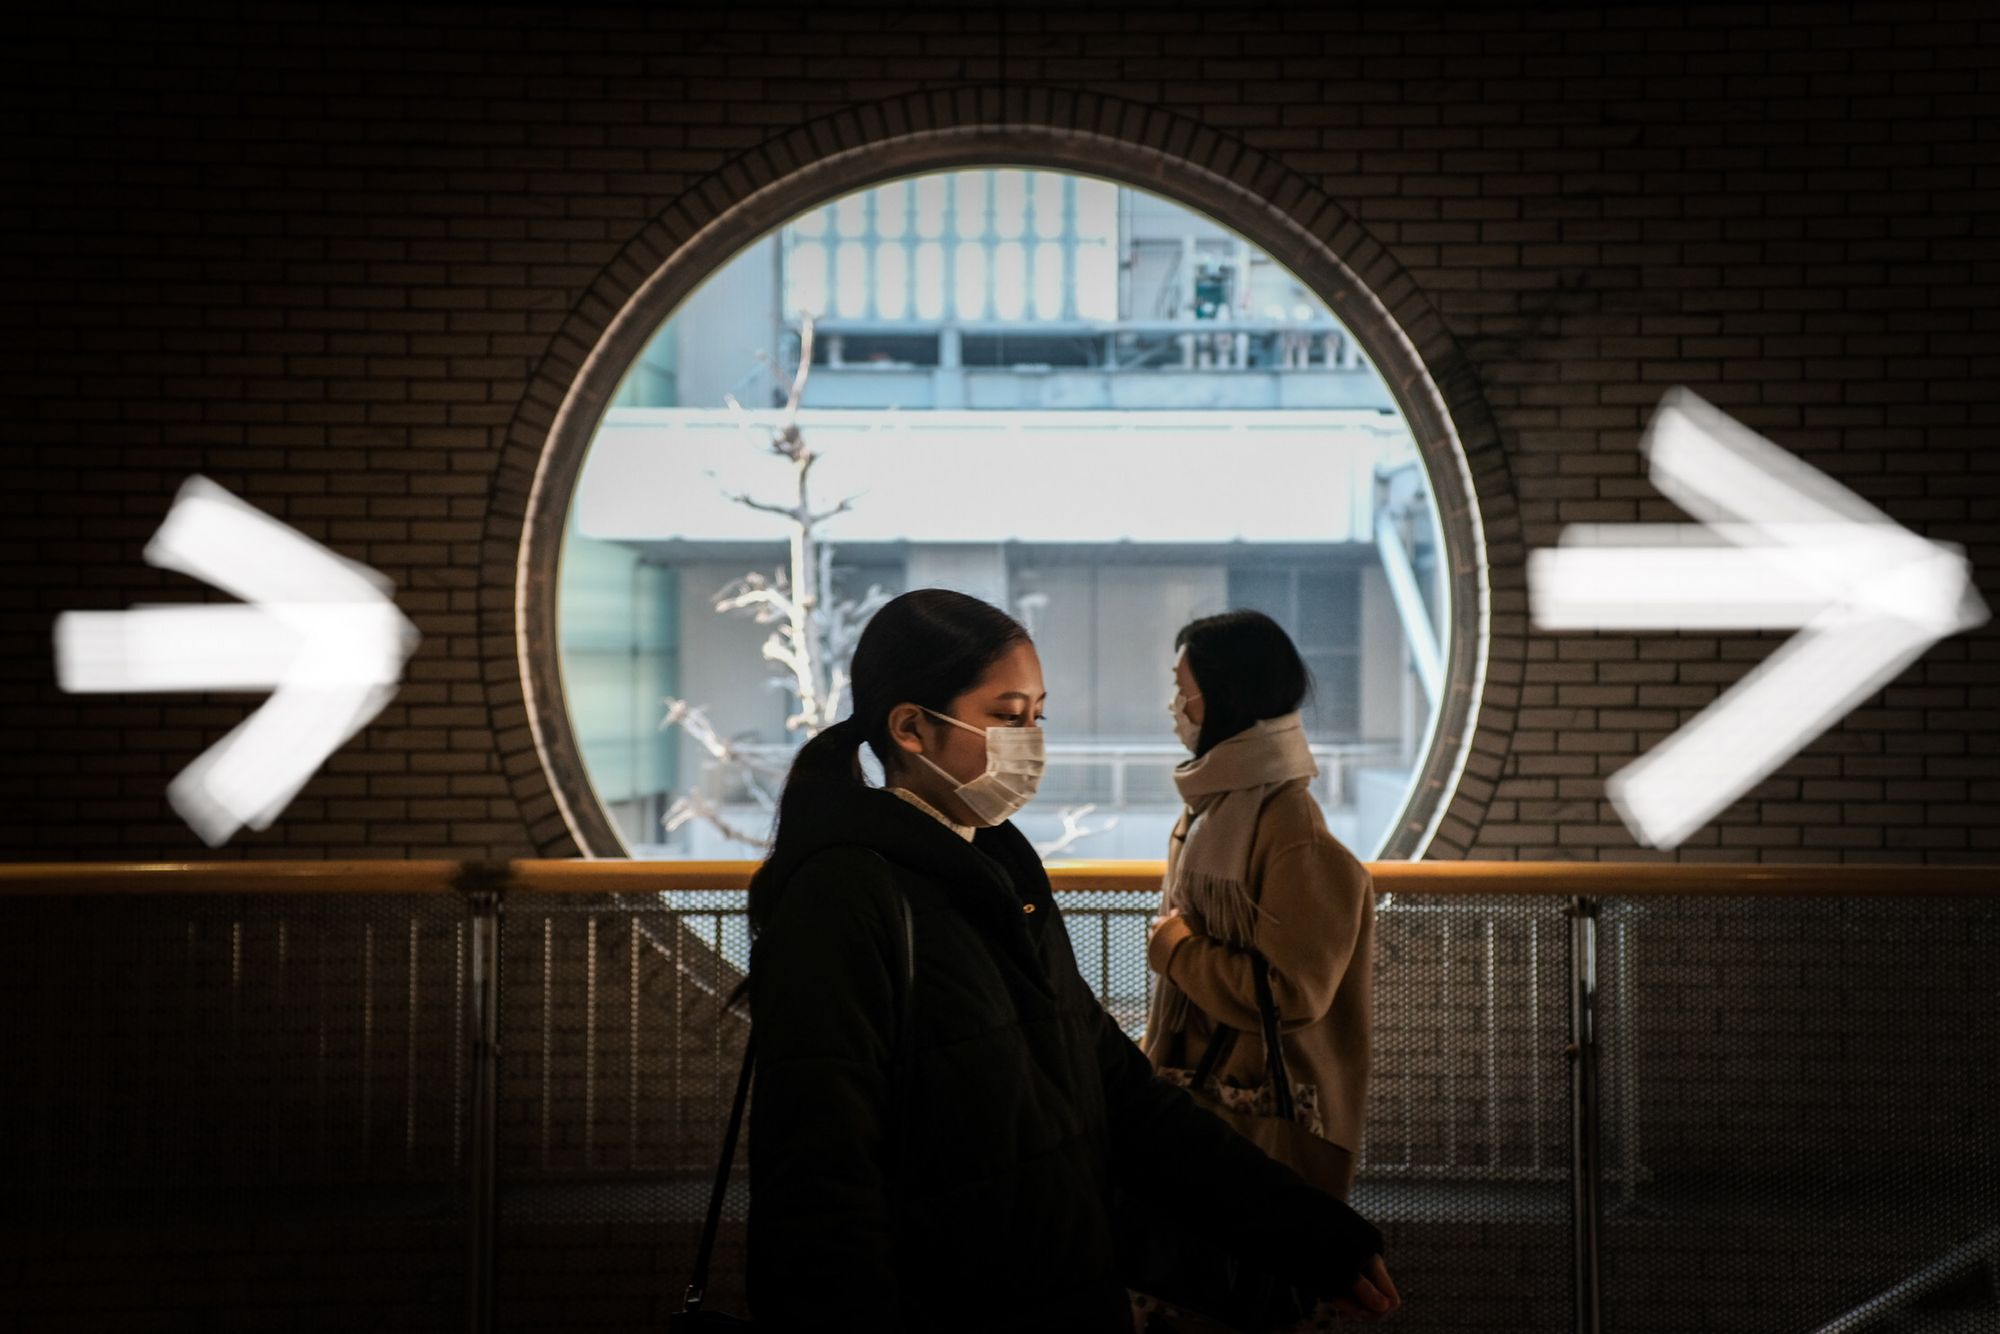
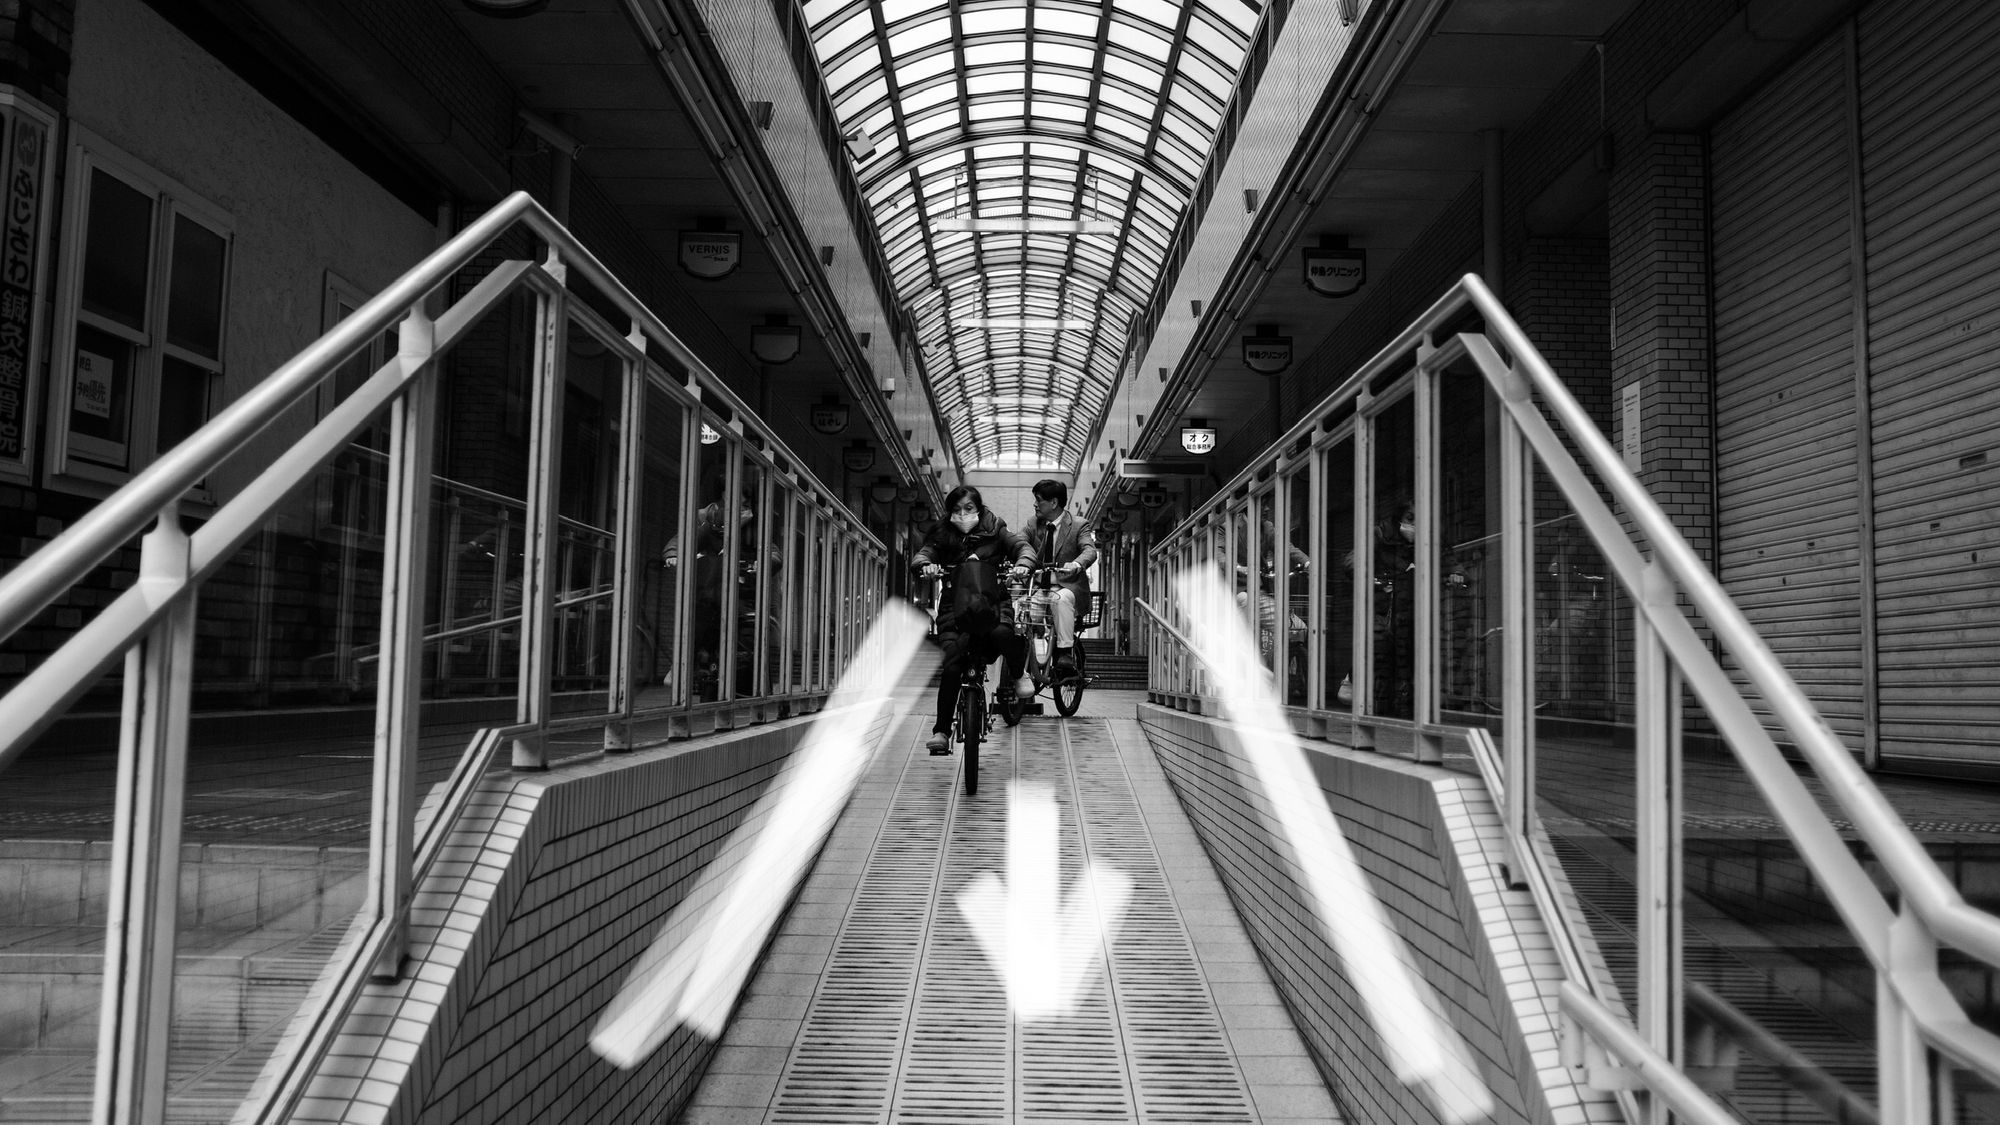
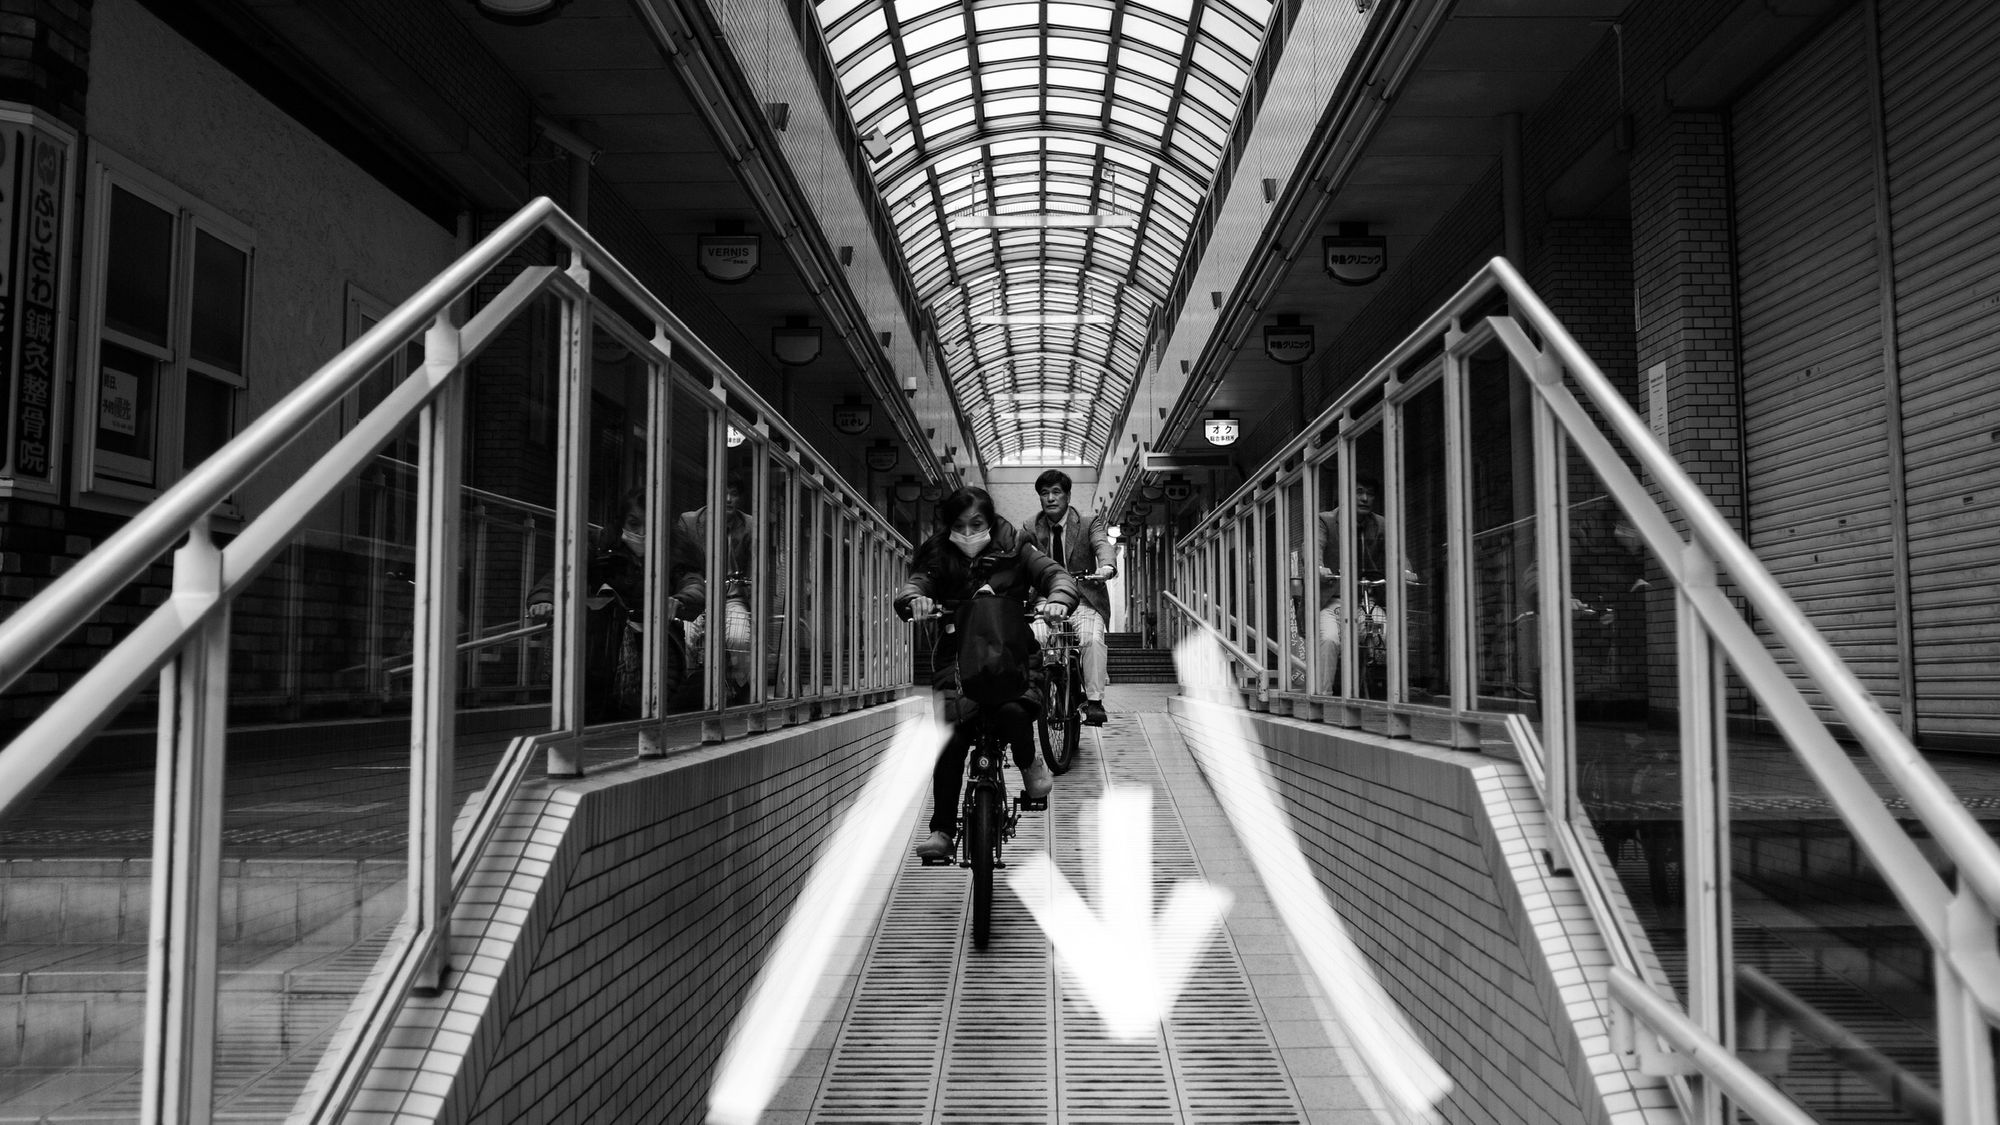
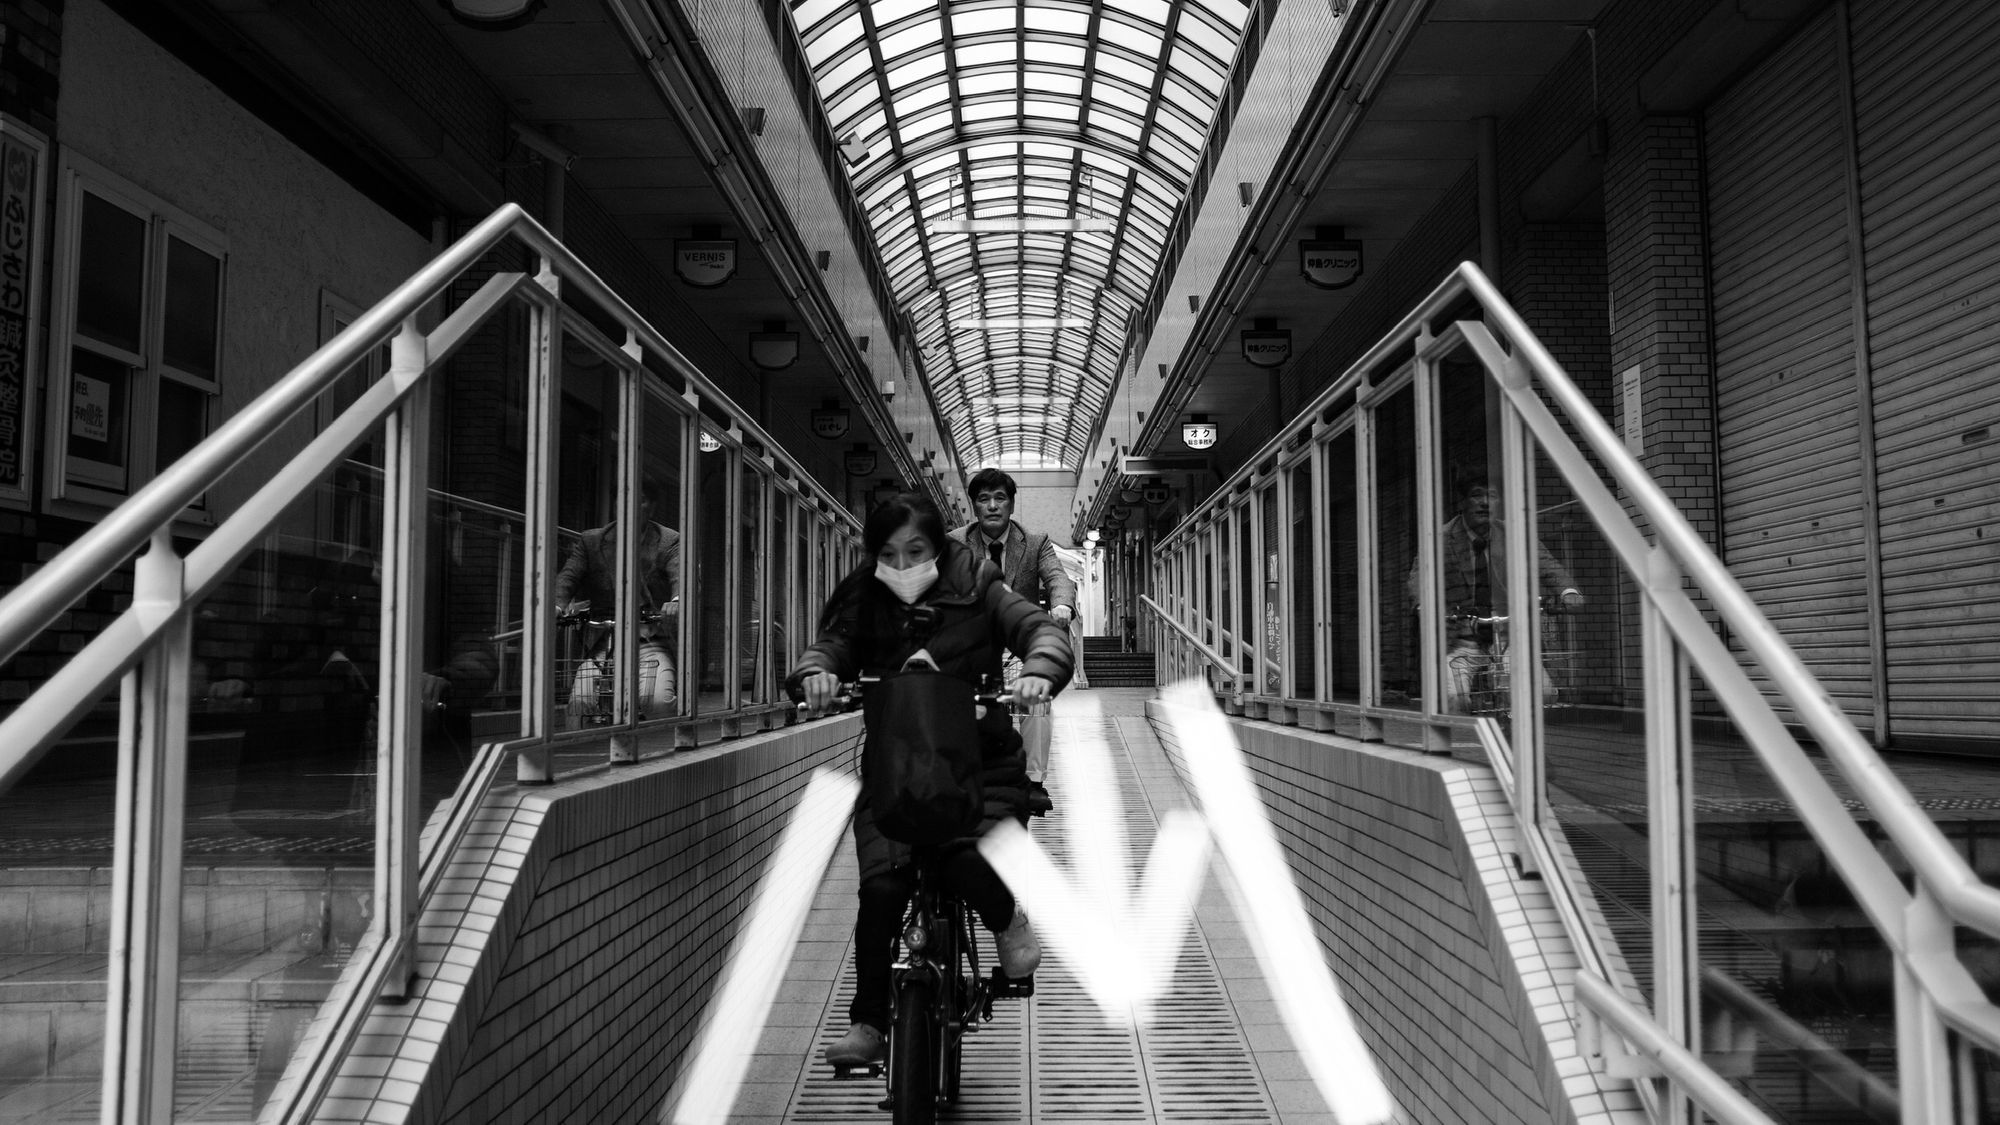
Or I can take multiple shots in a row without having the camera slow down while it tries to auto-focus for me or figure out what is it that it wants to do, like these:
Control is the name of the game here. Like Naval says, be deterministic about your photography, don't leave it to chance. Except, in this case, chance means hoping that the camera focuses on the right spot, on time, and not mess up the shot.
Setting Up The AF-L Button
To my knowledge, this works on most if not all Fujifilm cameras, at least it works on my main camera, the X100V. It worked on the X100T & X100F when I owned those in the past, as well as the original X100, and it works on the most recently reviewed camera on my channel, the X-Pro1.
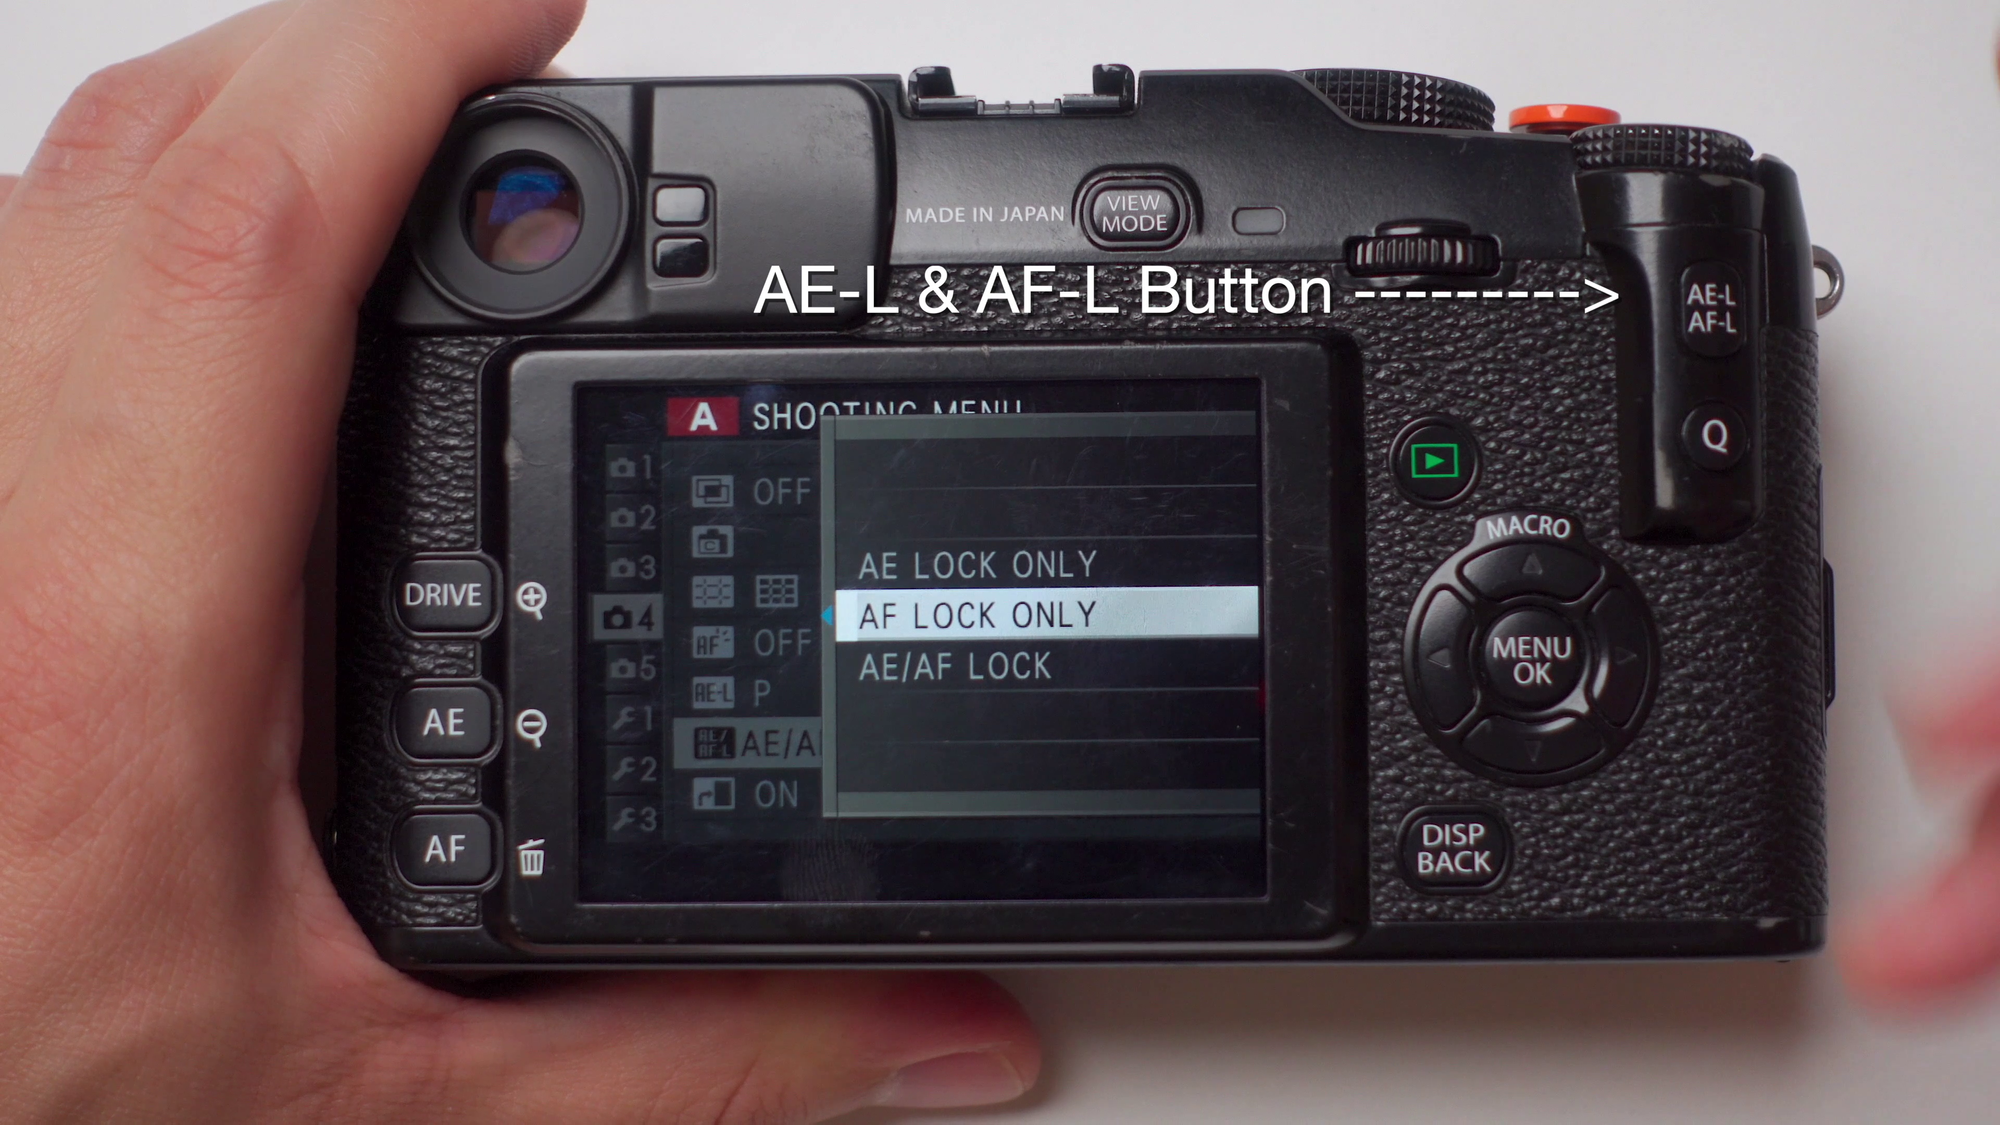
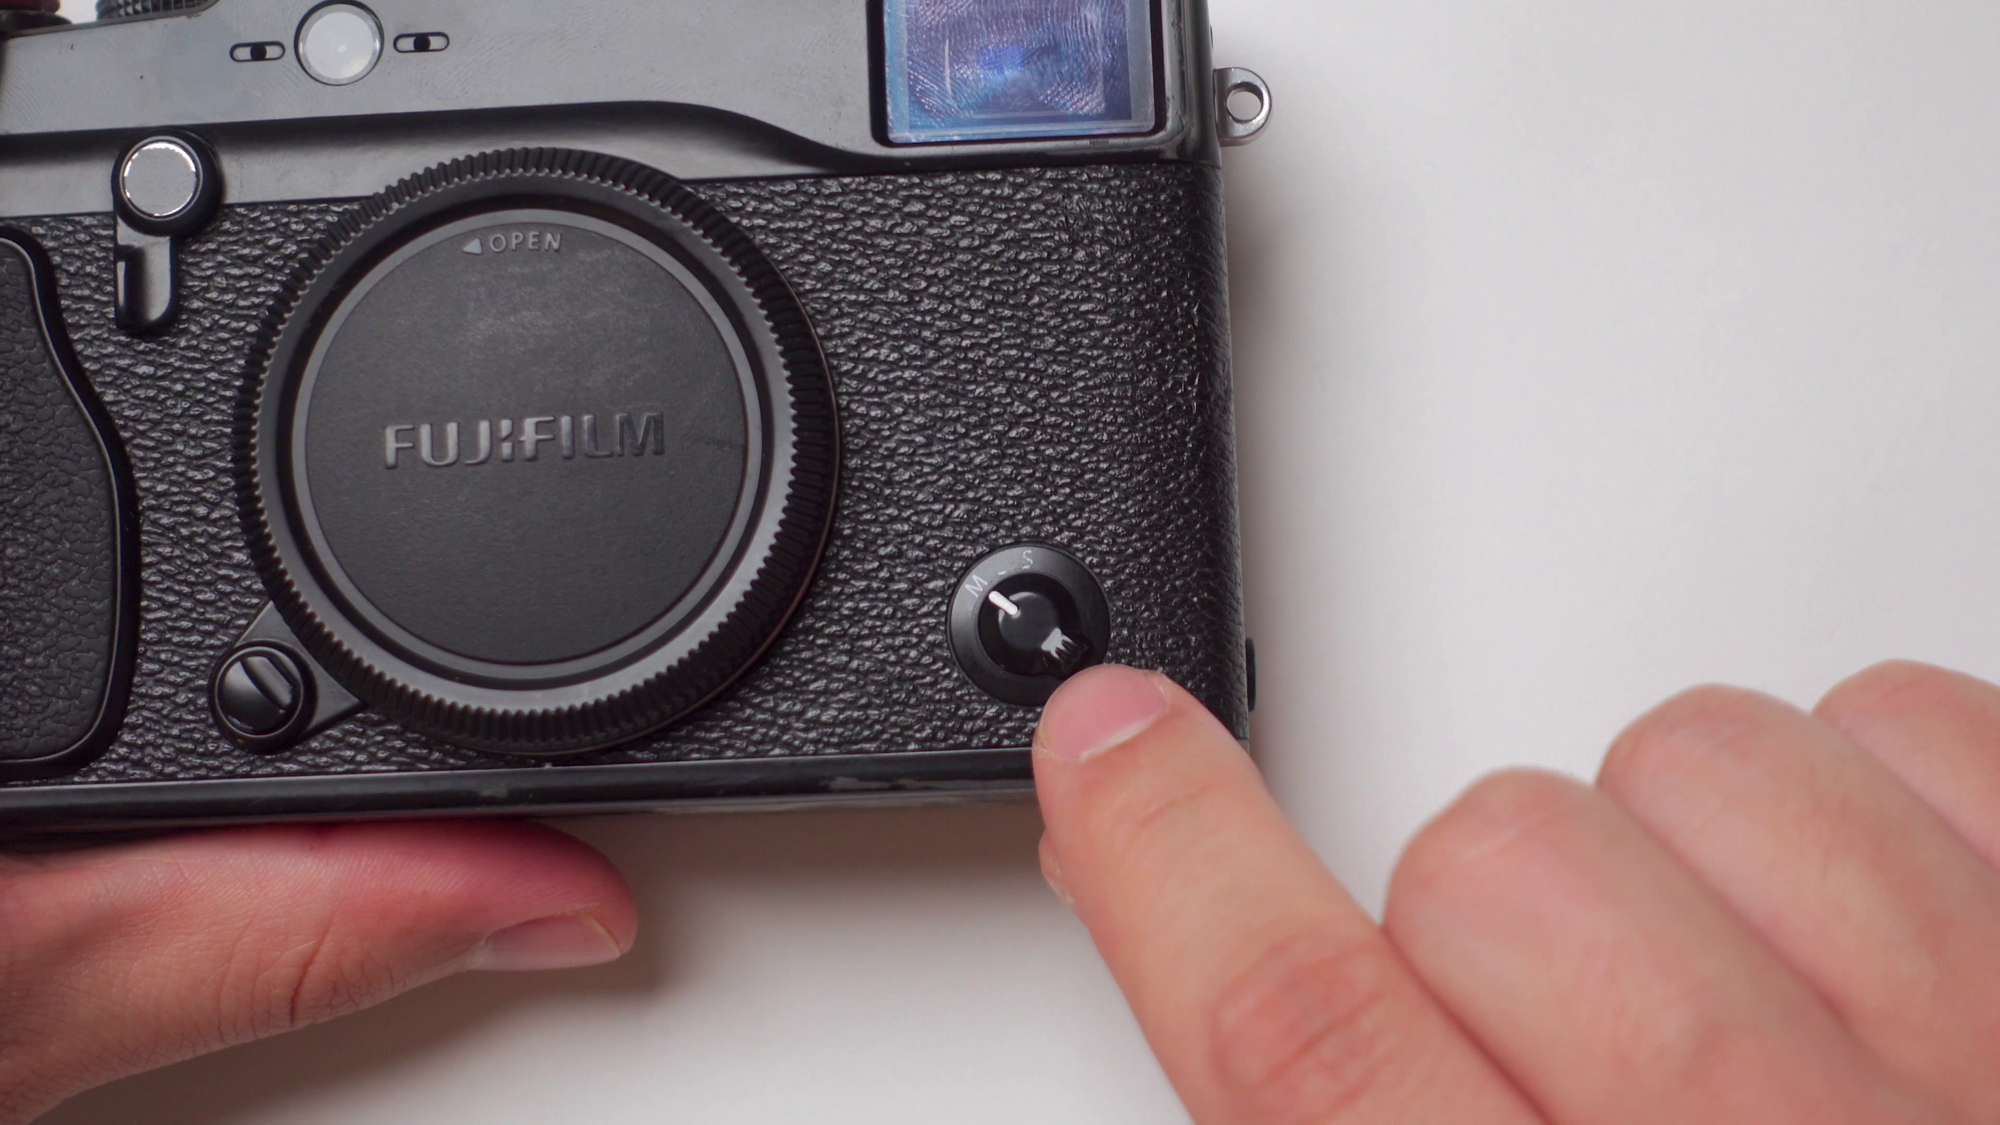
Let's focus on the X-Pro1 for now. The First thing we need to do is to set our camera focus mode selector to the manual mode, like this:
Next, we navigate to the shooting menu, Page 4 to set the lock mode. Set it to On when pressing. What this does is that it requires you to press and hold the AF-L button to fully focus on a spot, and it will continue to hold focus on that said spot until you release it.
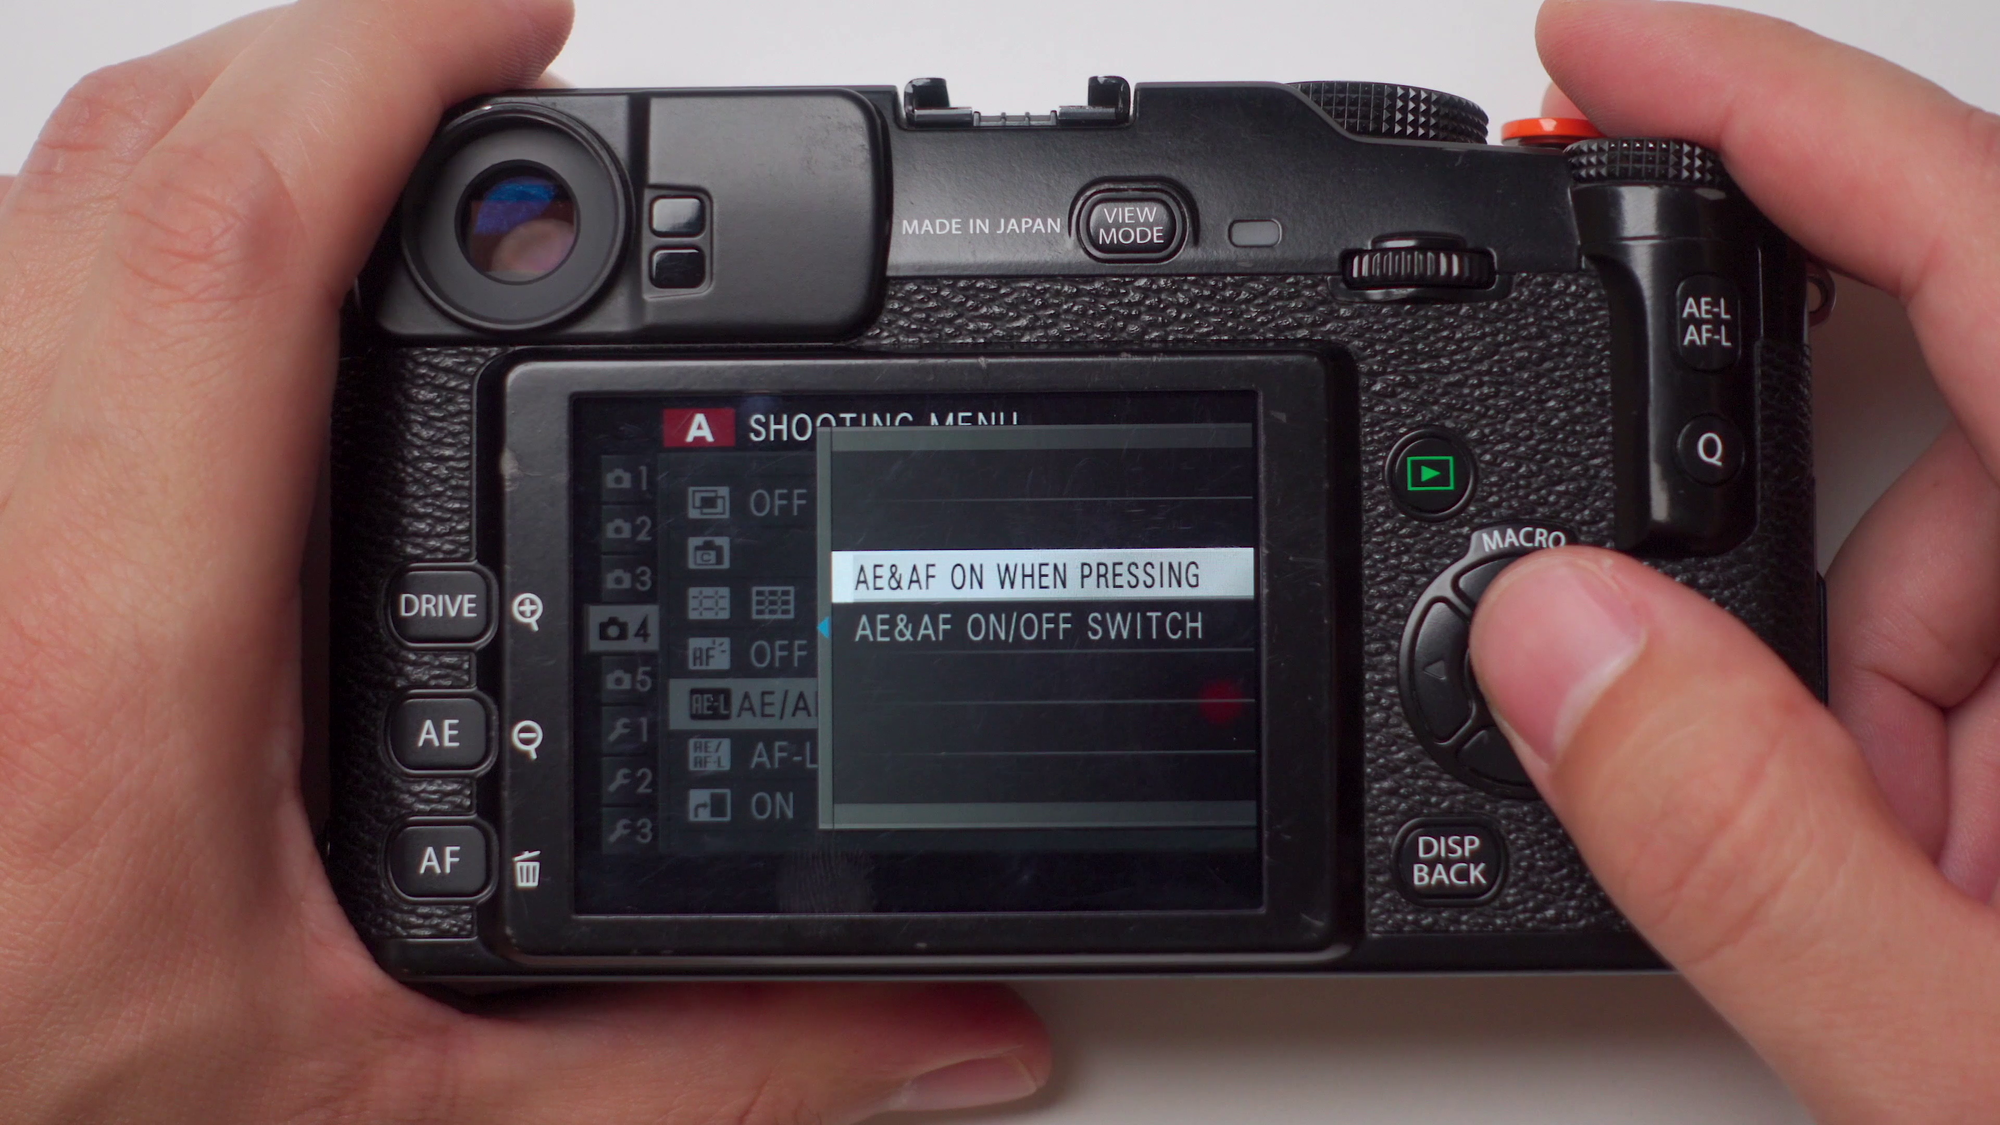
As I mentioned this is ideal for composing freely and waiting for subjects to enter/exit the frame.
Next, we have to assign the function to the actual button. On the X-Pro1 the AF-L button is located right above the Q button, So let's set it:
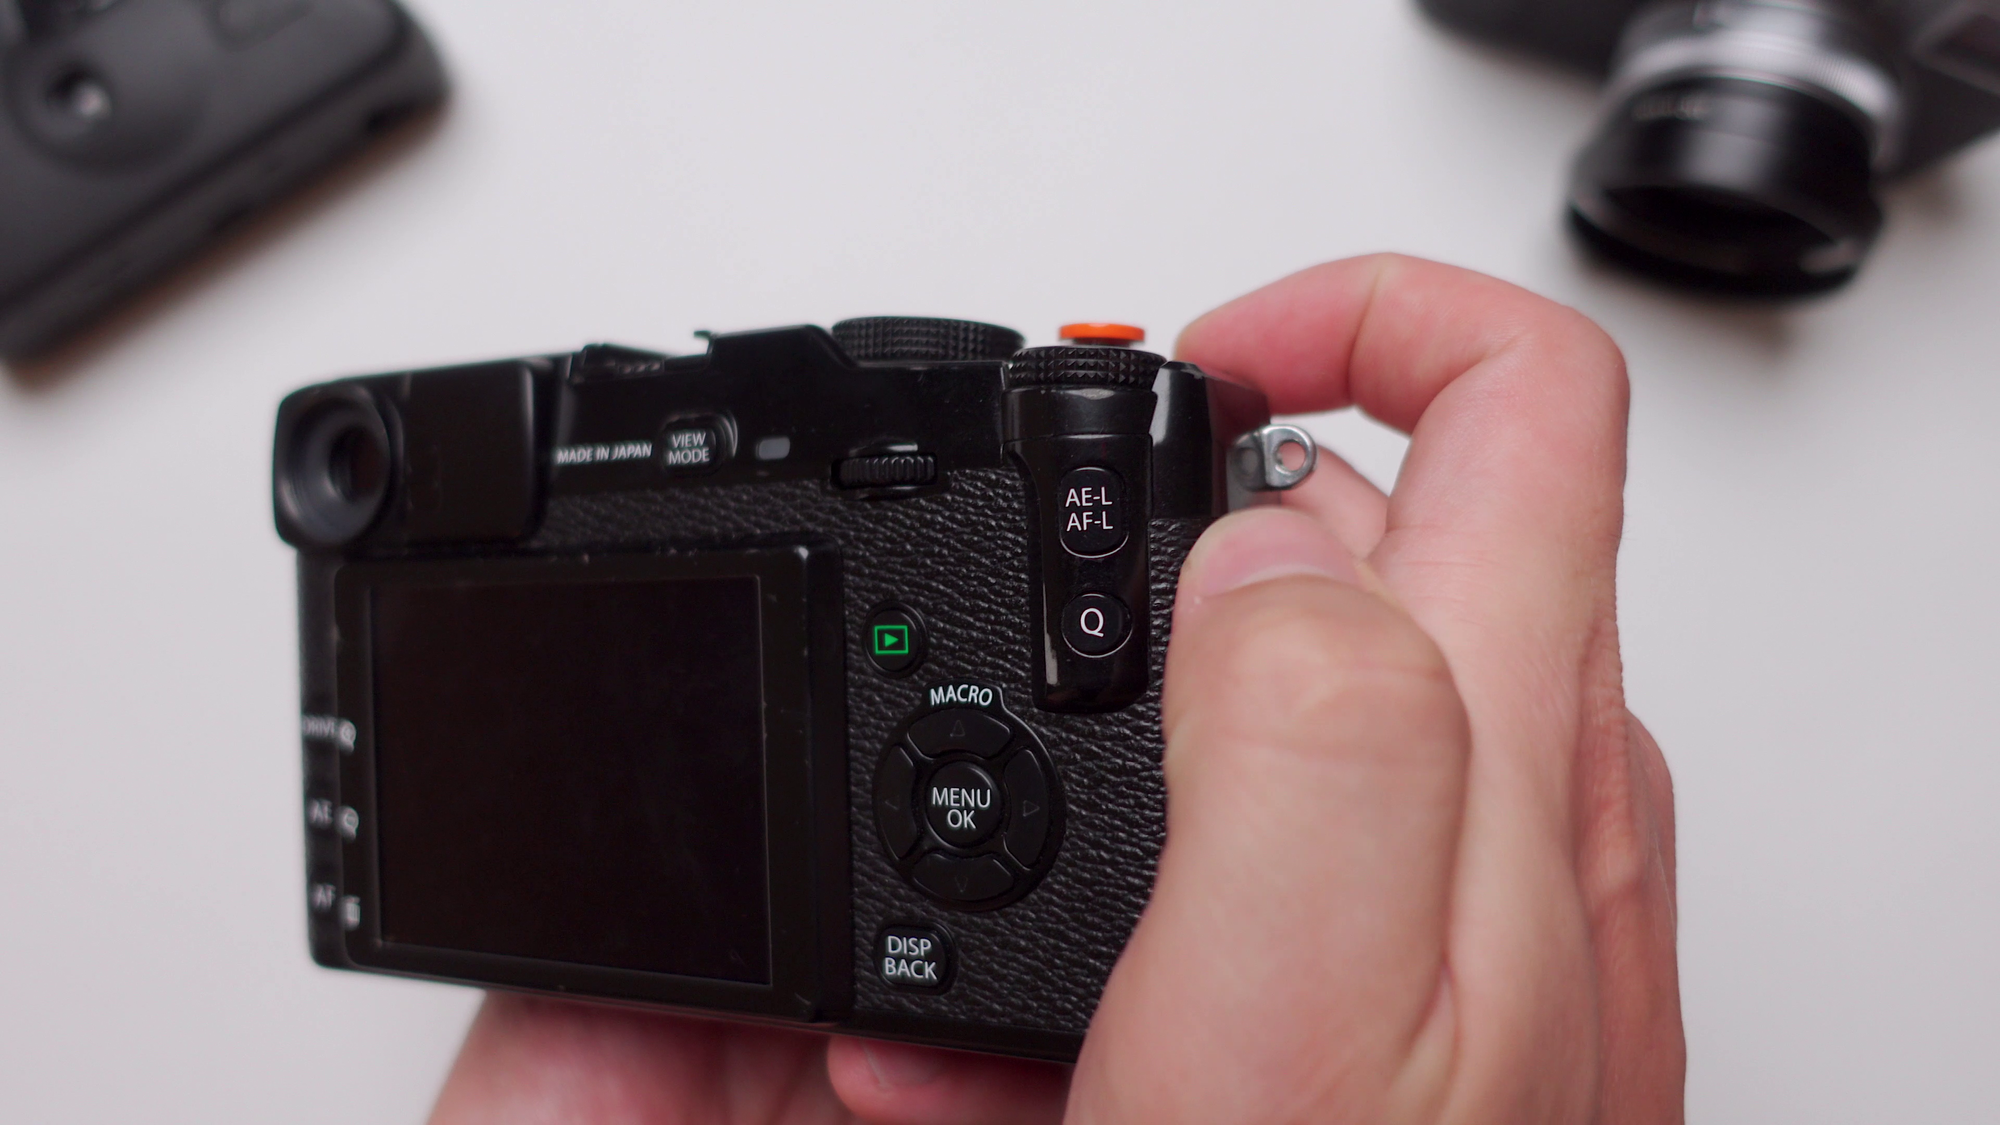
Here you can choose to have it as an auto-exposure lock, or auto-focus lock. Select AF-LOCK ONLY.
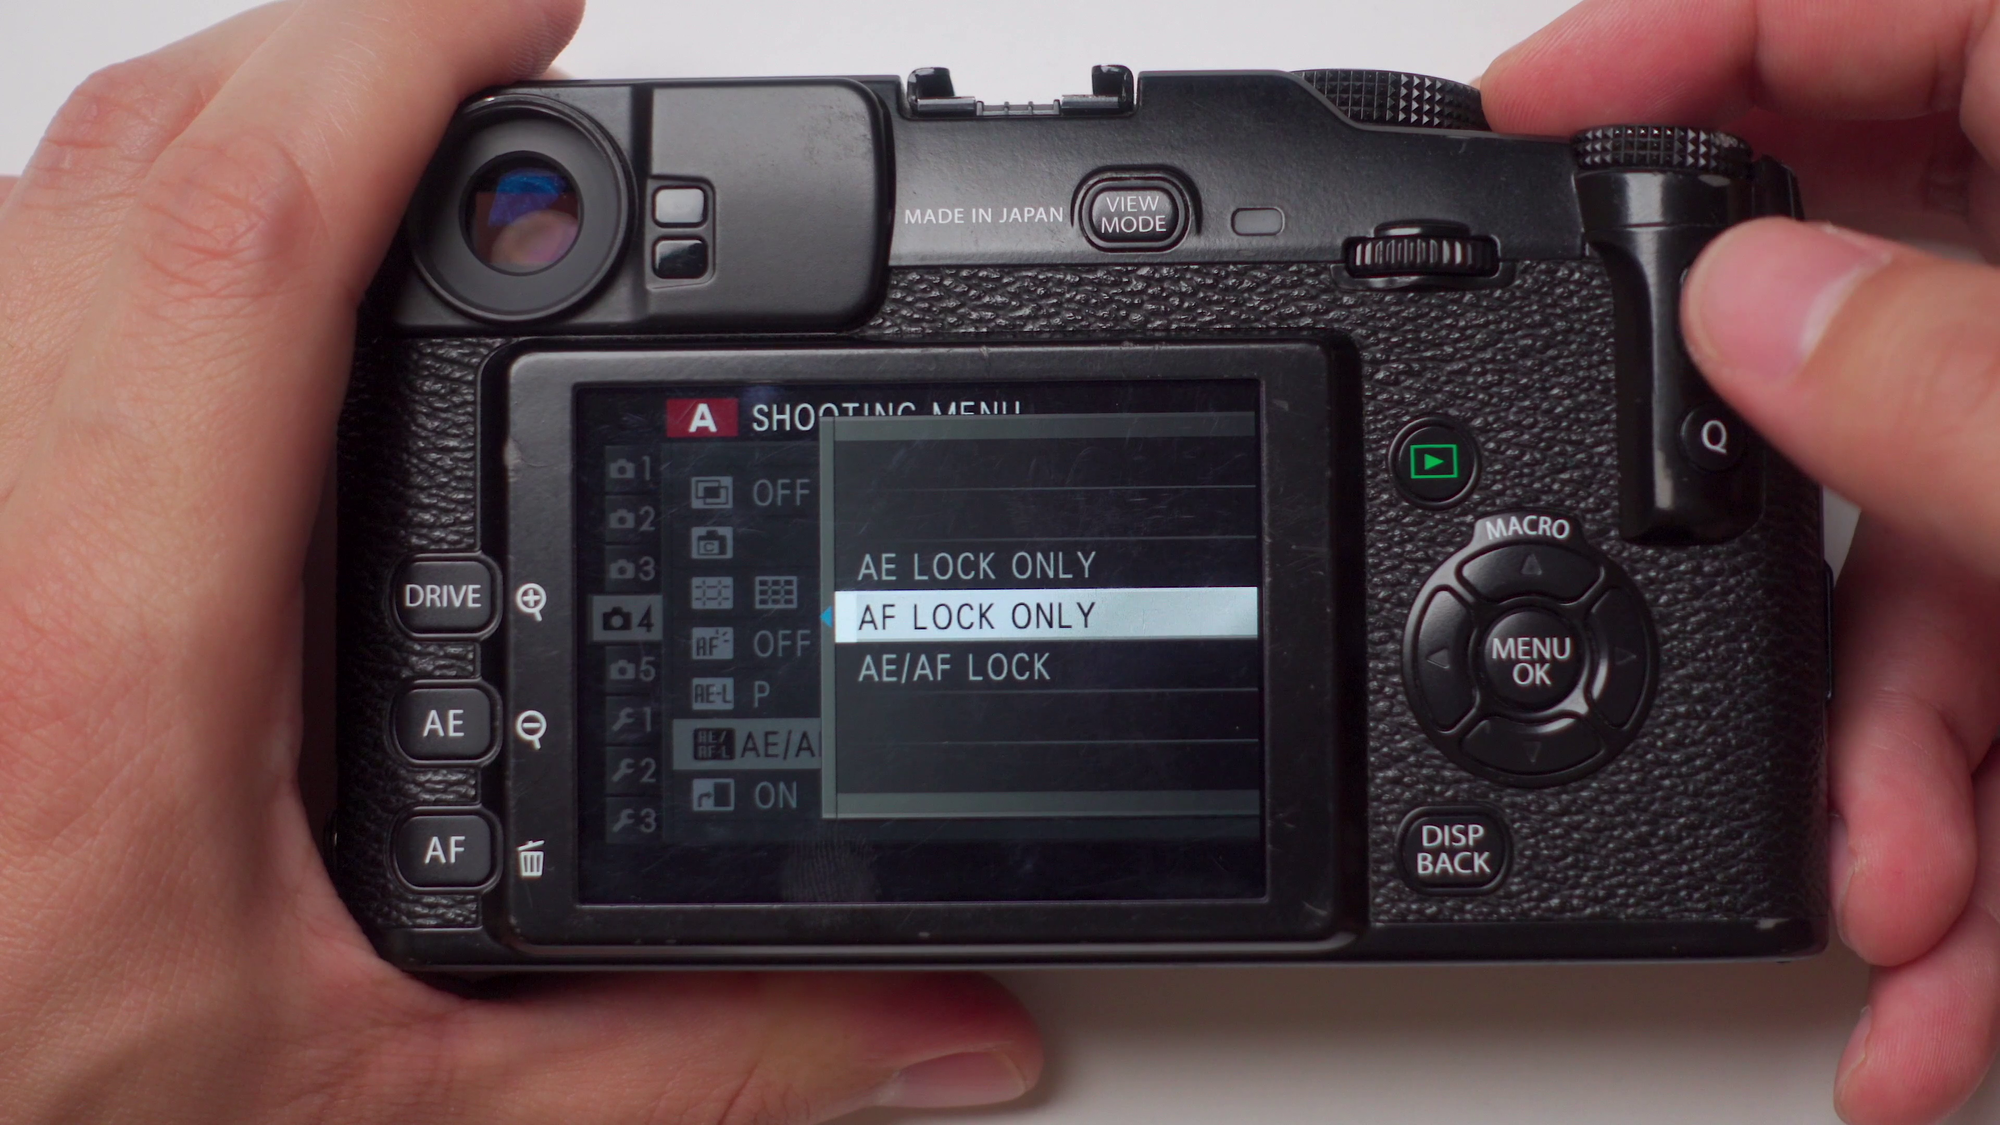
Now you can just press and hold the AF-L button, and take as many shots as you want and once you move and recompose, press it again, and you're set.
With newer Fujifilm cameras like the X100V, it's really similar. You might have extra steps, like disabling focus check, for example:
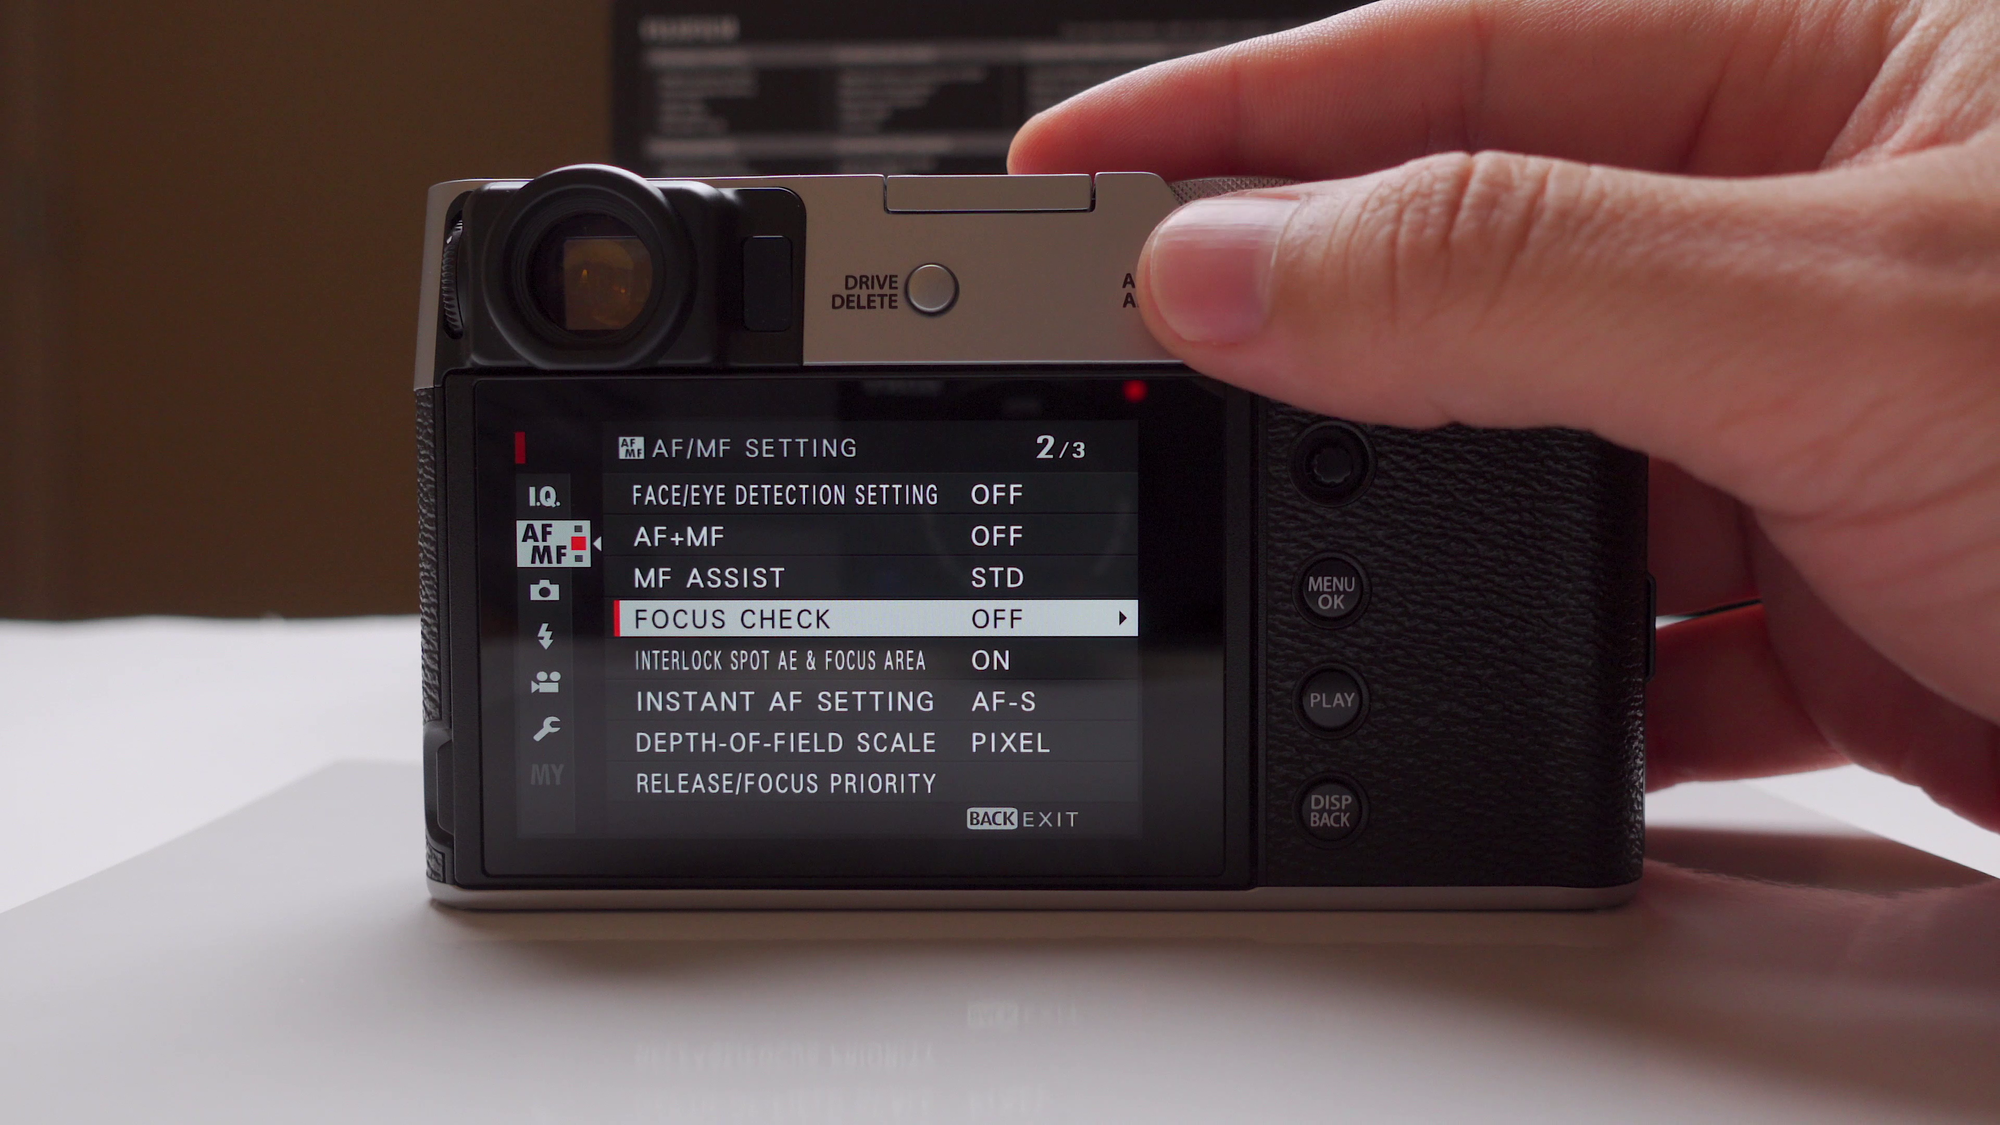
That way the camera takes the shot when you press the button, without stopping you and checking if the image is in focus or not. But overall, a very similar process and setup.
What's The Point Of Using The AF-L button?
Everyone is different and everyone has different preferences, for some types of photography auto-focus is just better, eye tracking, face detection, animal detection, you name it.
But the point of using the AF-L button, or back button focusing is Control. To take control of the camera and take accountability as well. If you mess up the focusing and the shots, it's not the camera's fault. It's yours.
Nobody is perfect, we all make mistakes, but I find that shooting this way has taught me quite a bit and keeps me accountable. The point of mastering the settings, shooting in manual mode, shooting JPEG only, and using the AF-L button is that, once you get past the settings and technicalities, you can actually focus on your craft.
On what you're trying to capture, what you want to achieve, and what kind of artist you want to become, and to me, that is what matters, nothing else.
YouTube Video
This is a summary of my YouTube Video, you can watch the whole piece linked here:


)