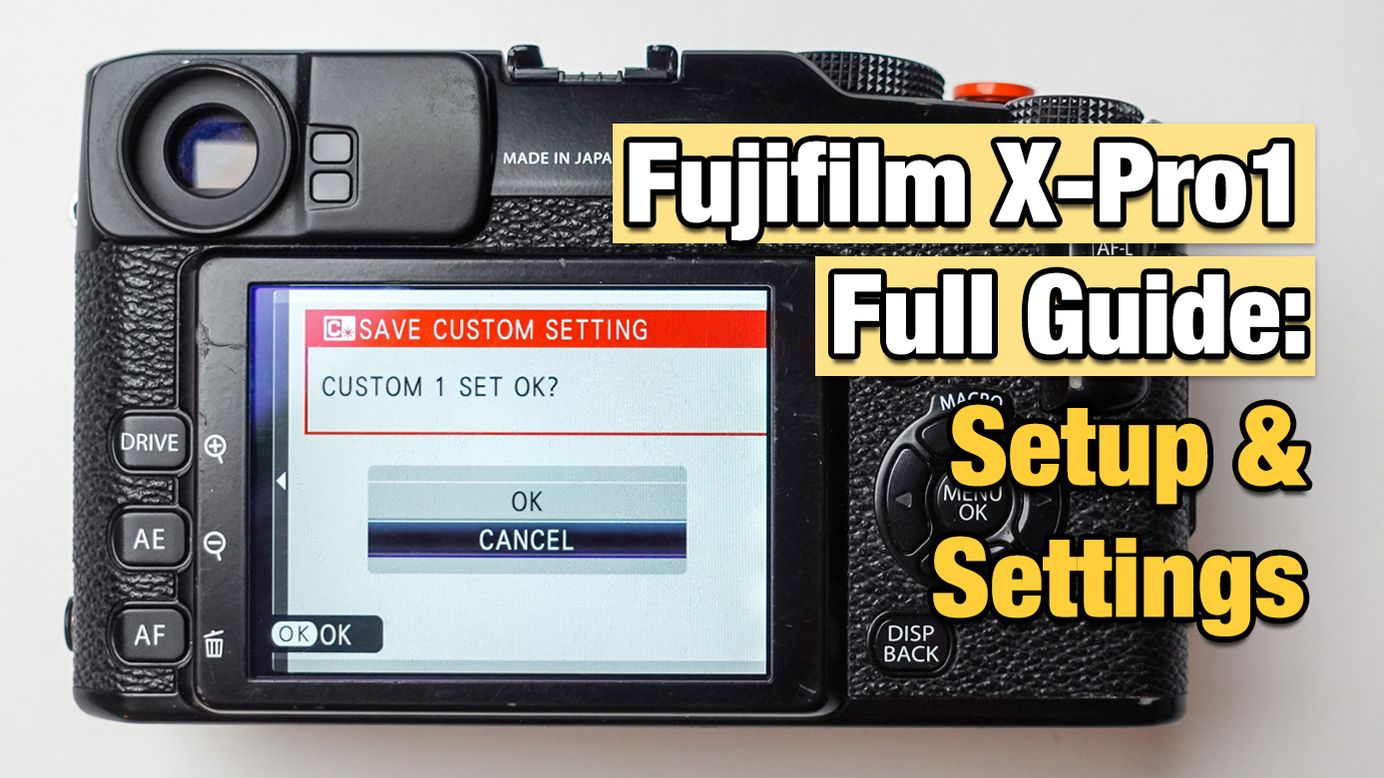
Fujifilm X-Pro1 Setup & Settings
Settings for shooting with intentionality, getting everything you can in-camera & street photography.
Table of Contents
I recently reviewed what many people consider to be one of the best entry-level cameras for street photography, the Fujifilm X-Pro1.
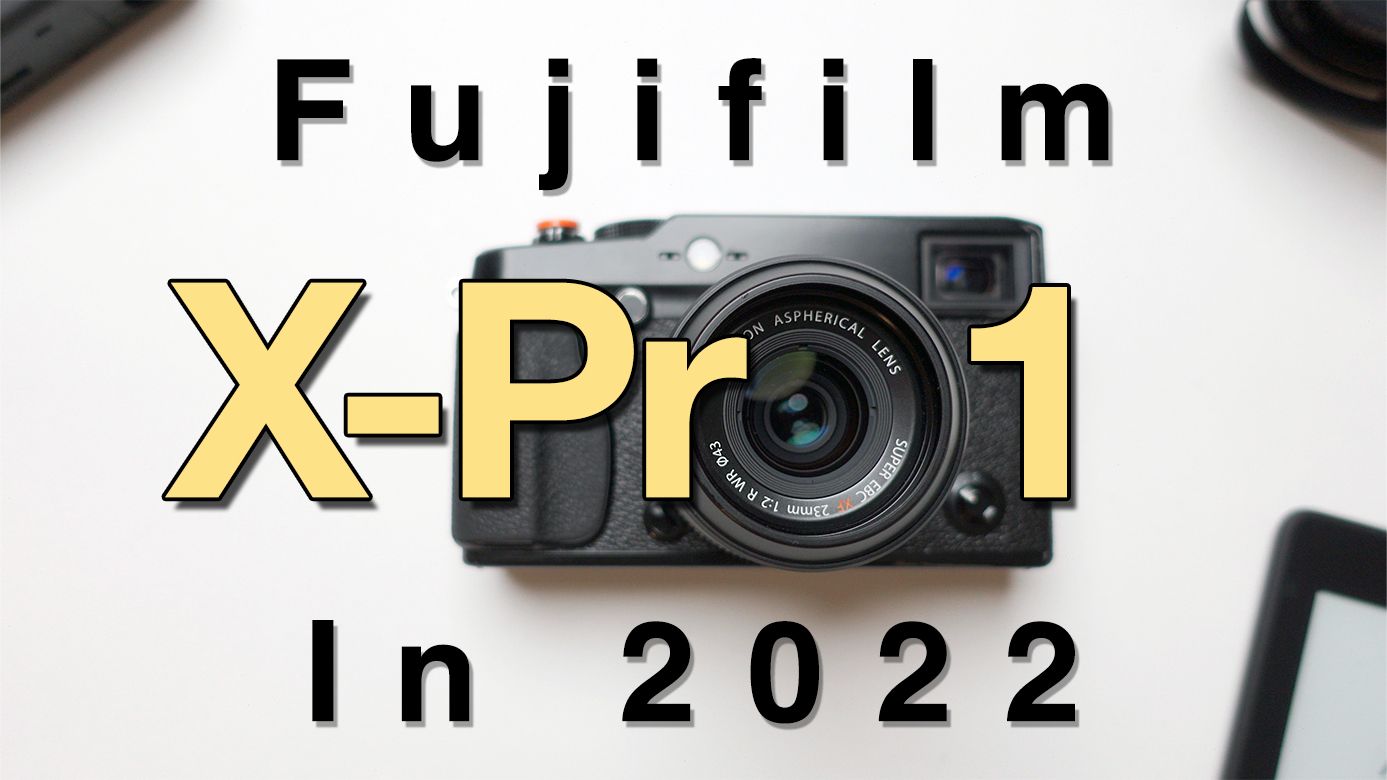
But this is a quick overview of my YouTube video regarding the settings, setup and guide of the X-Pro1.
It's important to keep in mind that I shoot with intentionality. Meaning I shoot in manual mode, JPEG only, I choose my aspect ratio in-camera and the film simulation BEFORE I take the photos, I don't crop images later or change from colour to black and white.
This matters because I'll be showing you how to create custom profiles with custom simulations, switch aspect ratios, focusing modes and other things needed to shoot with intentionality, so now you have an idea of why these settings and the way I set up the camera matter to me.
Check & Update Your Firmware
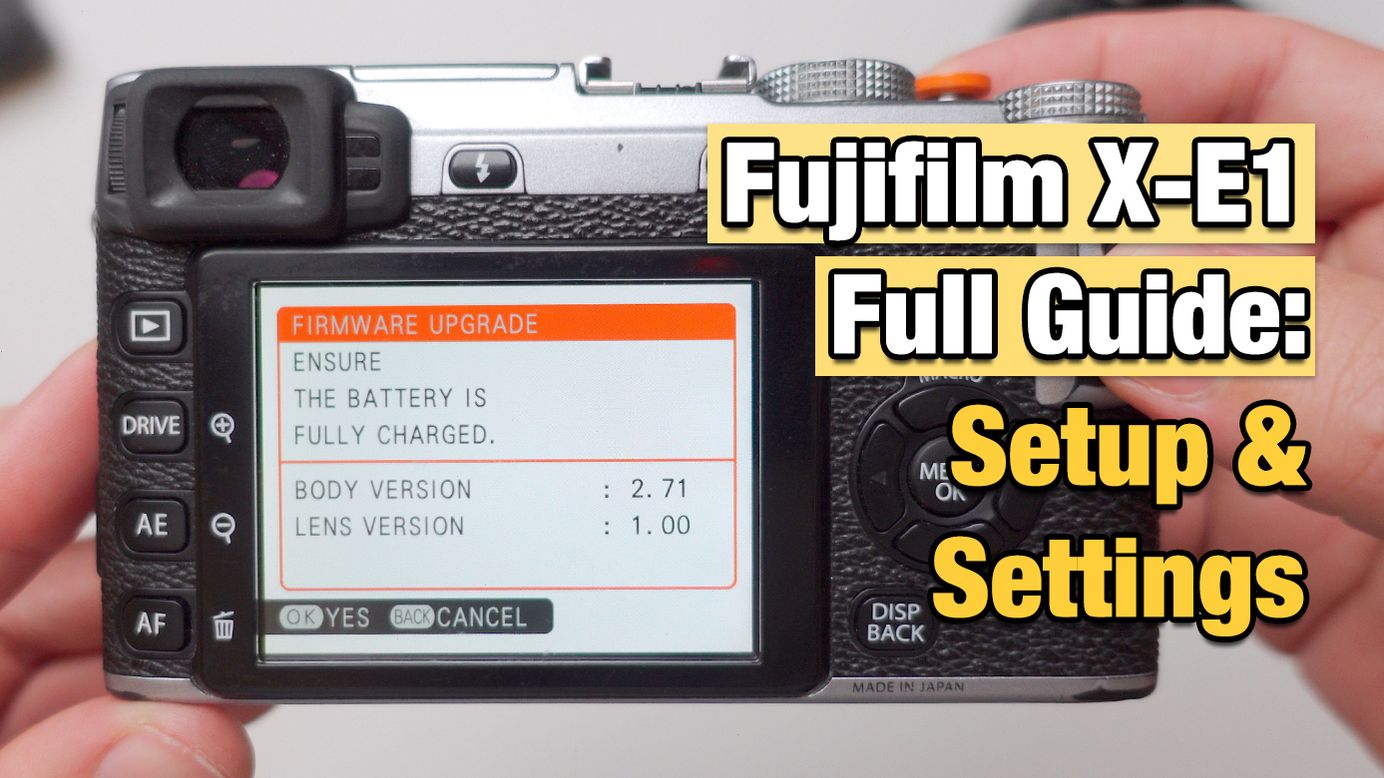
Before you start, make sure you have the latest firmware installed. To check your current firmware, make sure you press and hold the display/back button while you turn the camera on.
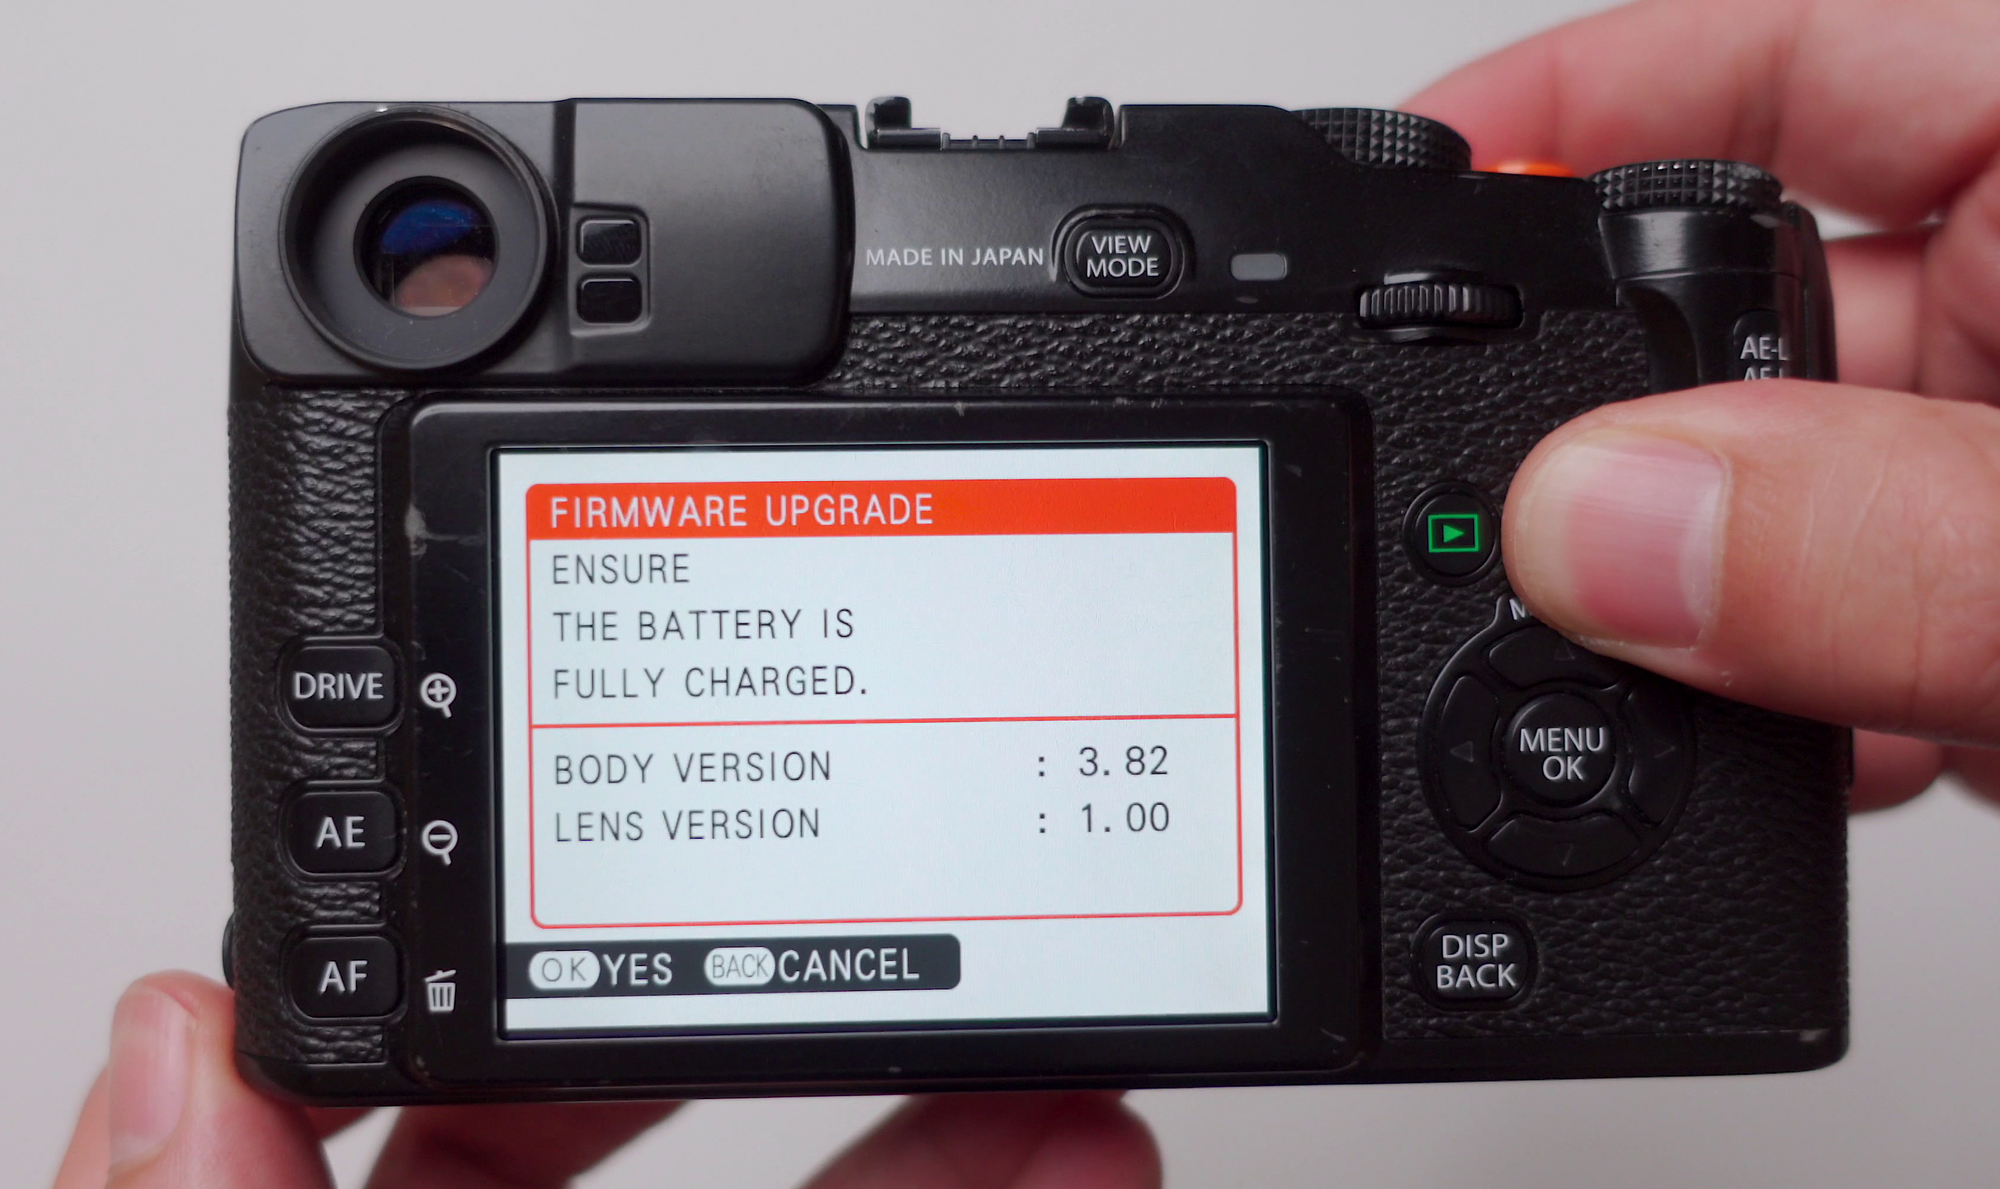
You should see a boot menu telling you what your current firmware number is. If you don't have the latest version, then go to the Fujifilm website and download the latest firmware here:
Make sure you have a formatted memory card and a full battery before you start the updating process. Turning the camera off while updating it will brick it and render it unusable.
If you don't have the latest version installed, then you can download the latest firmware from the link above, and follow these steps right here to update your firmware here:

From here on, I highly recommend you check out the video as it's easier to show you step-by-step how to set the camera up and explain some of the settings as well.
The Setup Menu
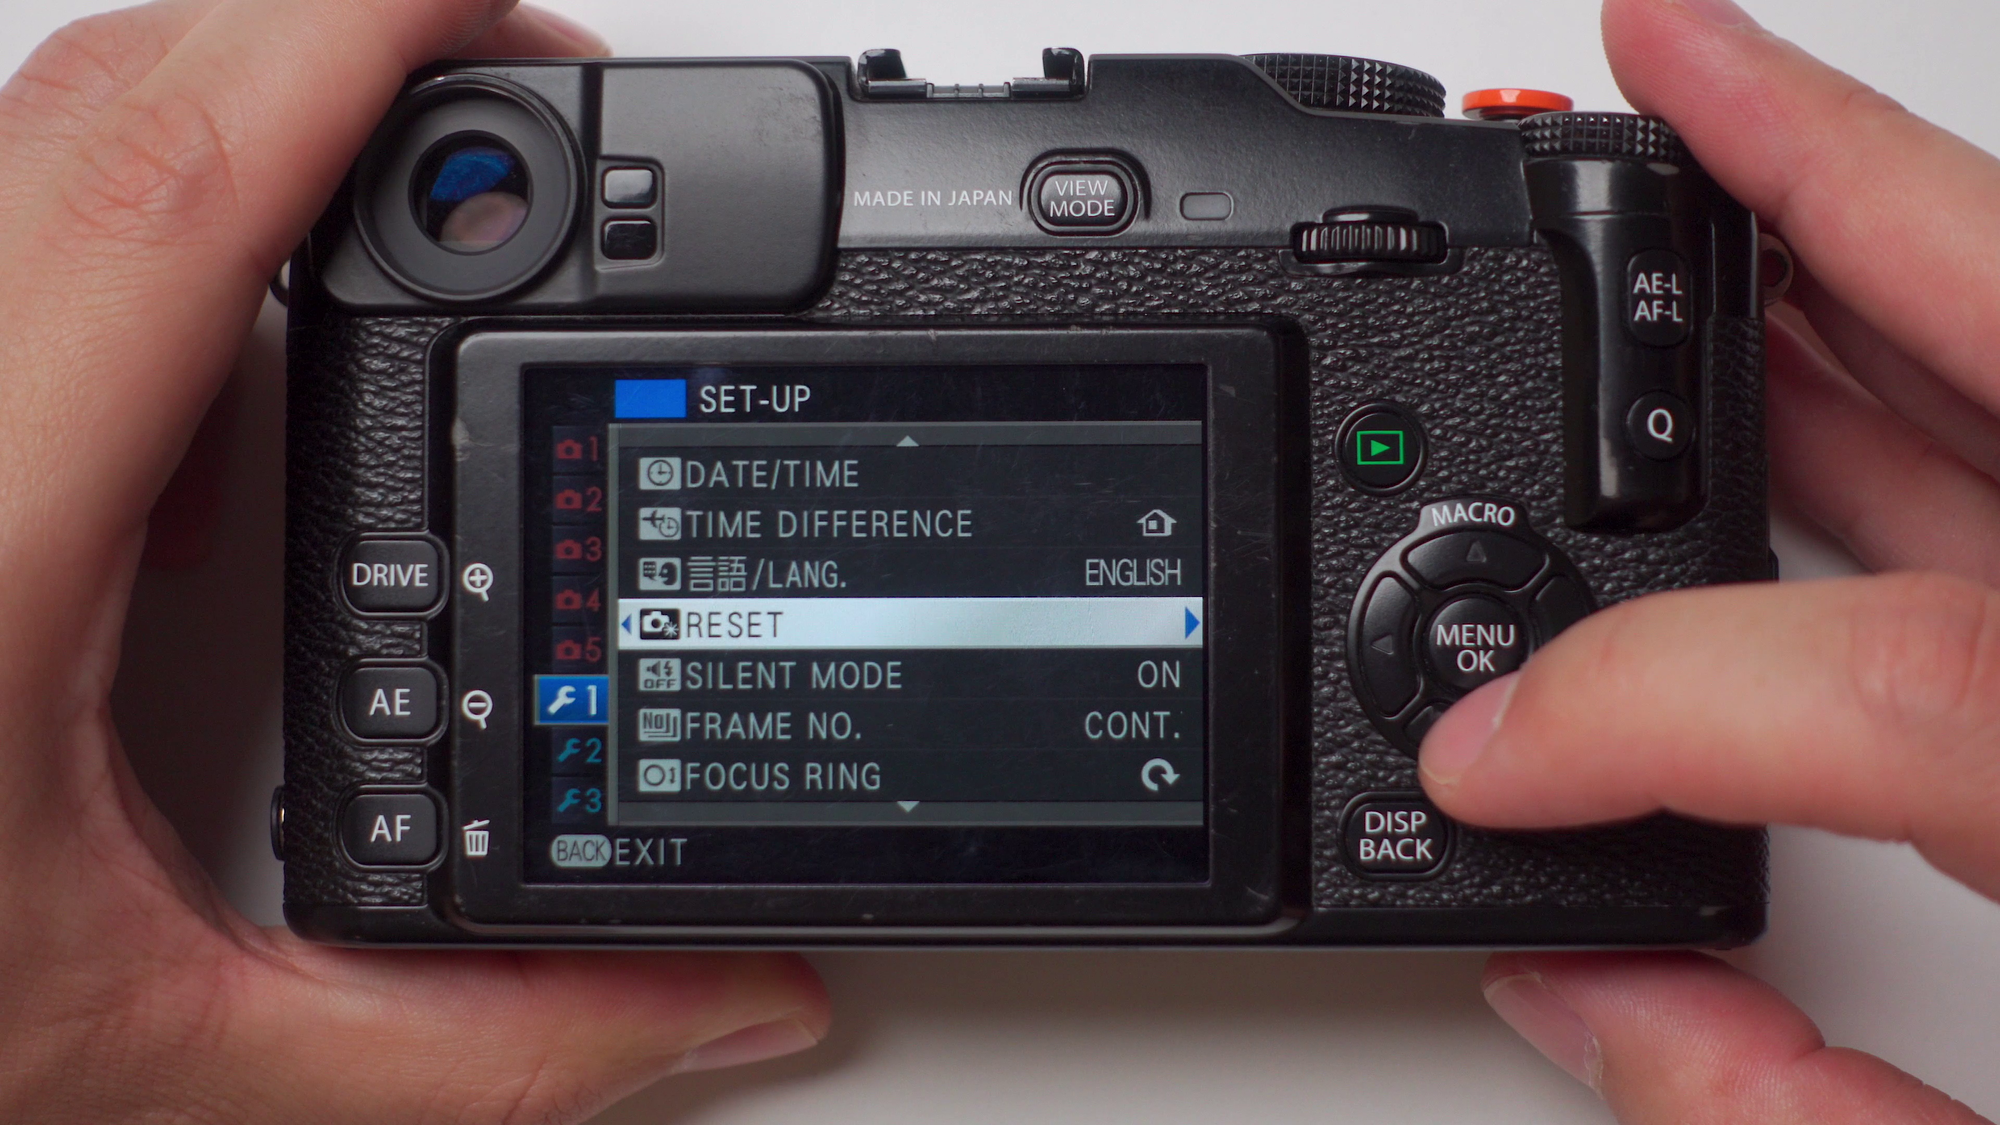
These are mainly the operational settings of the camera and these are the settings that we'll be taking a look at first.
- Language.
- Formatting.
- The volume of operation.
- Date and time.
- LCD brightness.
- Colour space, etc.
The Shooting Menu
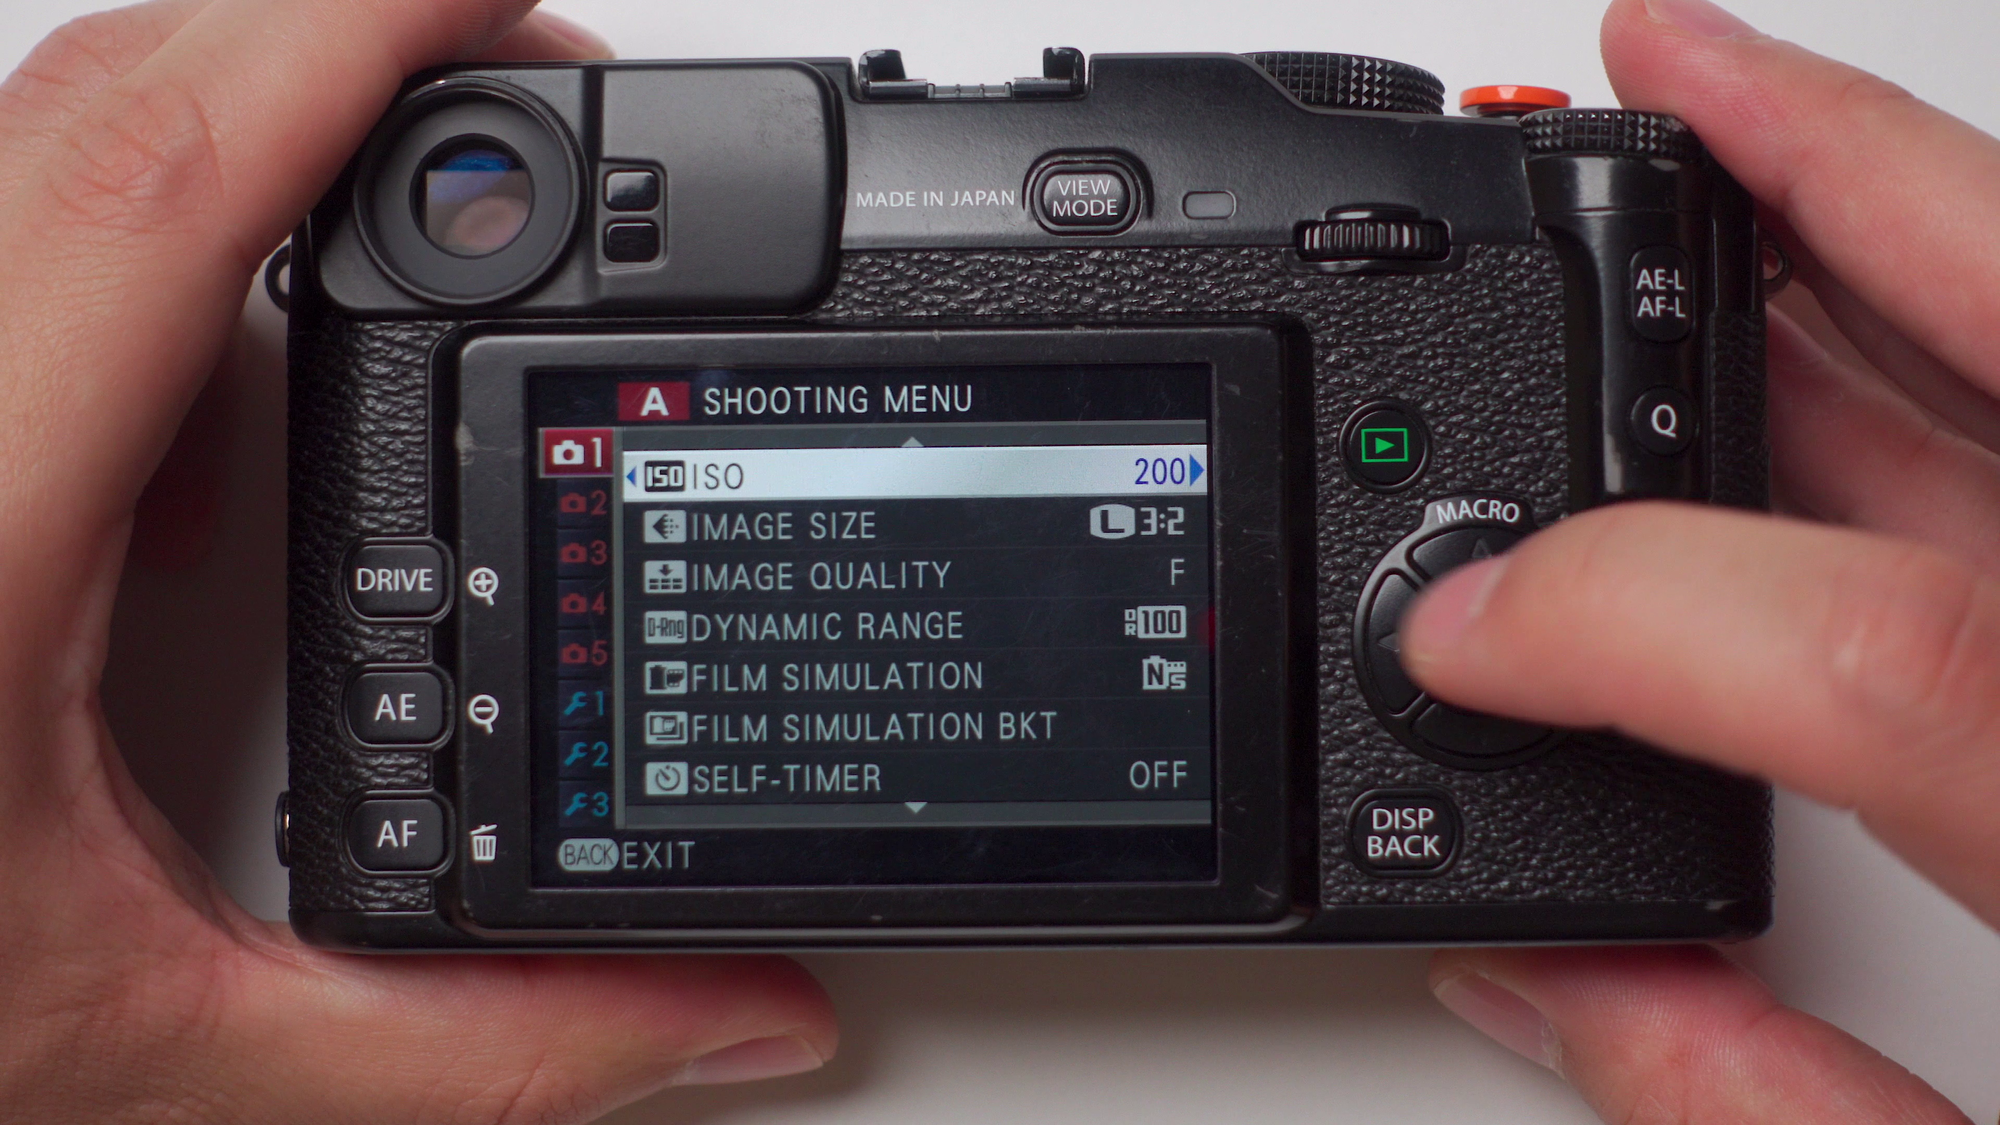
Here we go over all the settings regarding image quality, settings that affect the images directly and your results, the shooting menu is the meat and potatoes of this guide.
- JPEG only settings (Colour, Sharpness, Highlight & Shadow Tone, Noise Reduction)
- The OVF & EVF settings.
- ISO.
- Film Simulations.
- Dynamic Range.
- White Balance.
- Custom Function settings.
- AF-L (Back button focusing)
The Custom Menu
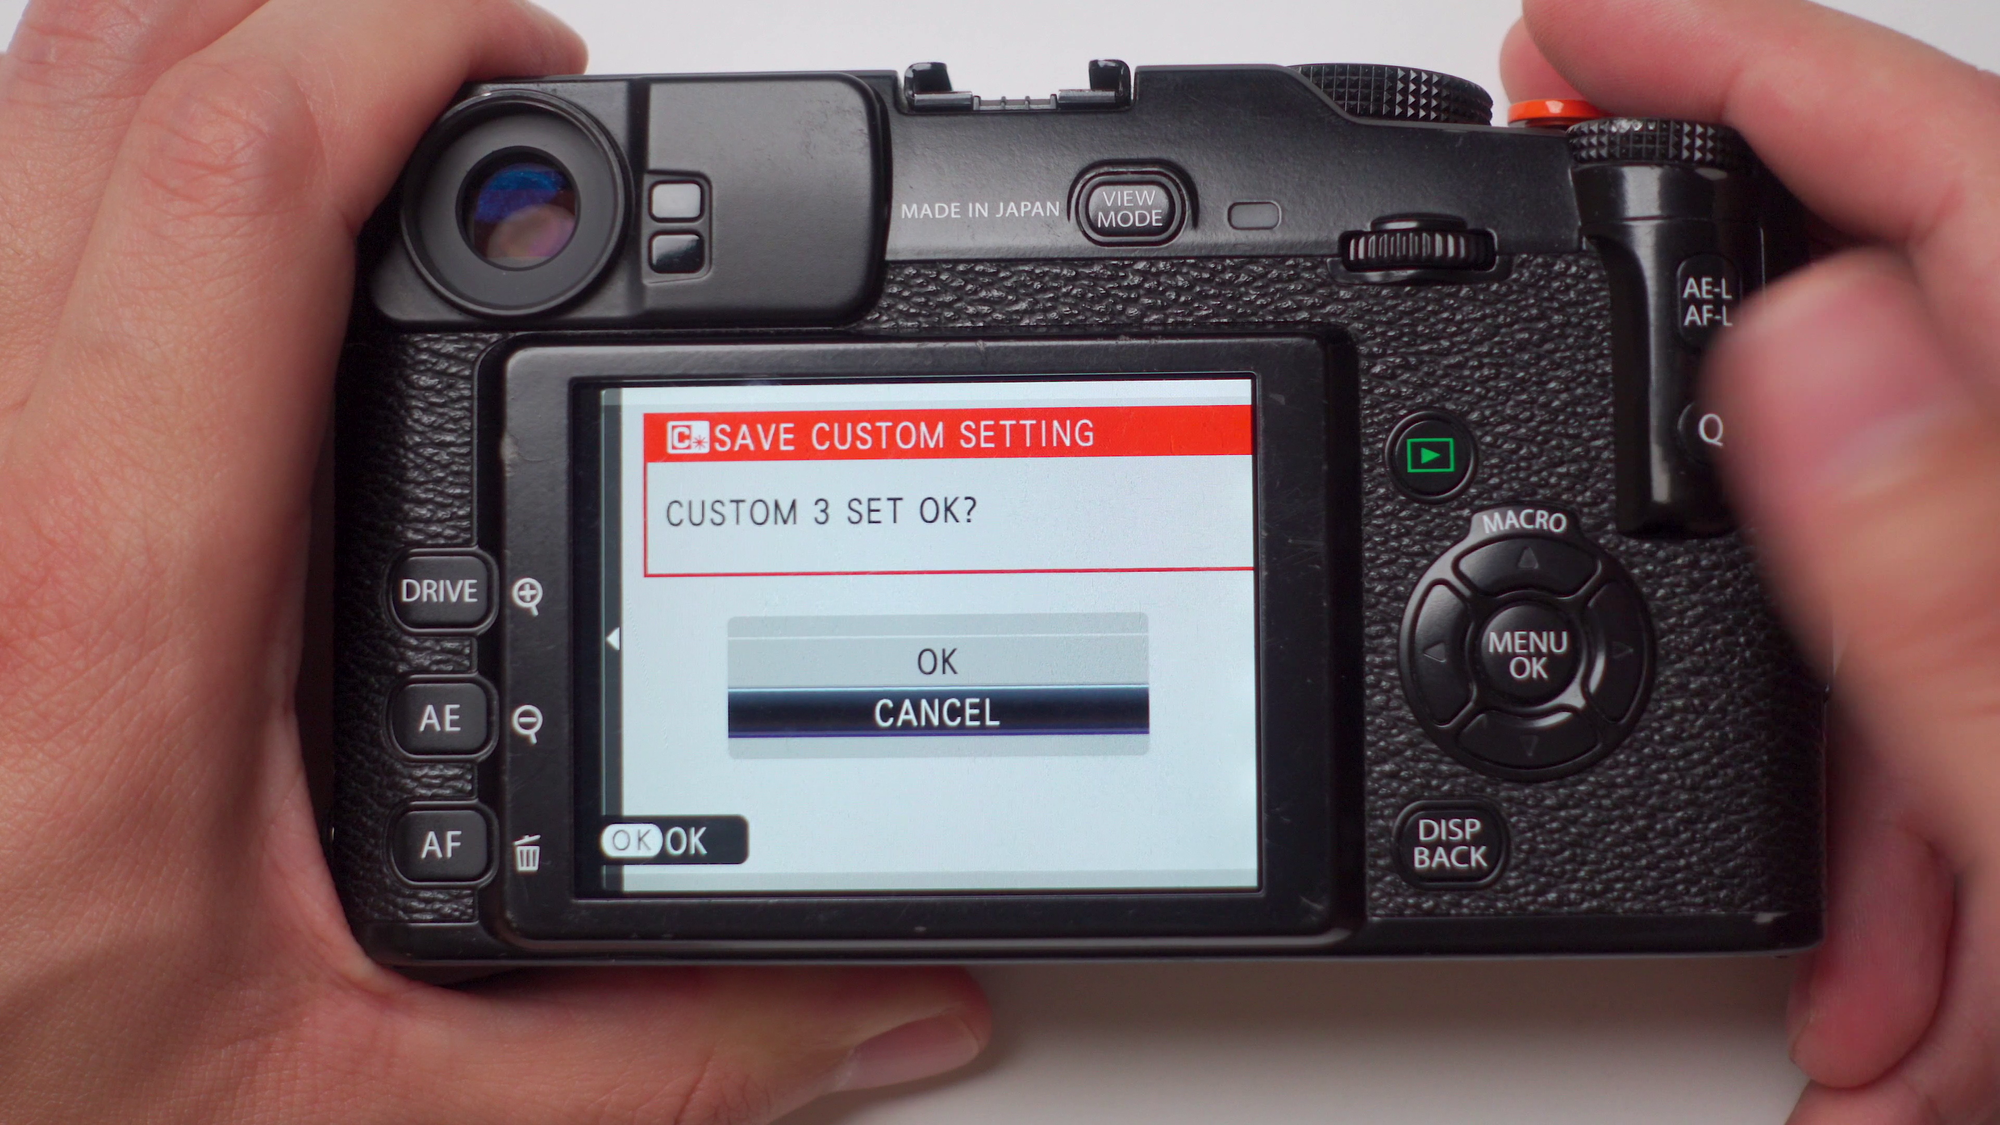
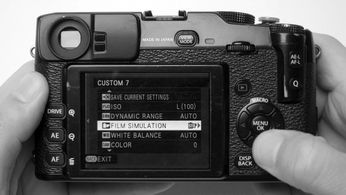
This is one of the most important things that the camera has to offer, a custom menu where you can modify and store simulation profiles. This makes going out and about easier and offers more control over your craft.
- Create & Store custom simulation profiles.
- Assign them and switch between profiles using the Q-button.
Really important to customize settings before you go out there, and save them as custom profiles.
Full YouTube Video Guide
You can watch the YouTube video for a full step-by-step guide on how to do everything listed in this post here:


