Fujifilm X-E1 Setup & Settings
Table of Contents
I recently did a full review of one of the most affordable Fujifilm cameras and one of the easiest ways to get into street photography or documentary photography, the Fujifilm X-E1.
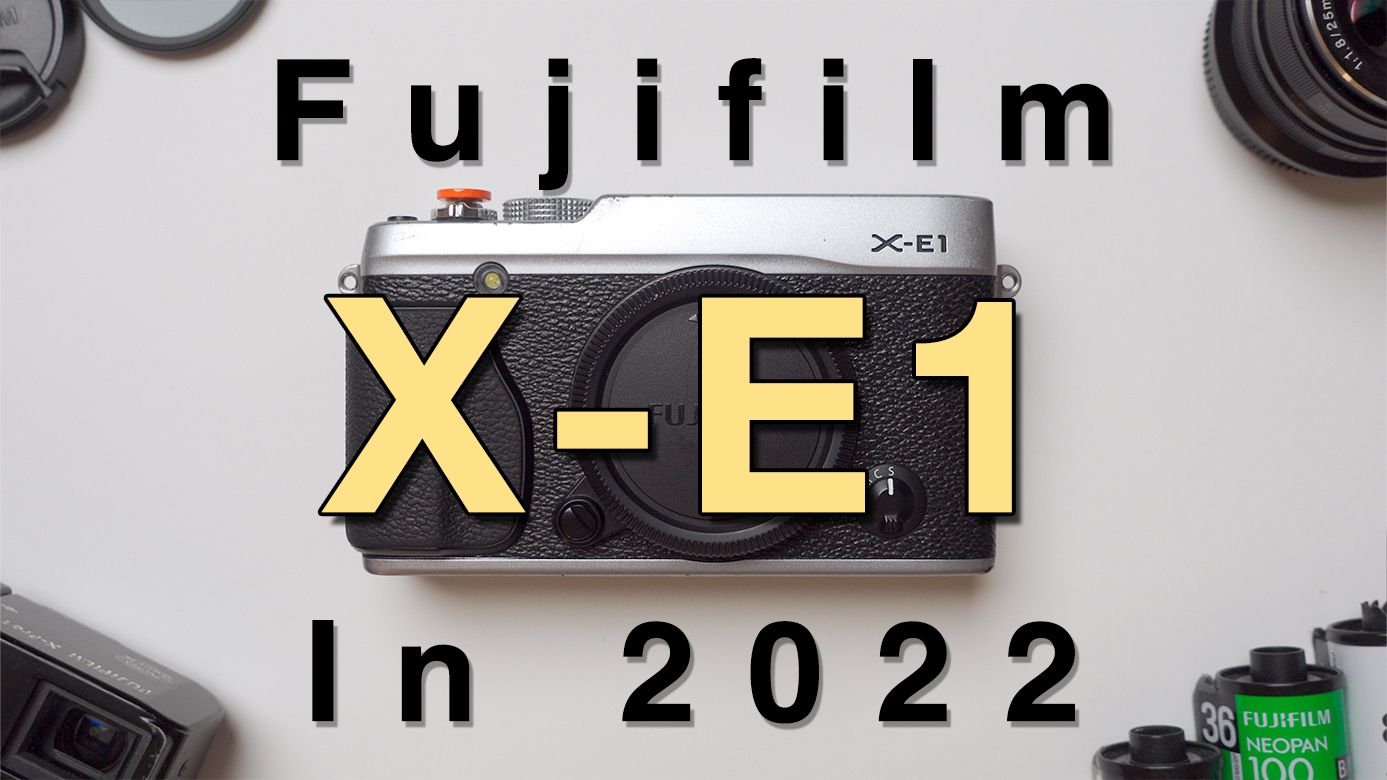
So if you’re coming to this post from that review, or you recently got one of these, or you had it for a while and you're now wondering how to set it up for street or documentary photography, what settings to use, and how to shoot with it, then this post is for you.
I've made video guides for other Fuji cameras as well as videos regarding my shooting style and philosophy as well. I recommend you check this one out in particular if you want to get into the nitty-gritty of how I shoot, and why I shoot the way that I do:
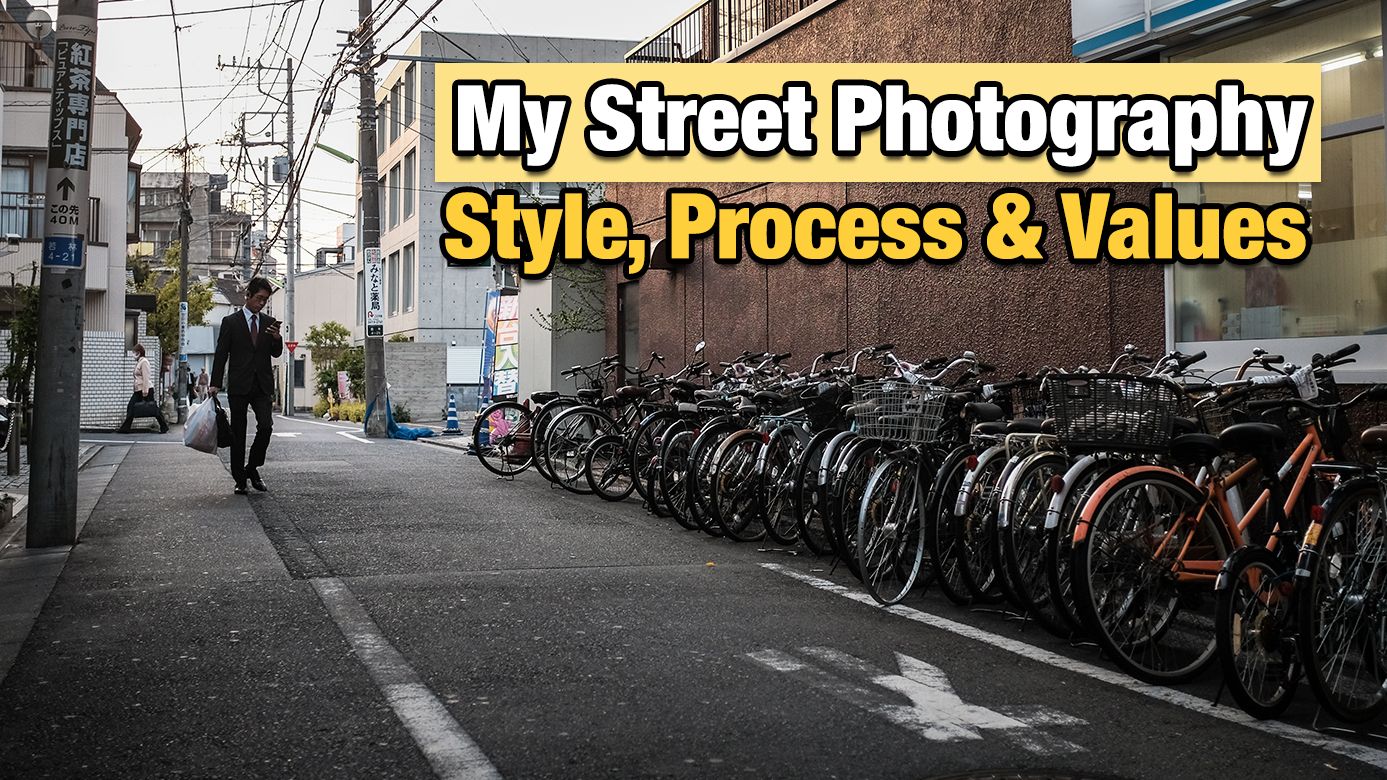
But to summarize, I shoot with intentionality. In manual mode, JPEG only, I choose my aspect ratio in-camera and the film simulation before I take the photos, I don't crop images later or change them from colour to black and white. Nothing like that.
This is not an attack on people that do like to do those things, shooting in raw, changing your mind later, etc. You're free to choose whatever style you want and whatever style makes you happy. It’s all good.

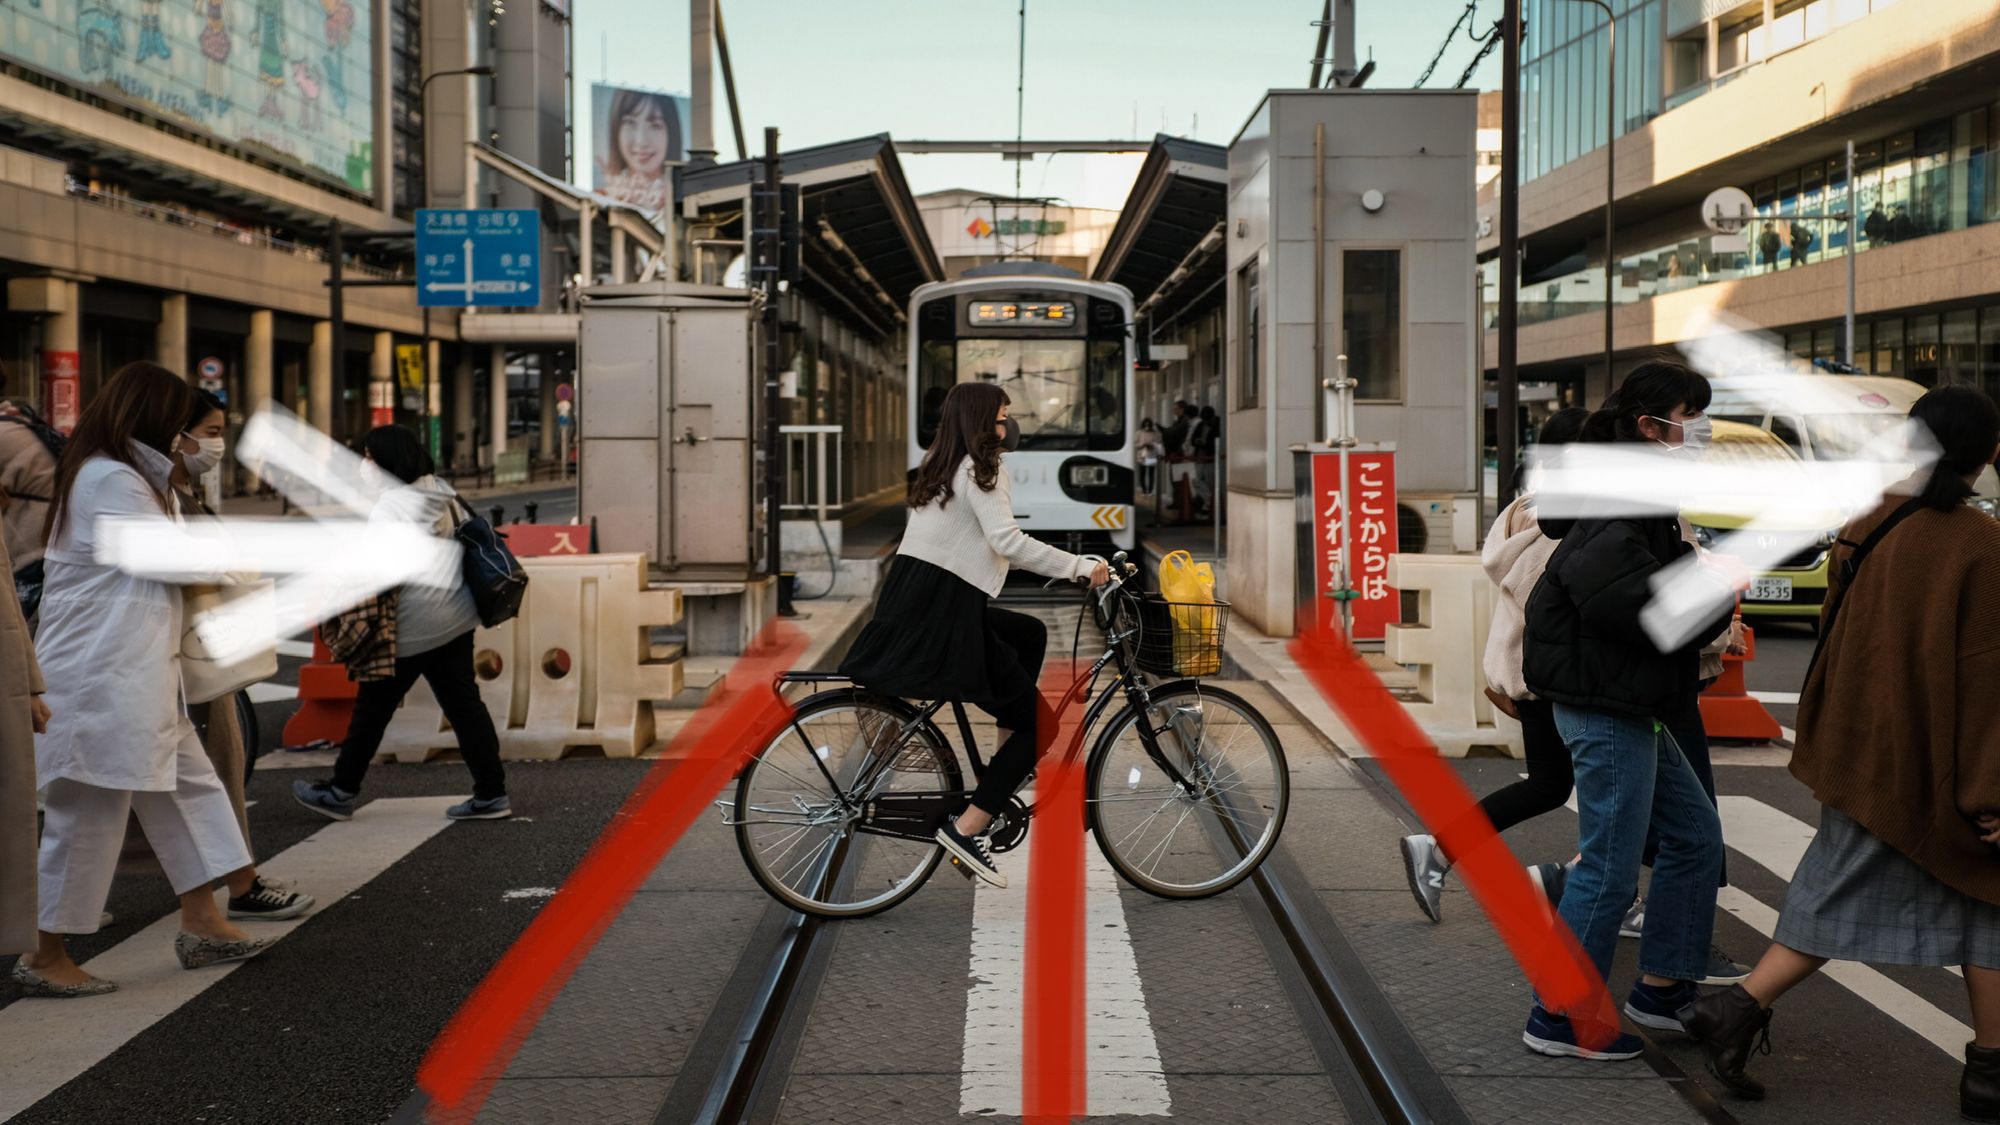
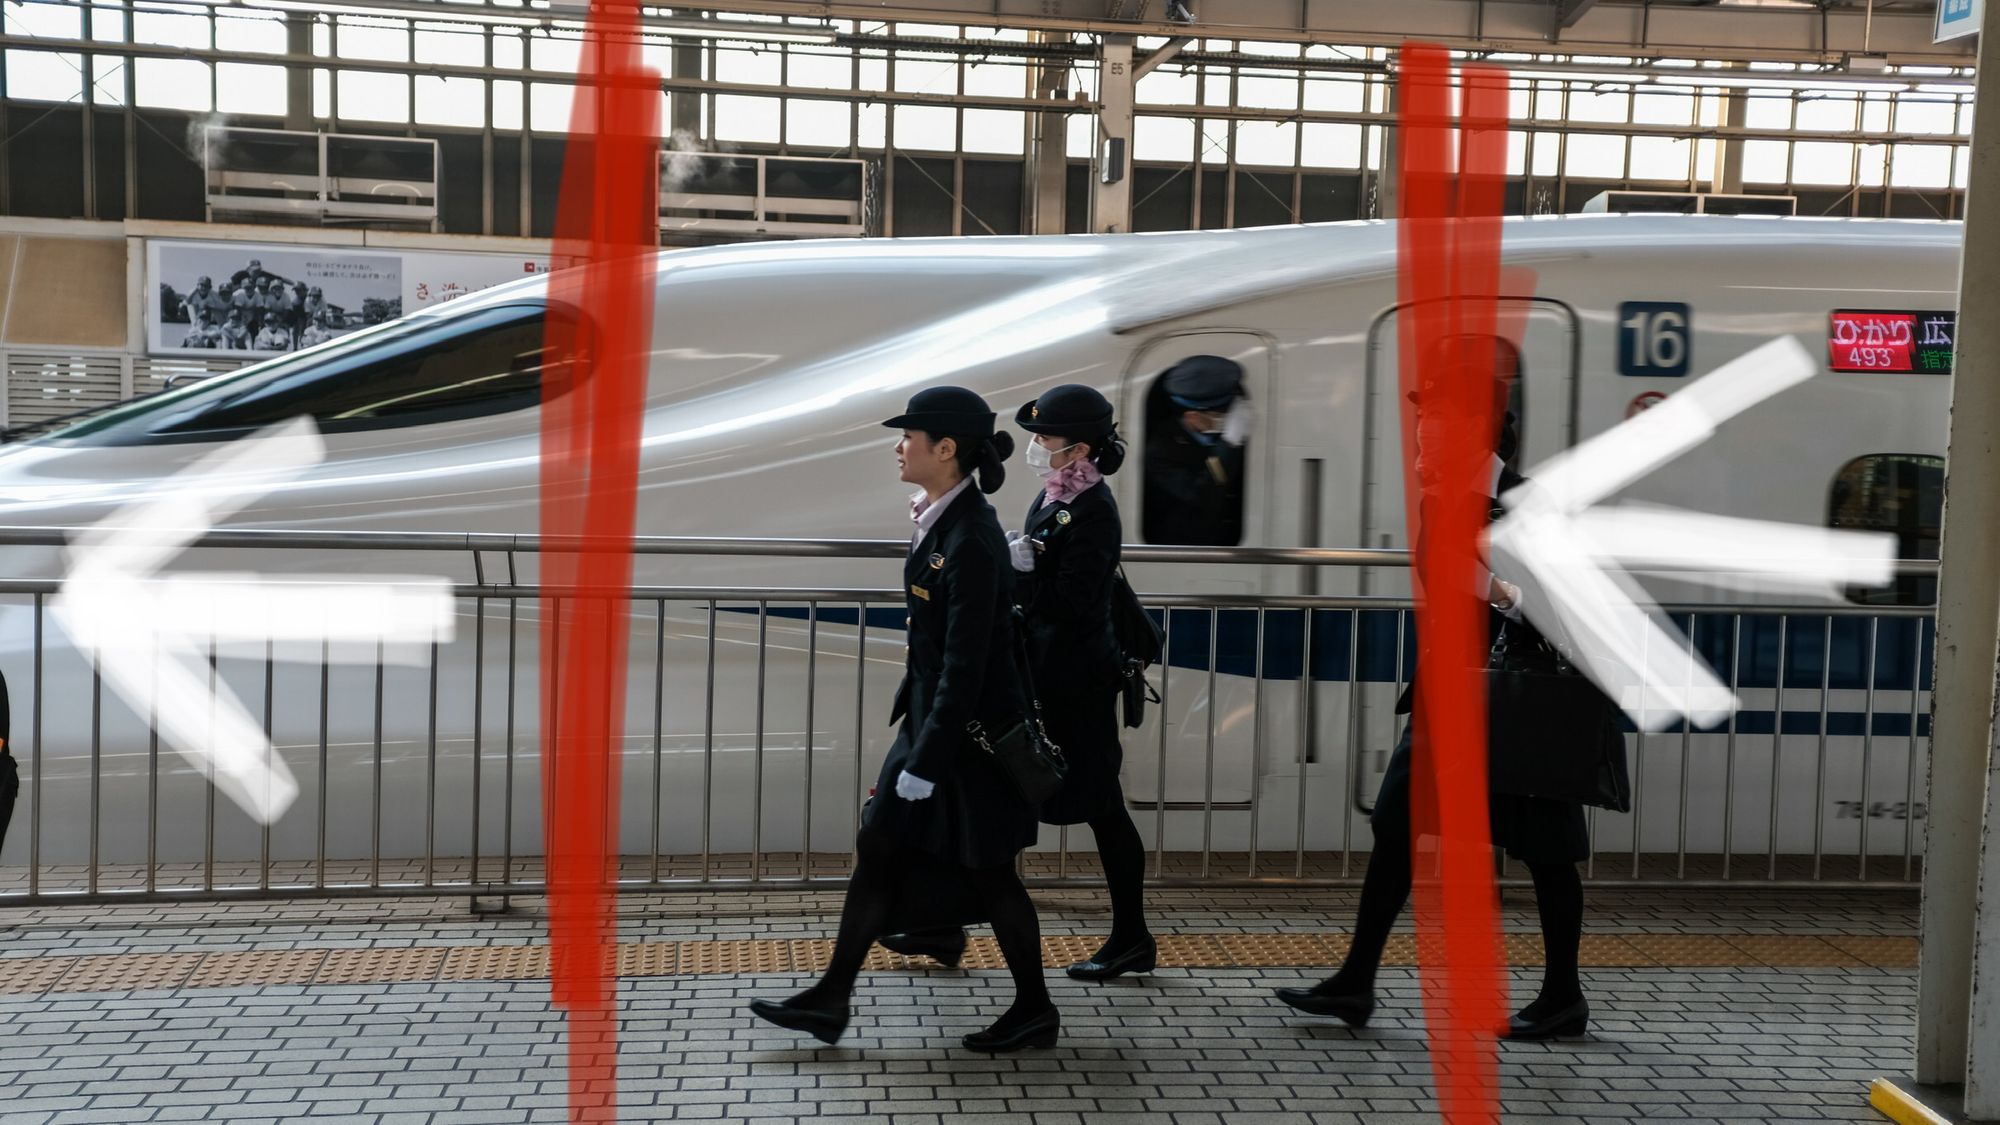
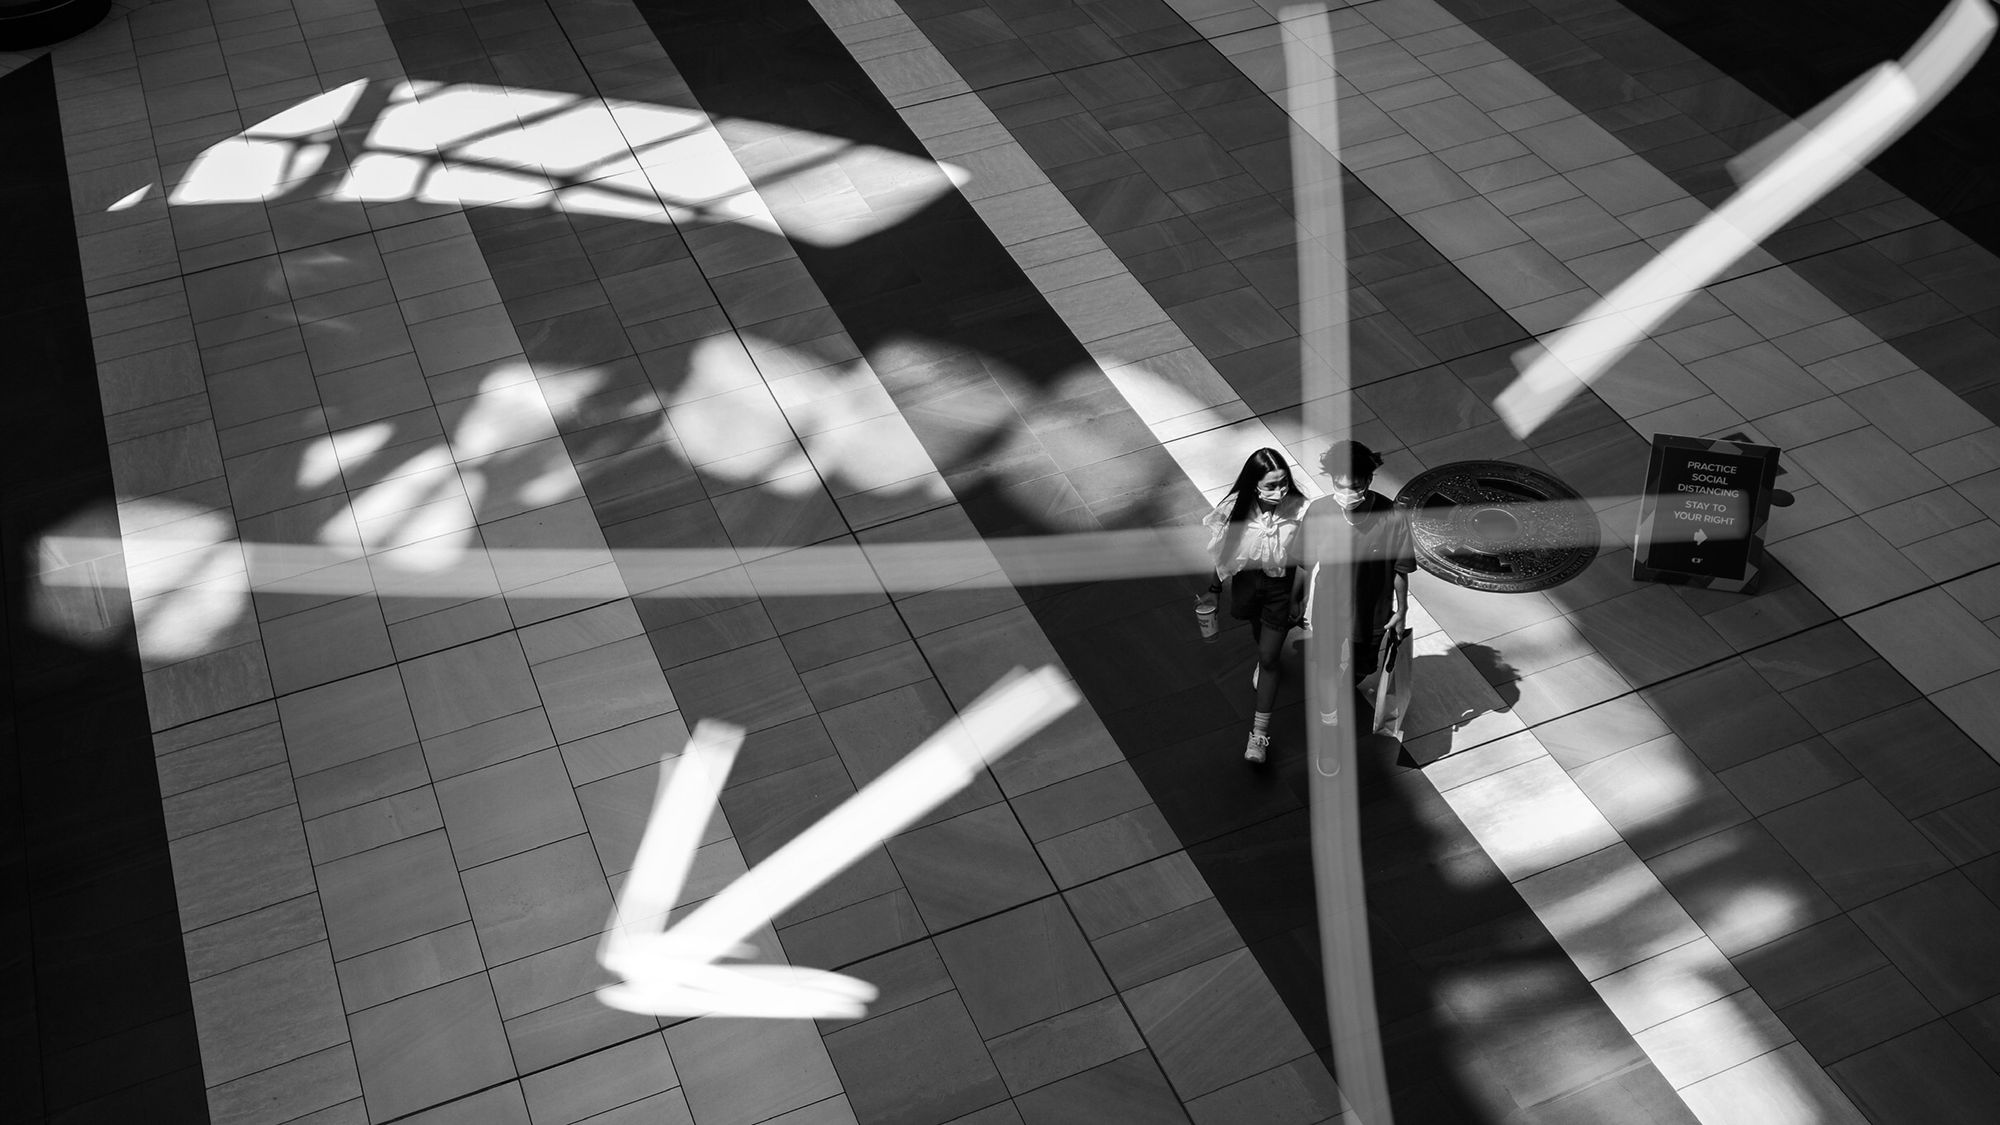
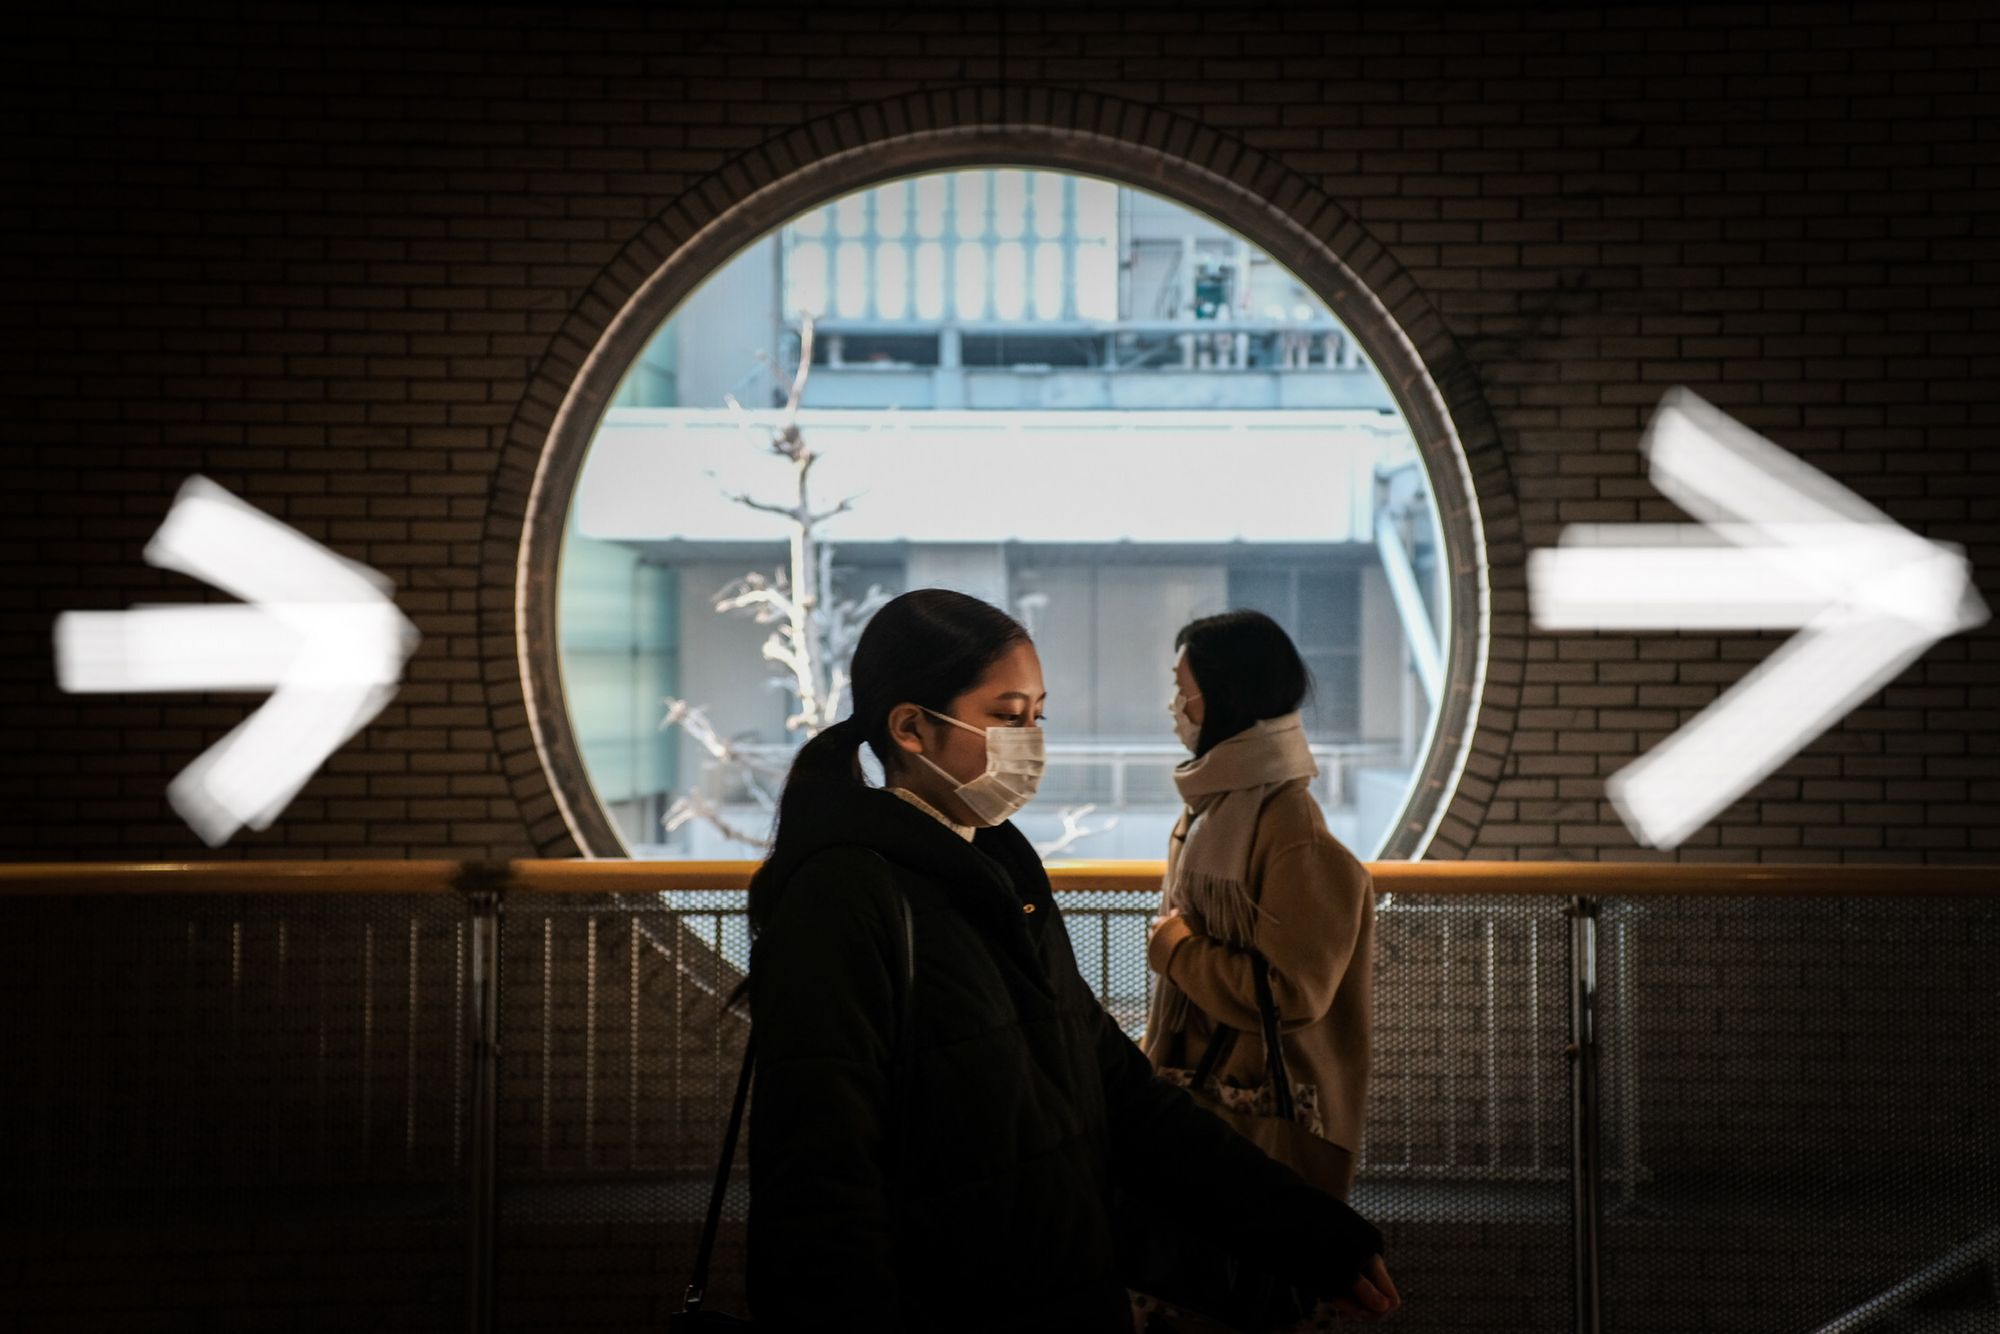
But knowing or understanding how I shoot, and why I shoot the way that I do is fully reflected in the way I set up my cameras, and the settings you'll see here, so now you know.
Checking The Firmware Version
Before we start diving into menus, we have to make sure that we have the latest firmware installed.
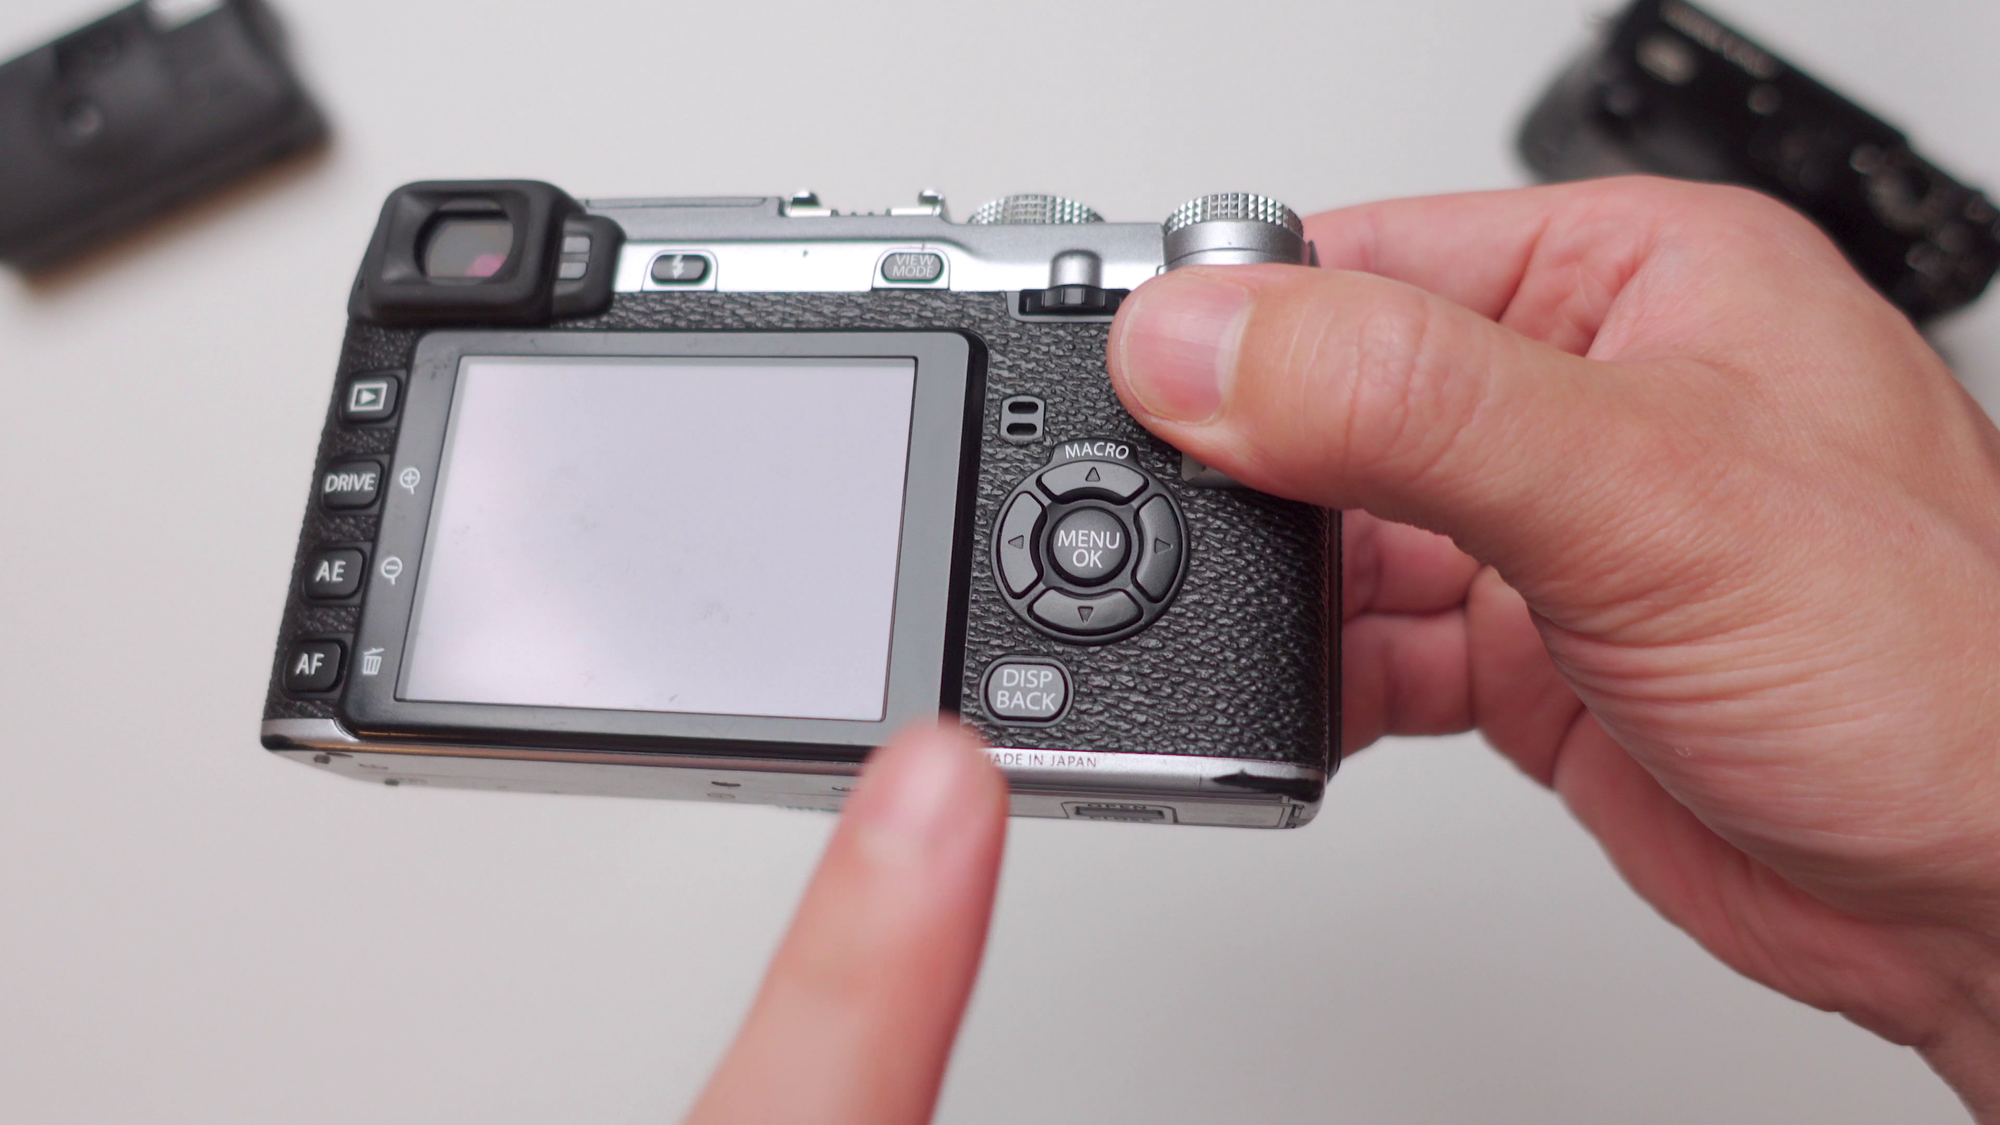
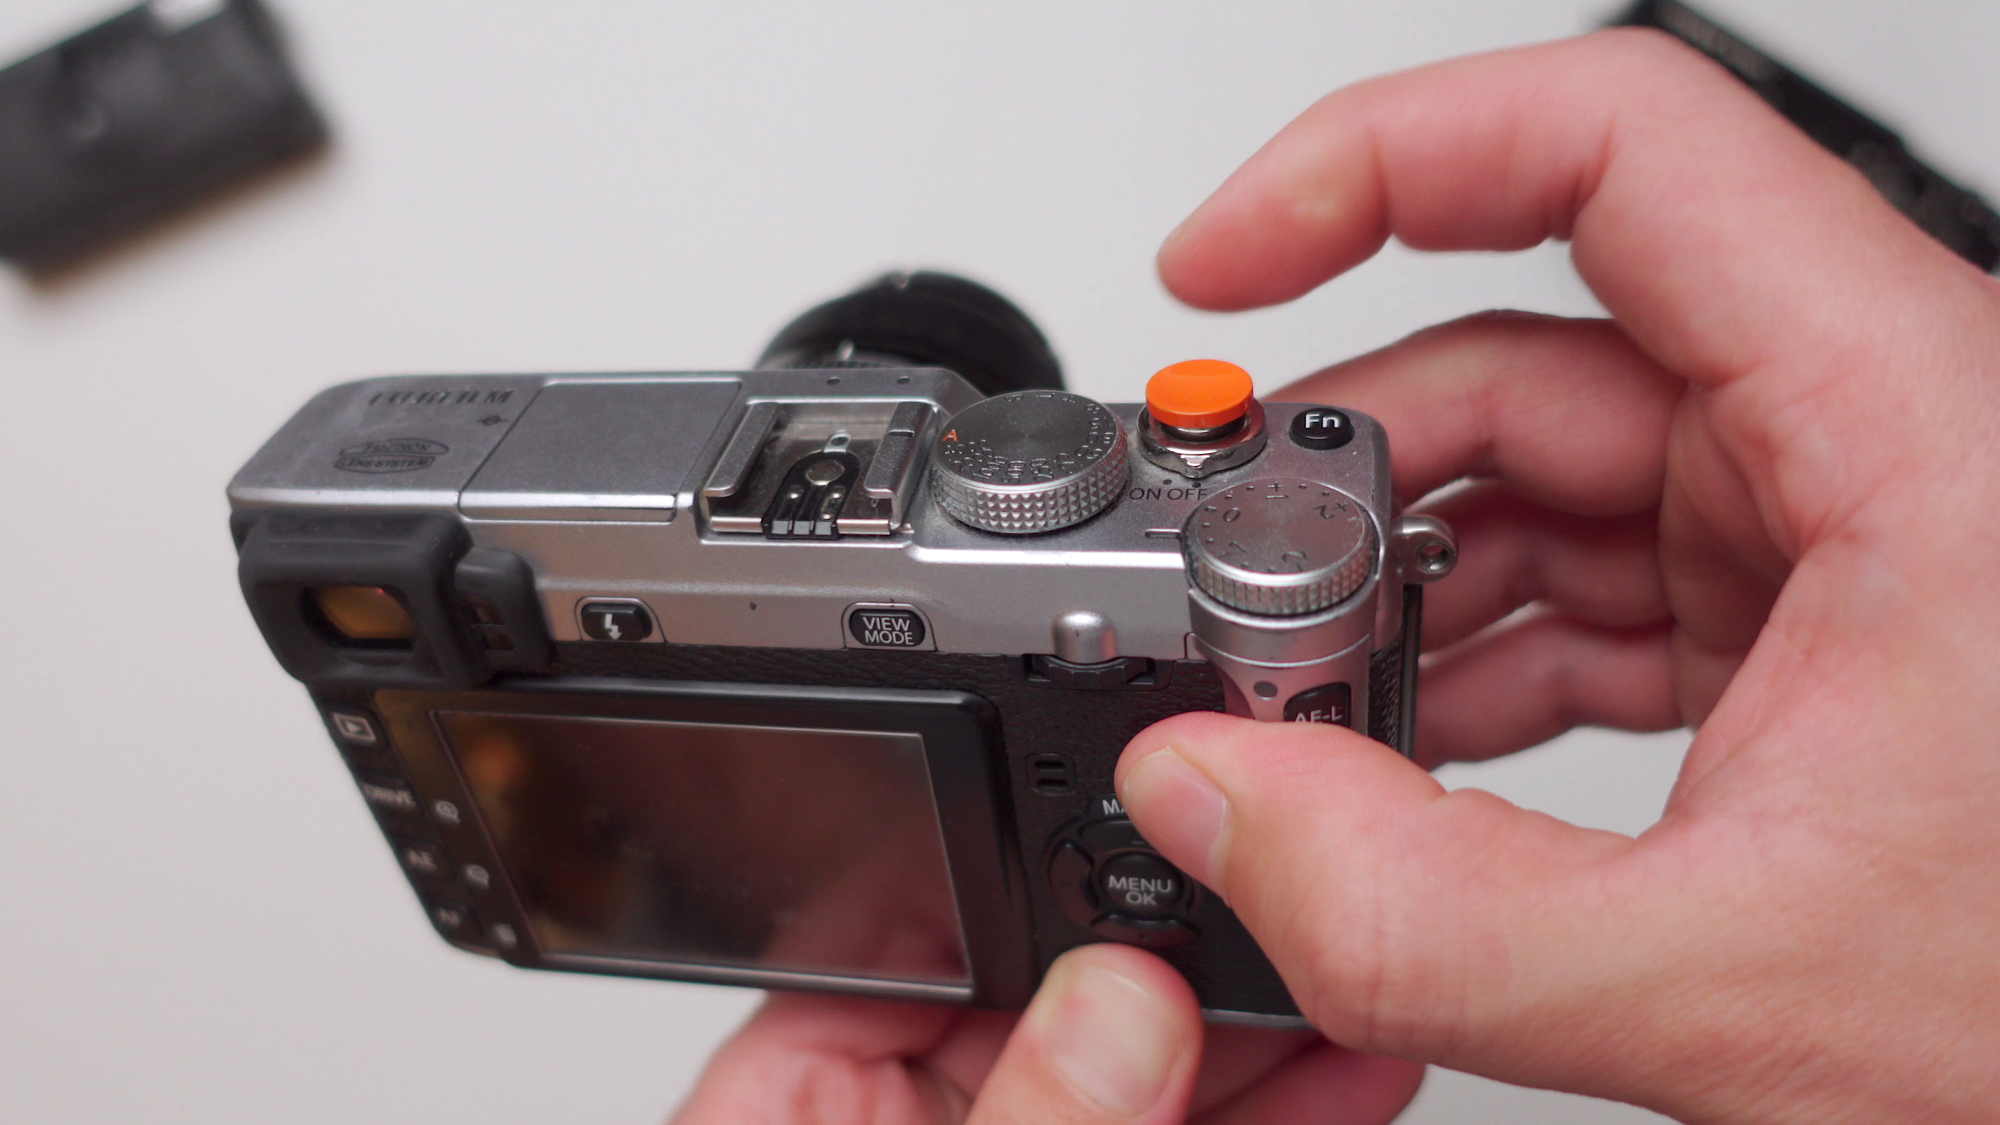
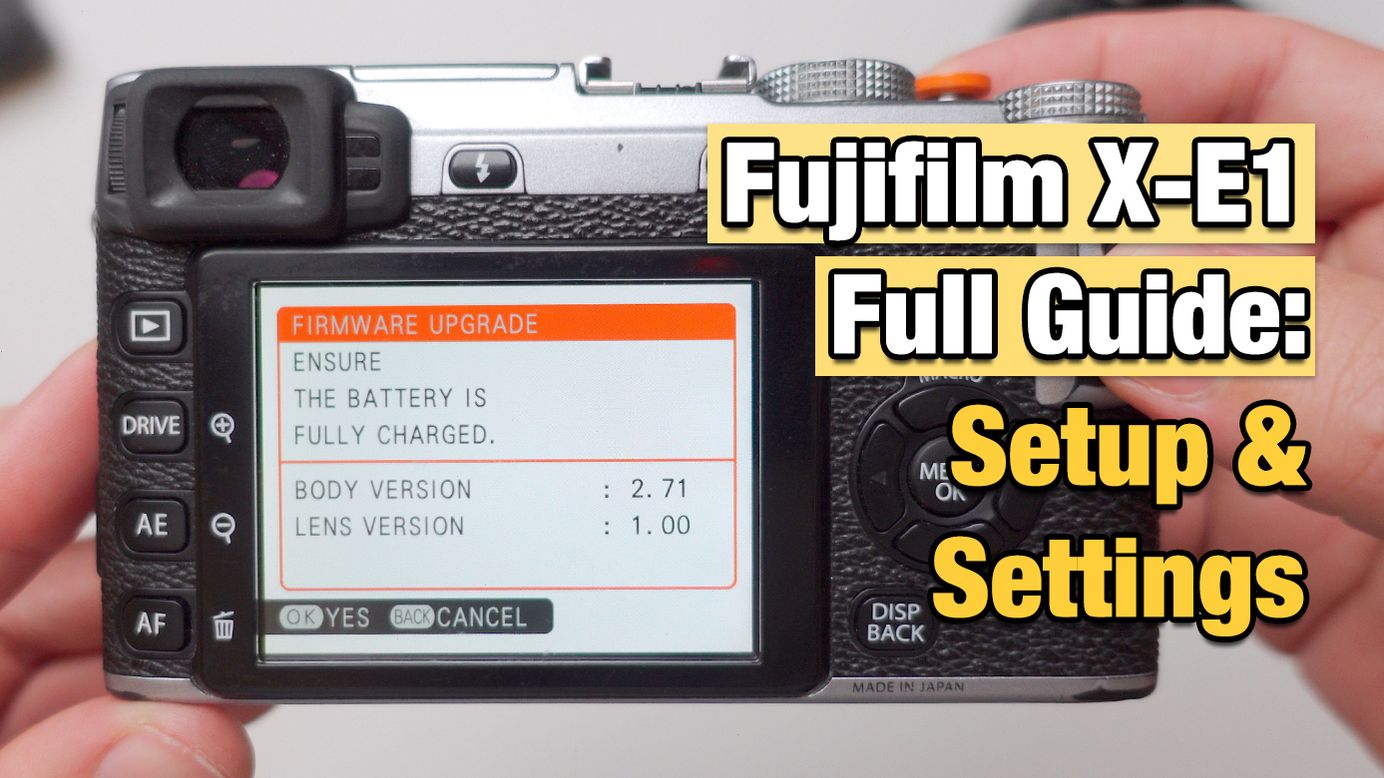
To check your current firmware, make sure you press and hold the display/back button while you turn the camera on.
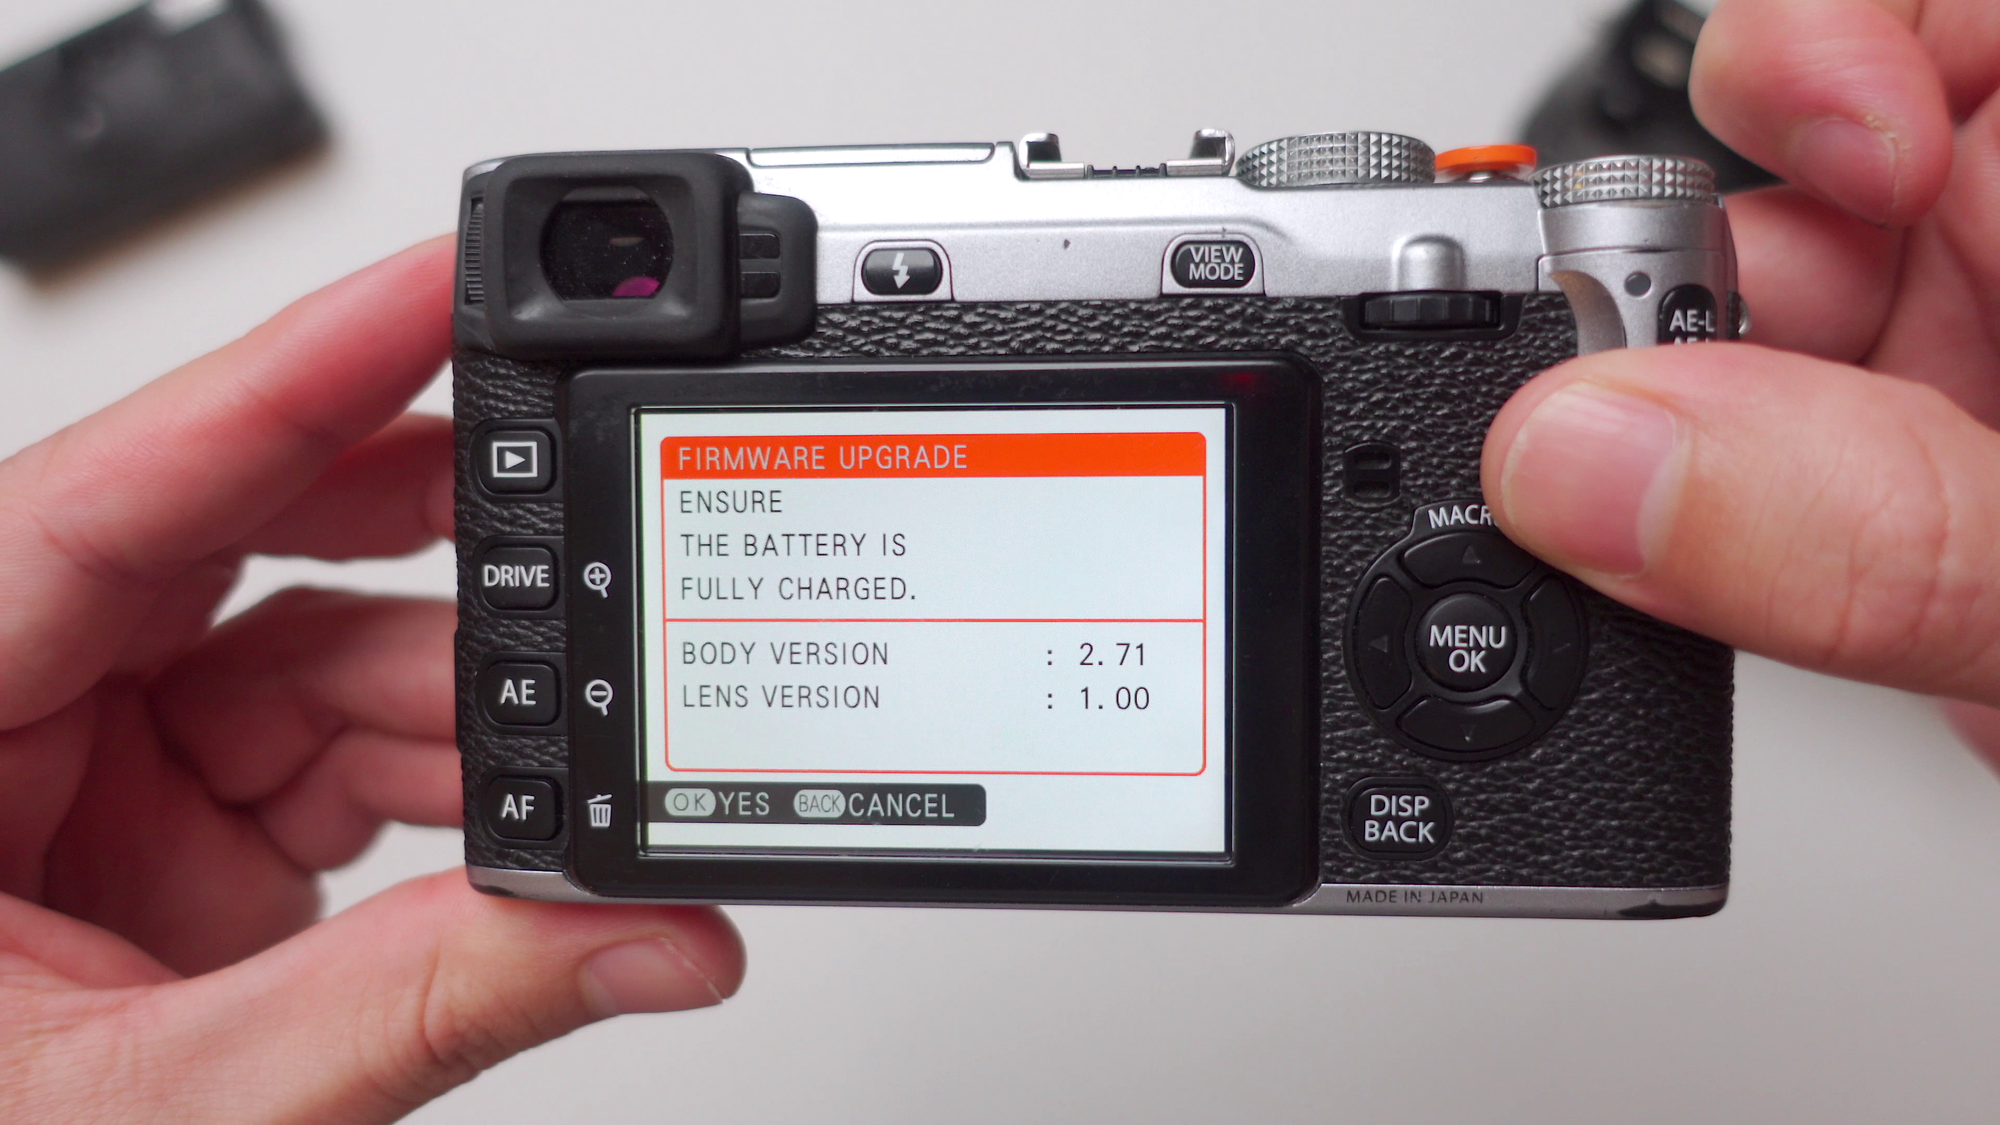
You should see this boot menu telling you what your current firmware number is for both the body and the lest. The latest body version is 2.71. If you don't have the latest version, then Head to the official Fujifilm website linked here:
Follow the steps to download the new firmware version and install it. Make sure you have a formatted SD card and a full battery as well. If your battery dies while performing the update, it will brick the camera and render it unusable. So make sure your battery is full, and don’t turn the camera off while updating.
Once you do have the latest firmware installed then we can proceed to the settings. We'll go over the setup menu, shooting menu, and custom settings menu. But also settings that are specific to this camera only. Let's switch directly to the output of the camera, and get started


